Mongoose 是MongoDB 的前端,MongoDB 是一個使用面向文檔數據模型的開源NoSQL 數據庫。
npm 官網=>搜尋 mongoose
mongoose
安裝mongoose
1 | npm i mongoose |
MongoDB官網
//如圖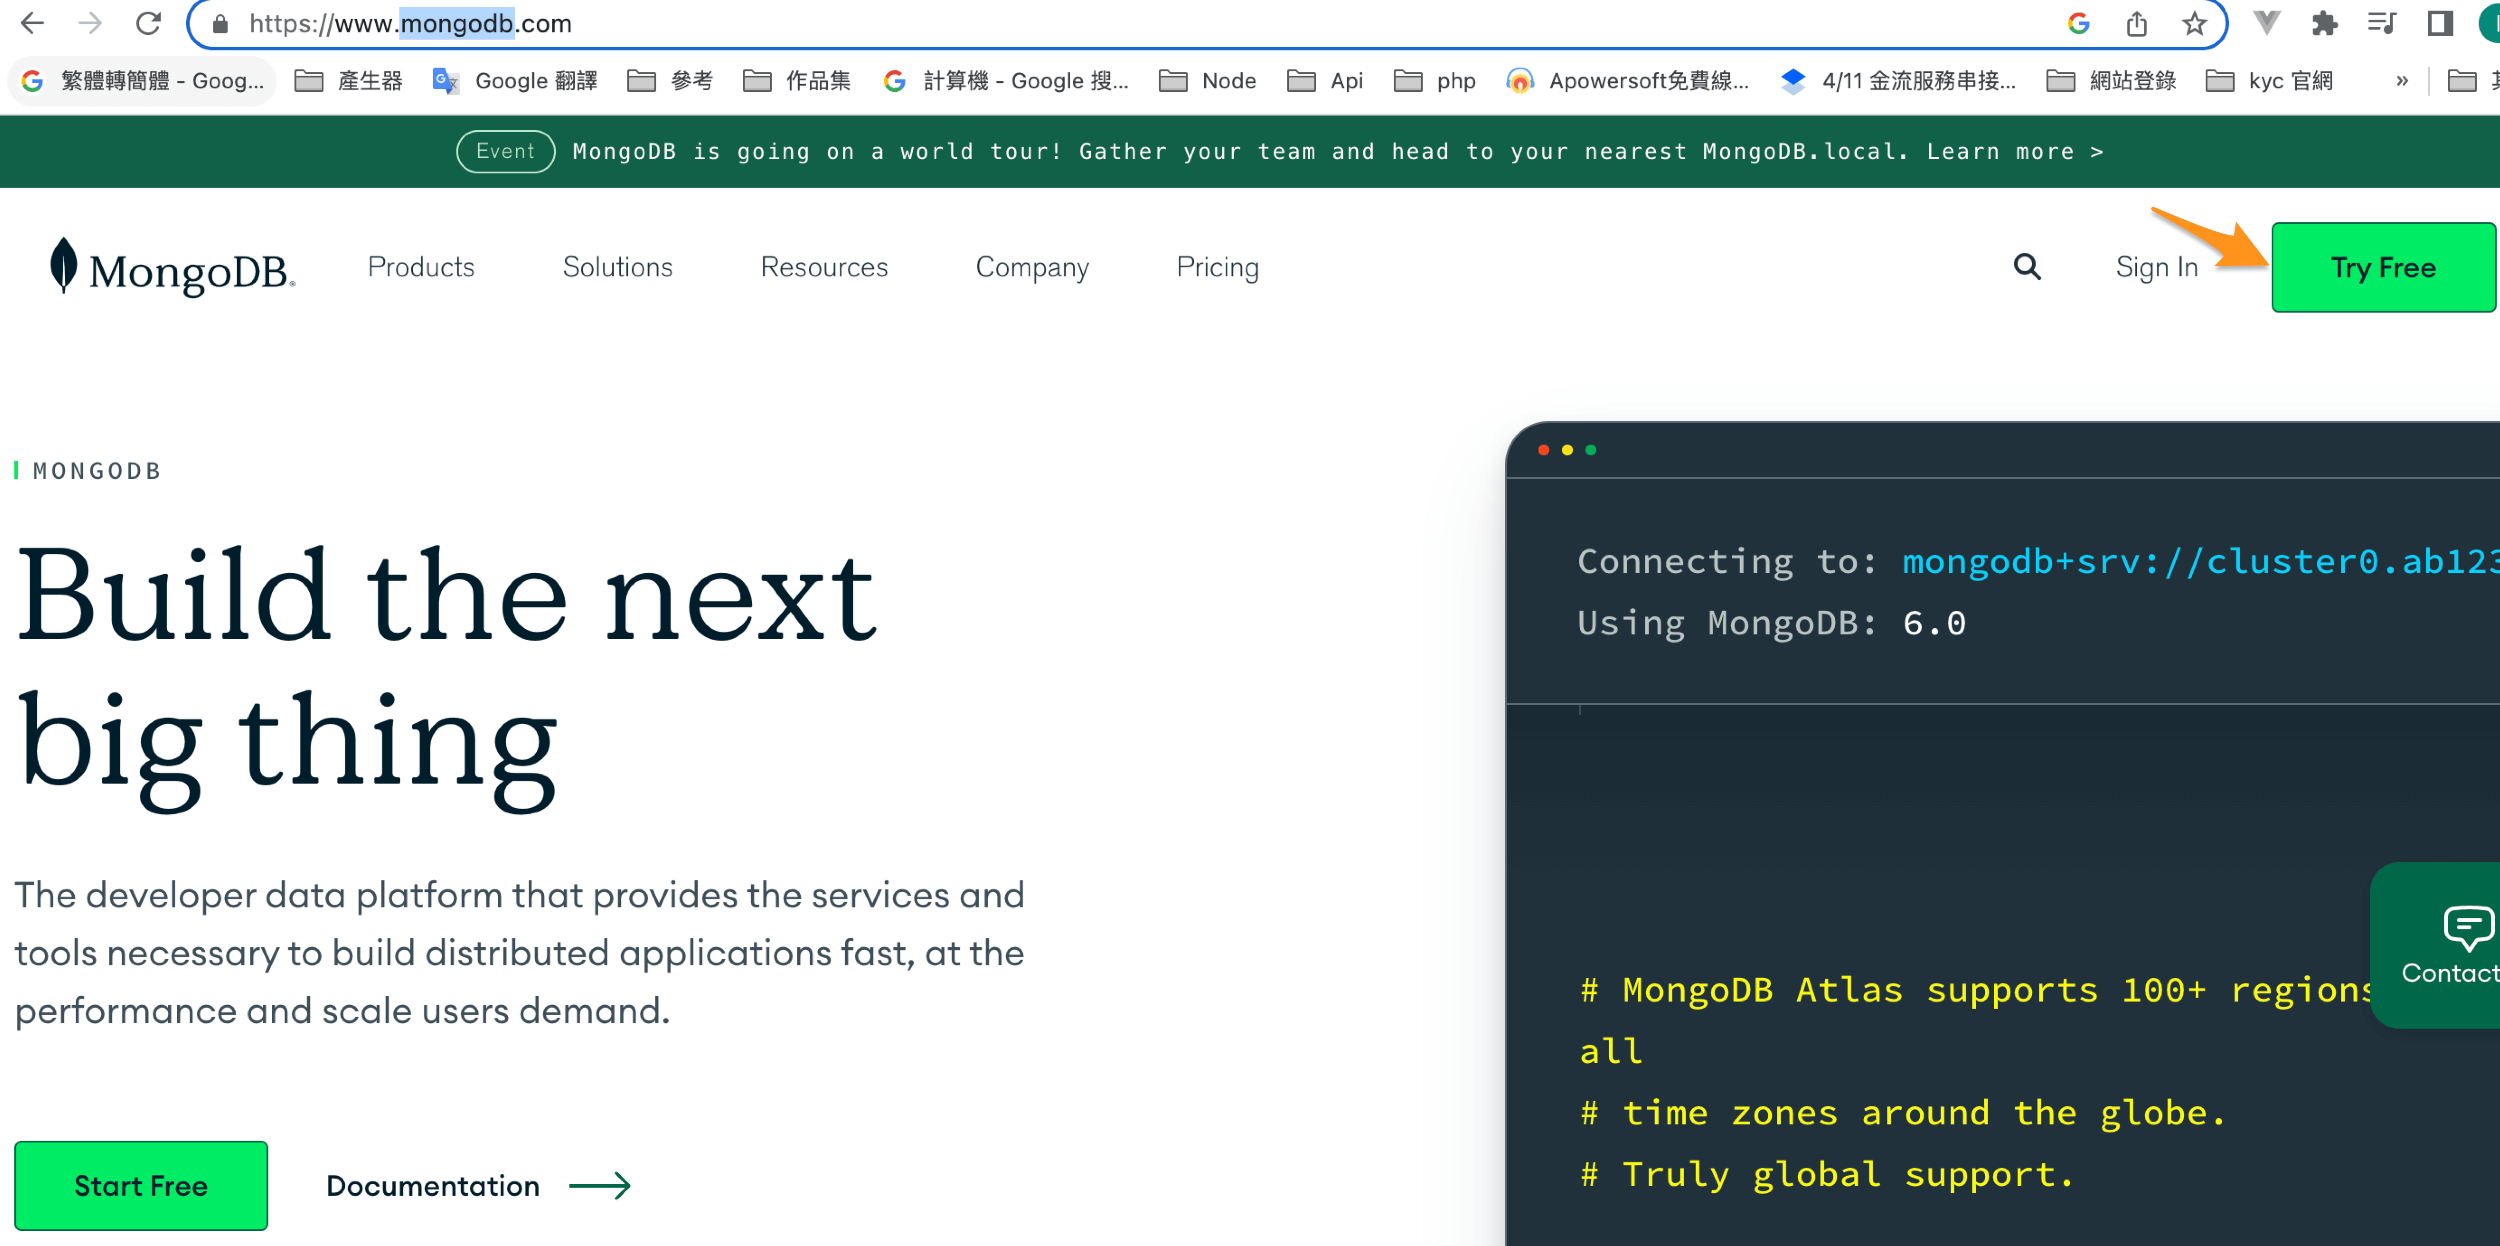
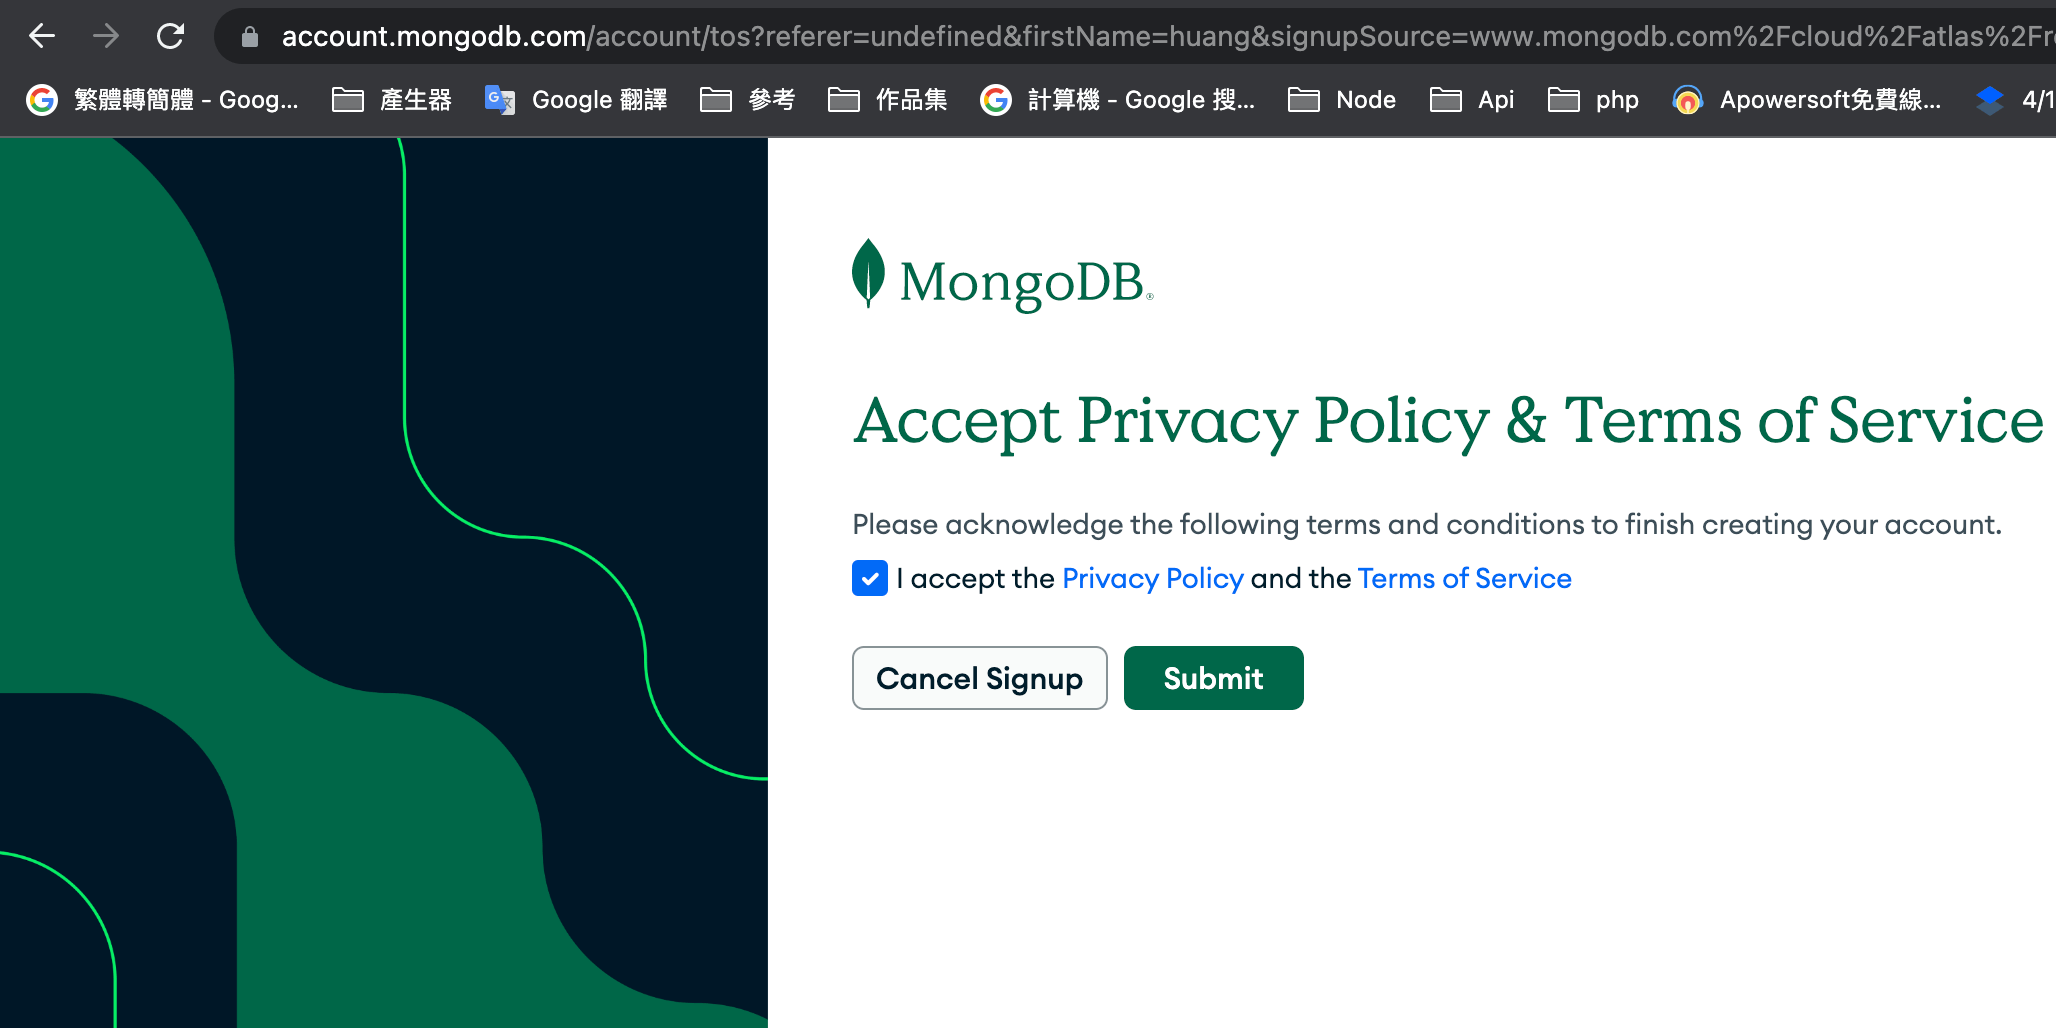
Accept Privacy Policy & Teams of Service
譯:接受隱私政策和服務條款
點選
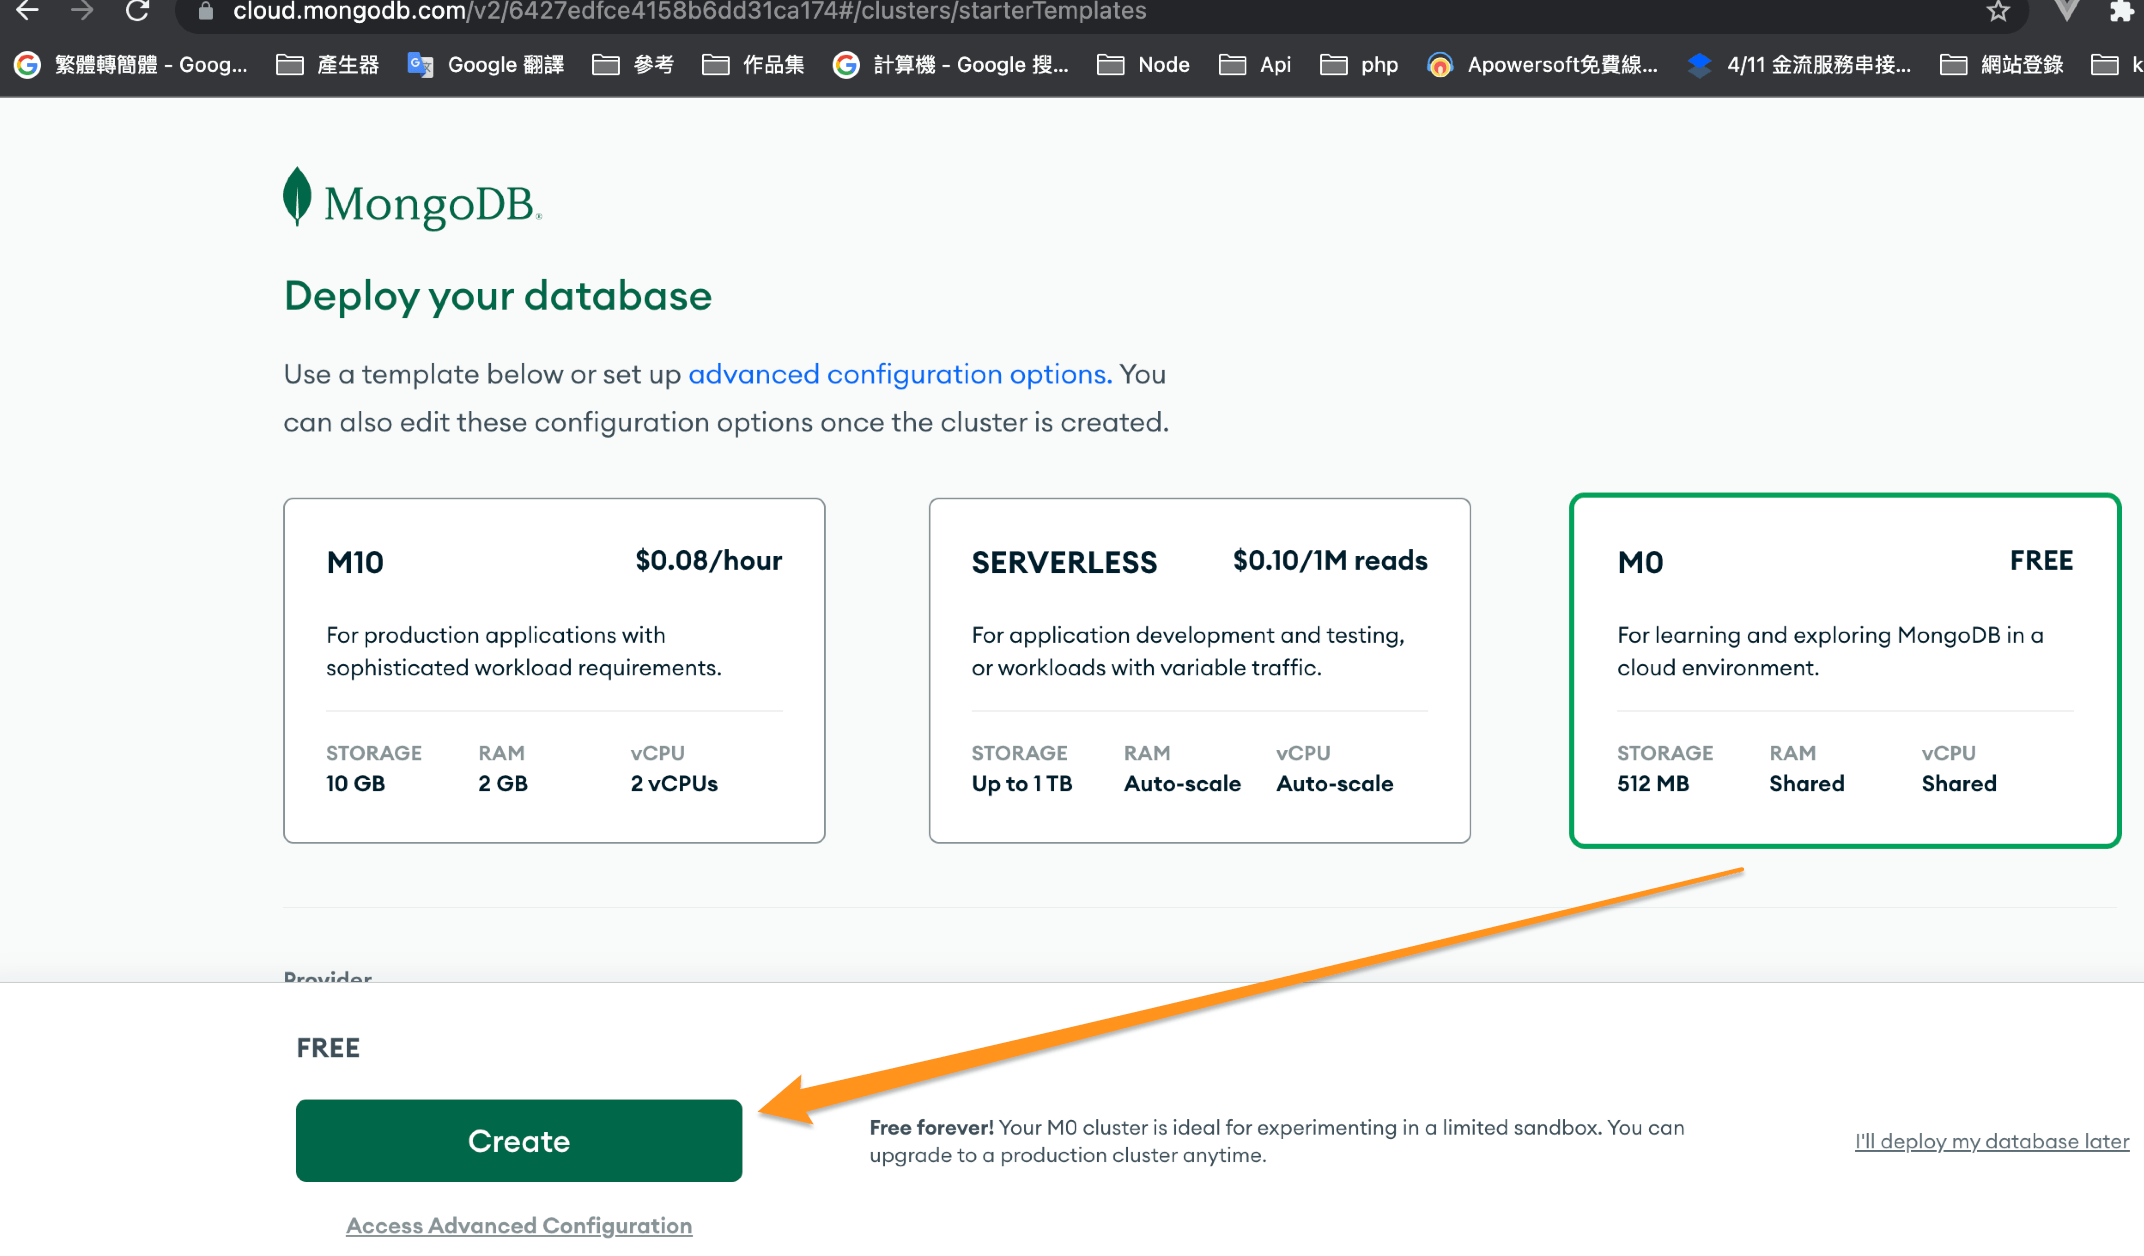
點選建立資料庫Build the DataBase
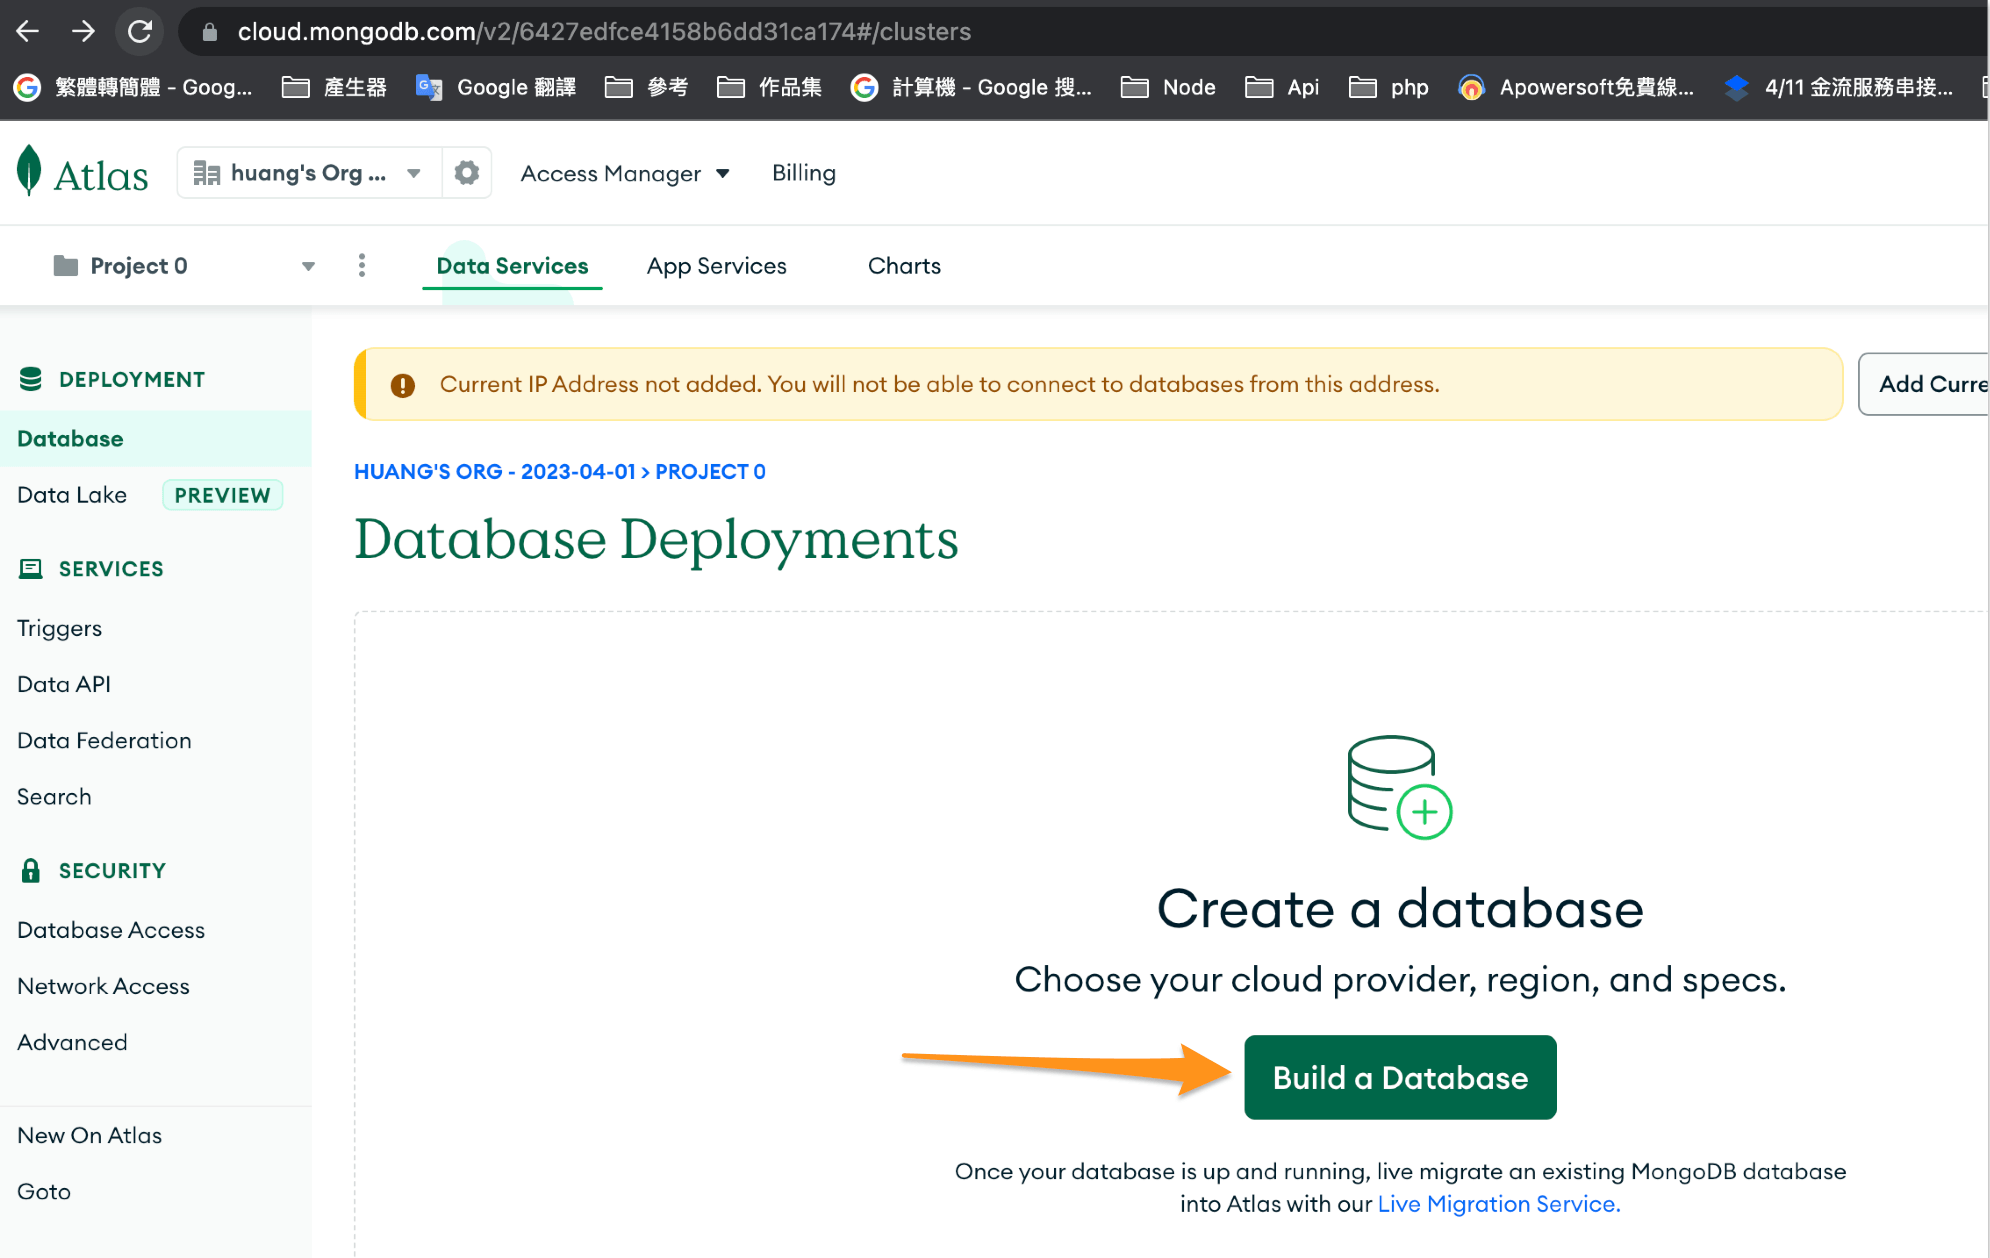
選擇Free 免費,選擇地區並創建
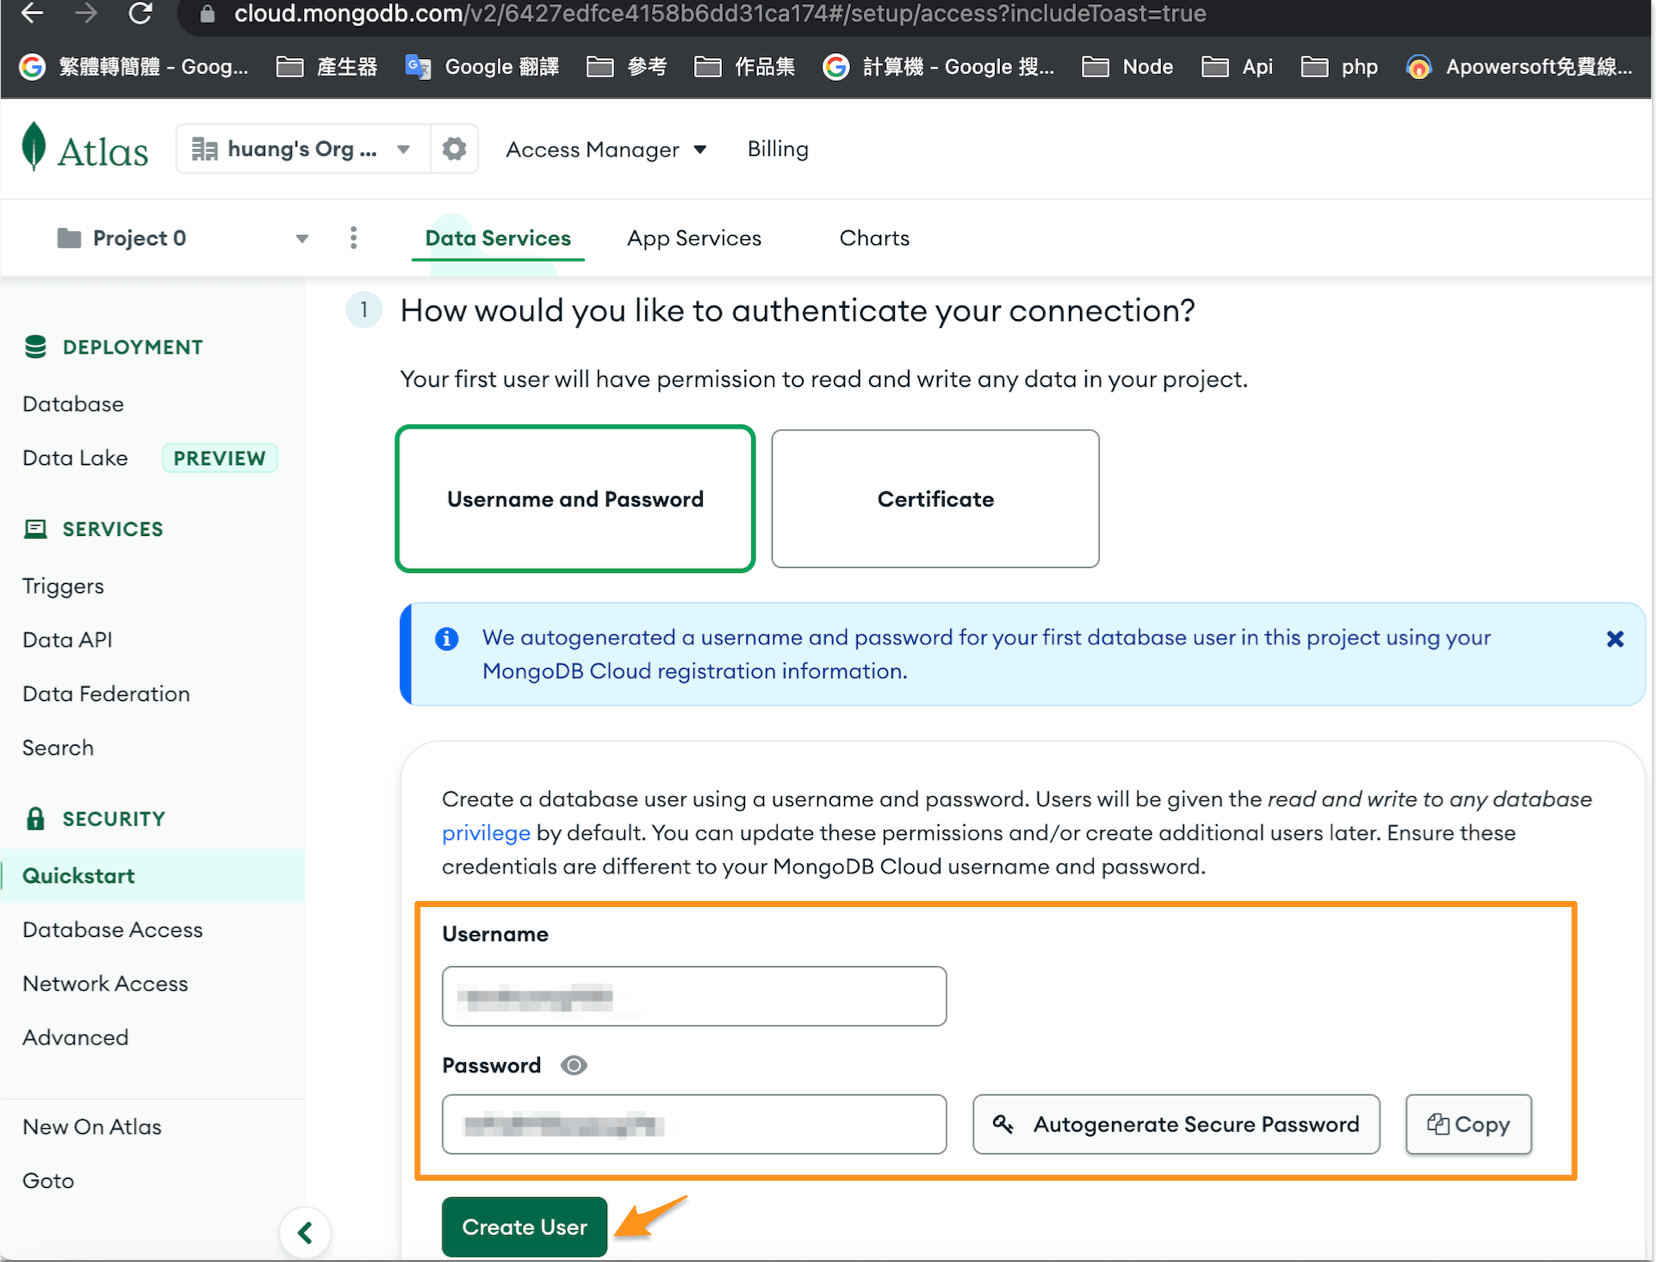
取得使用者帳號與密碼
你想從哪裡連接?
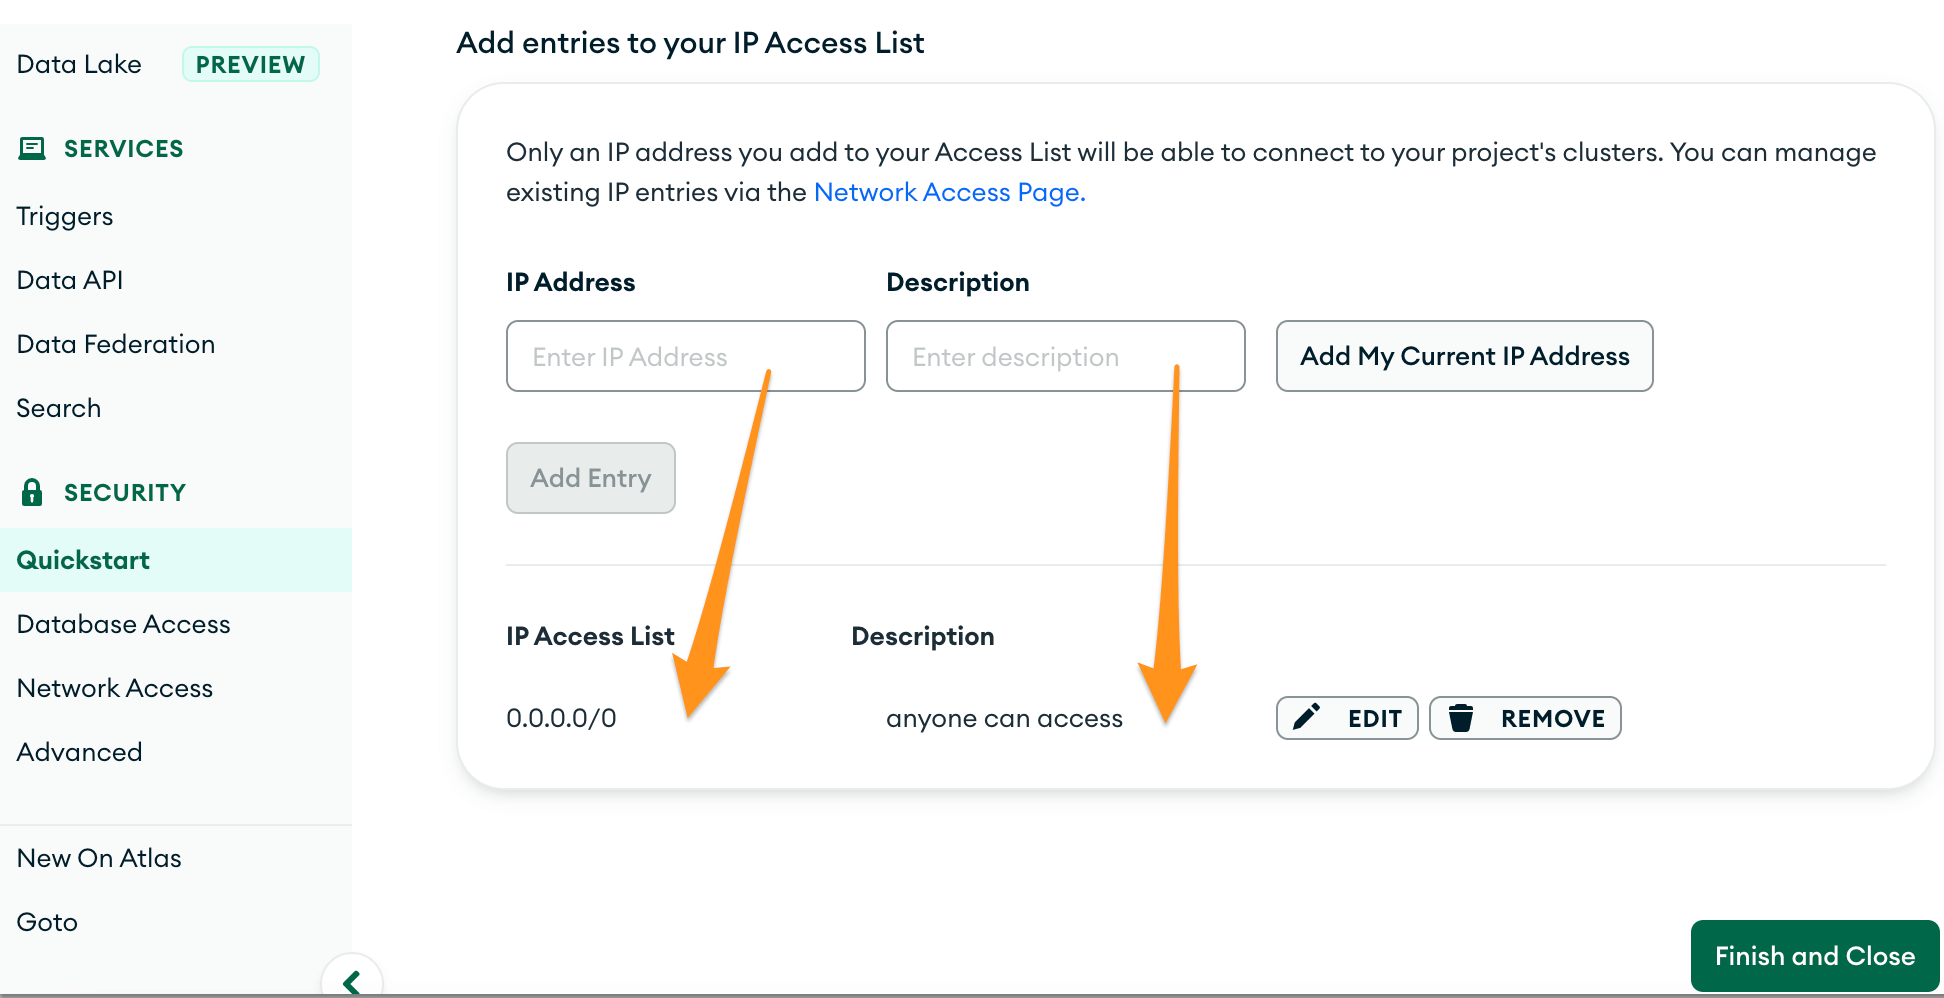
將條目添加到您的 IP 訪問列表
IP地址 / 描述
0.0.0.0/0 / anyone can access
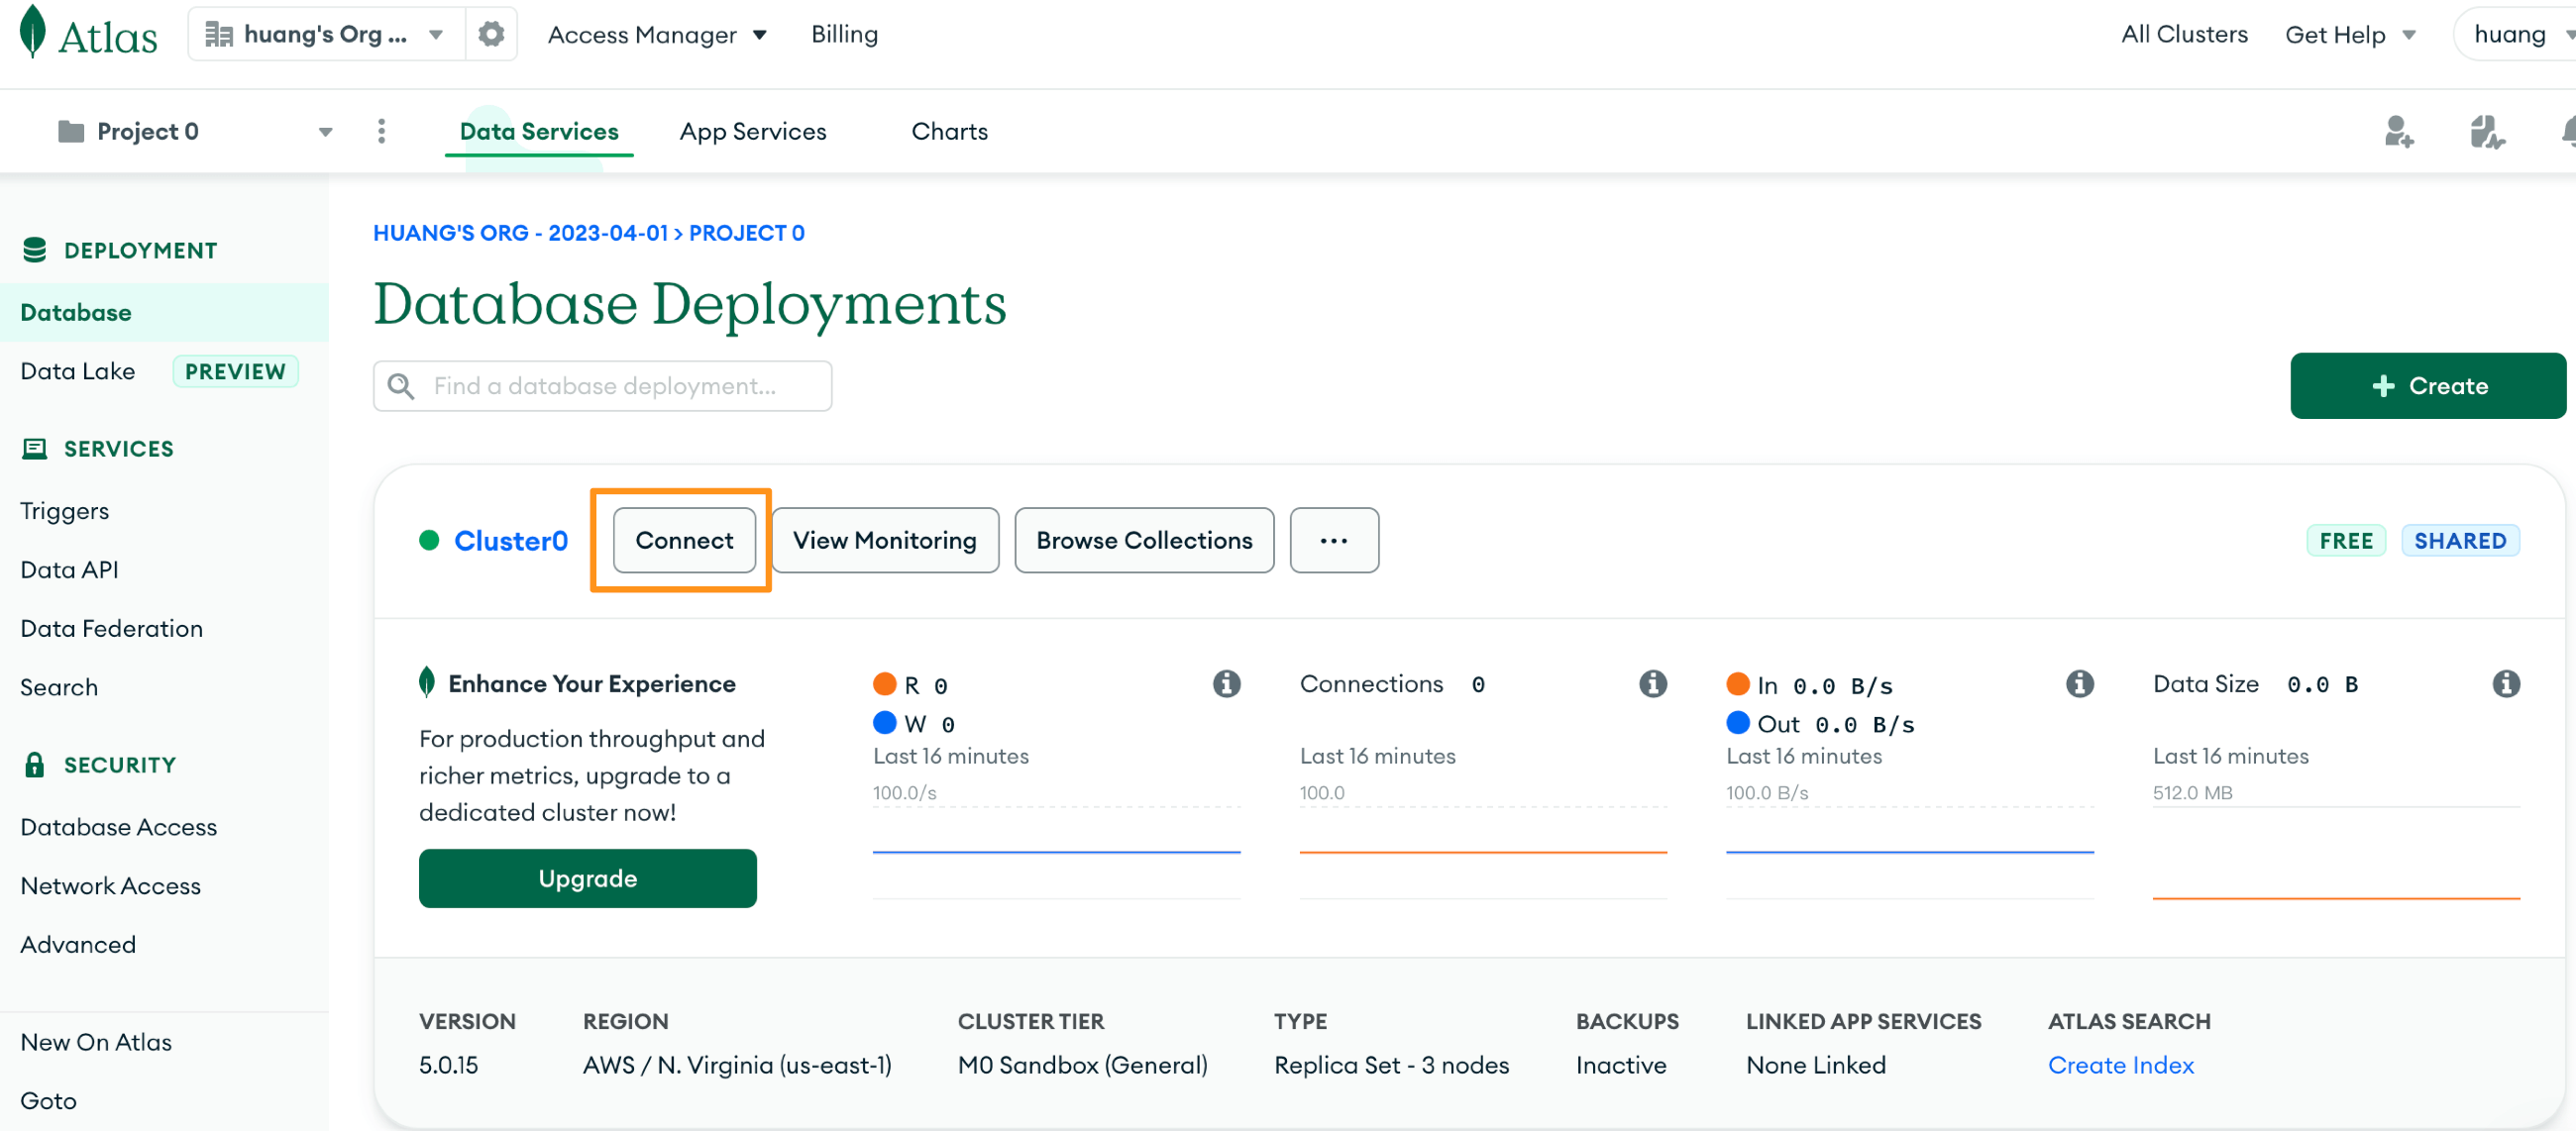
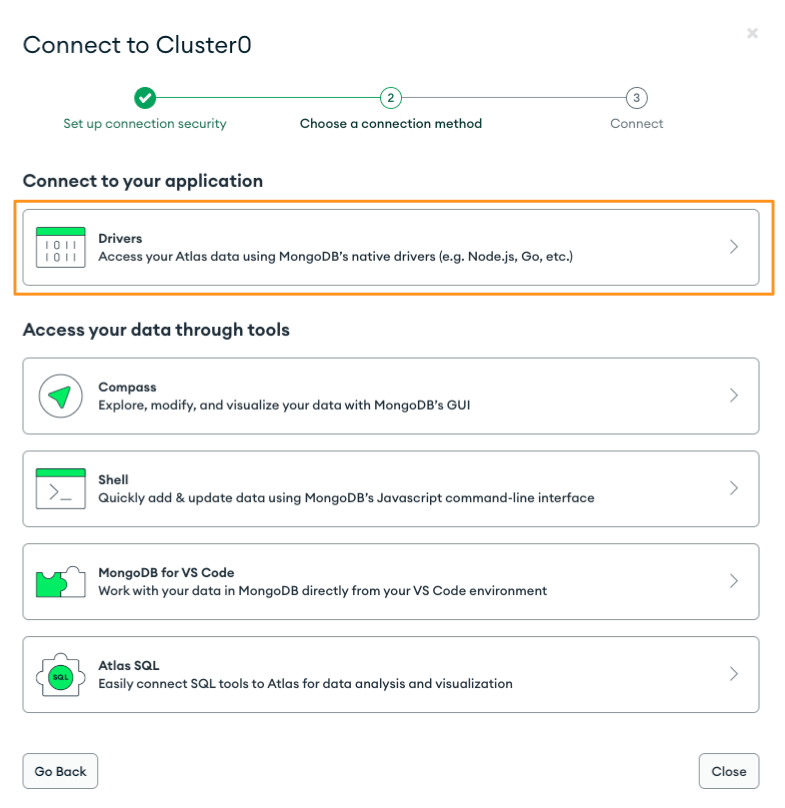
Connect DataBase 連接資料庫
選取Drivers
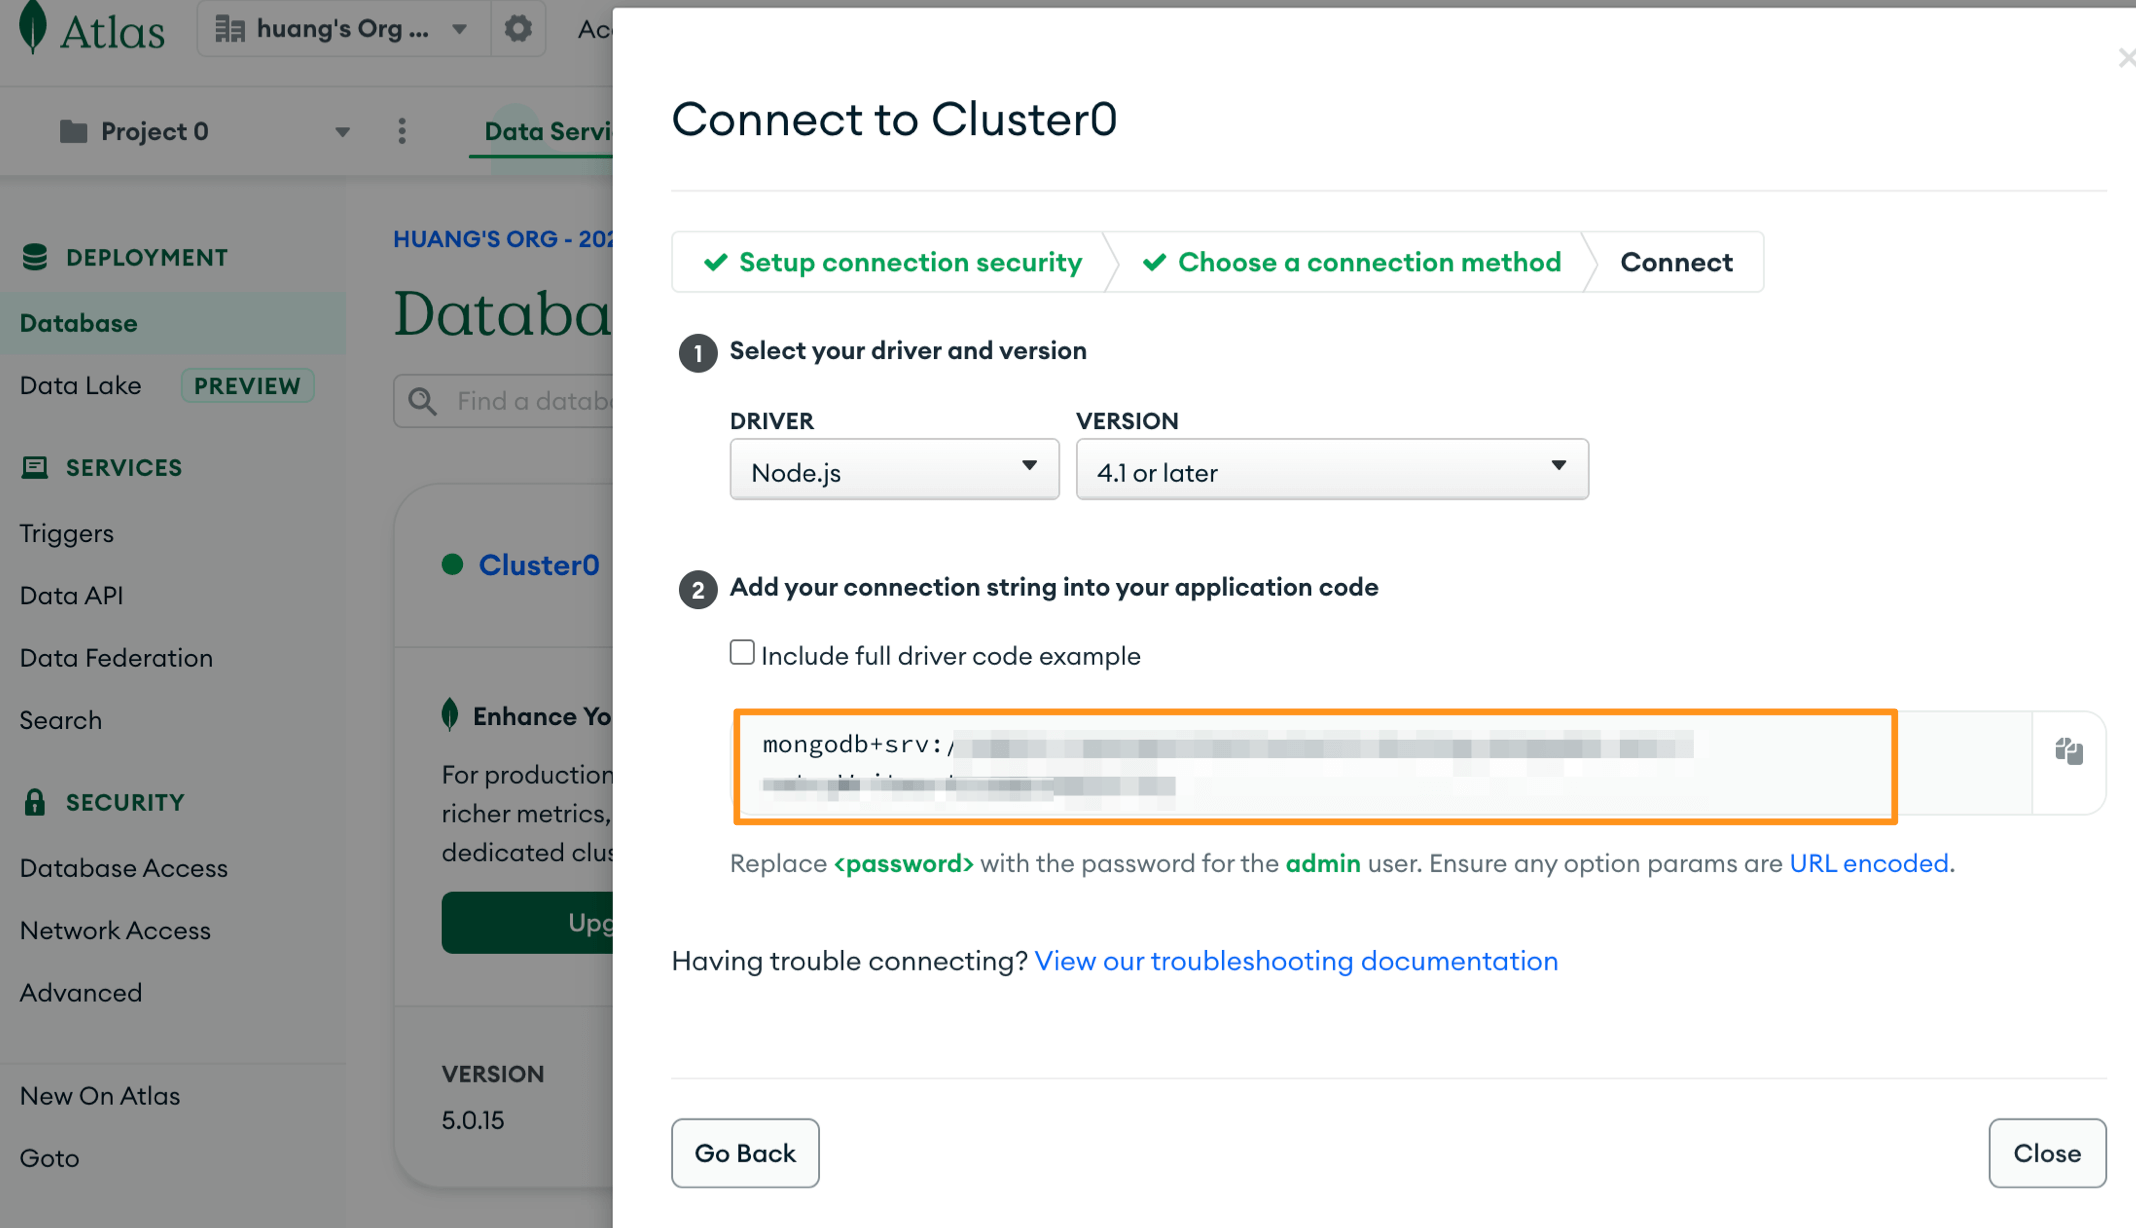
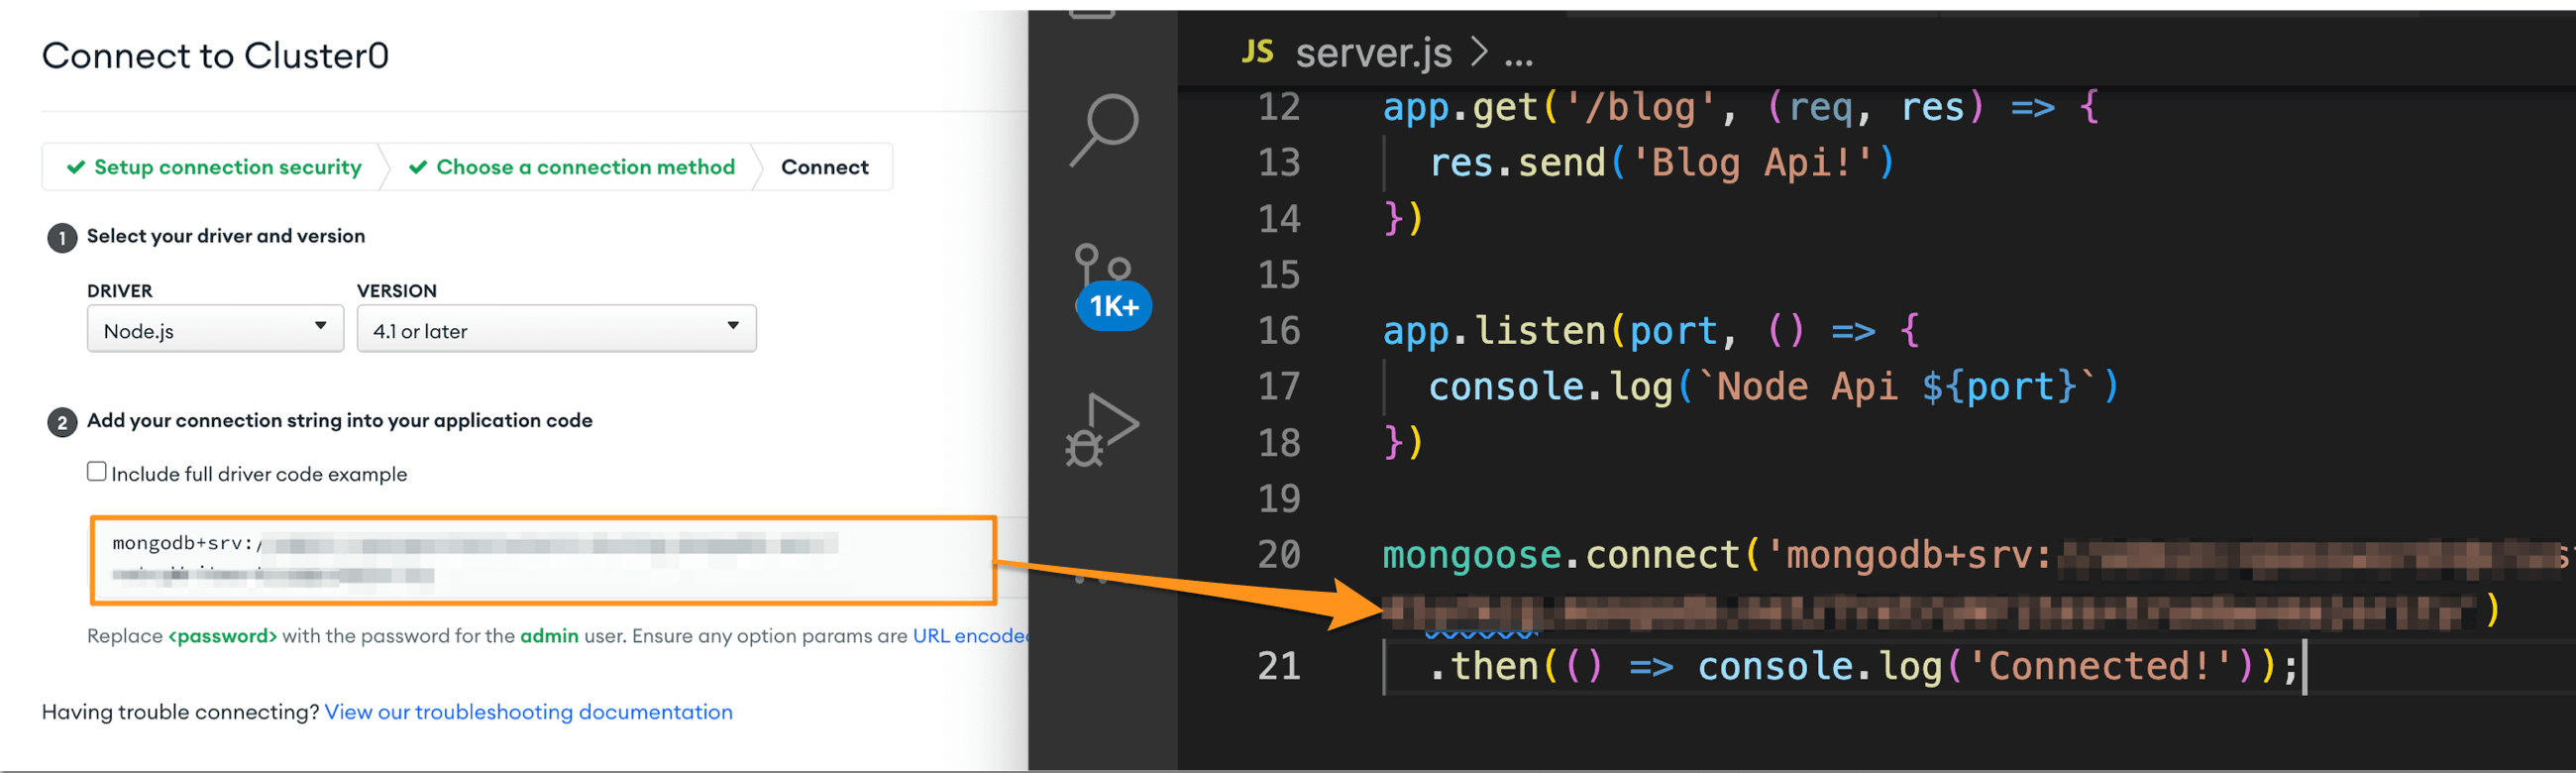
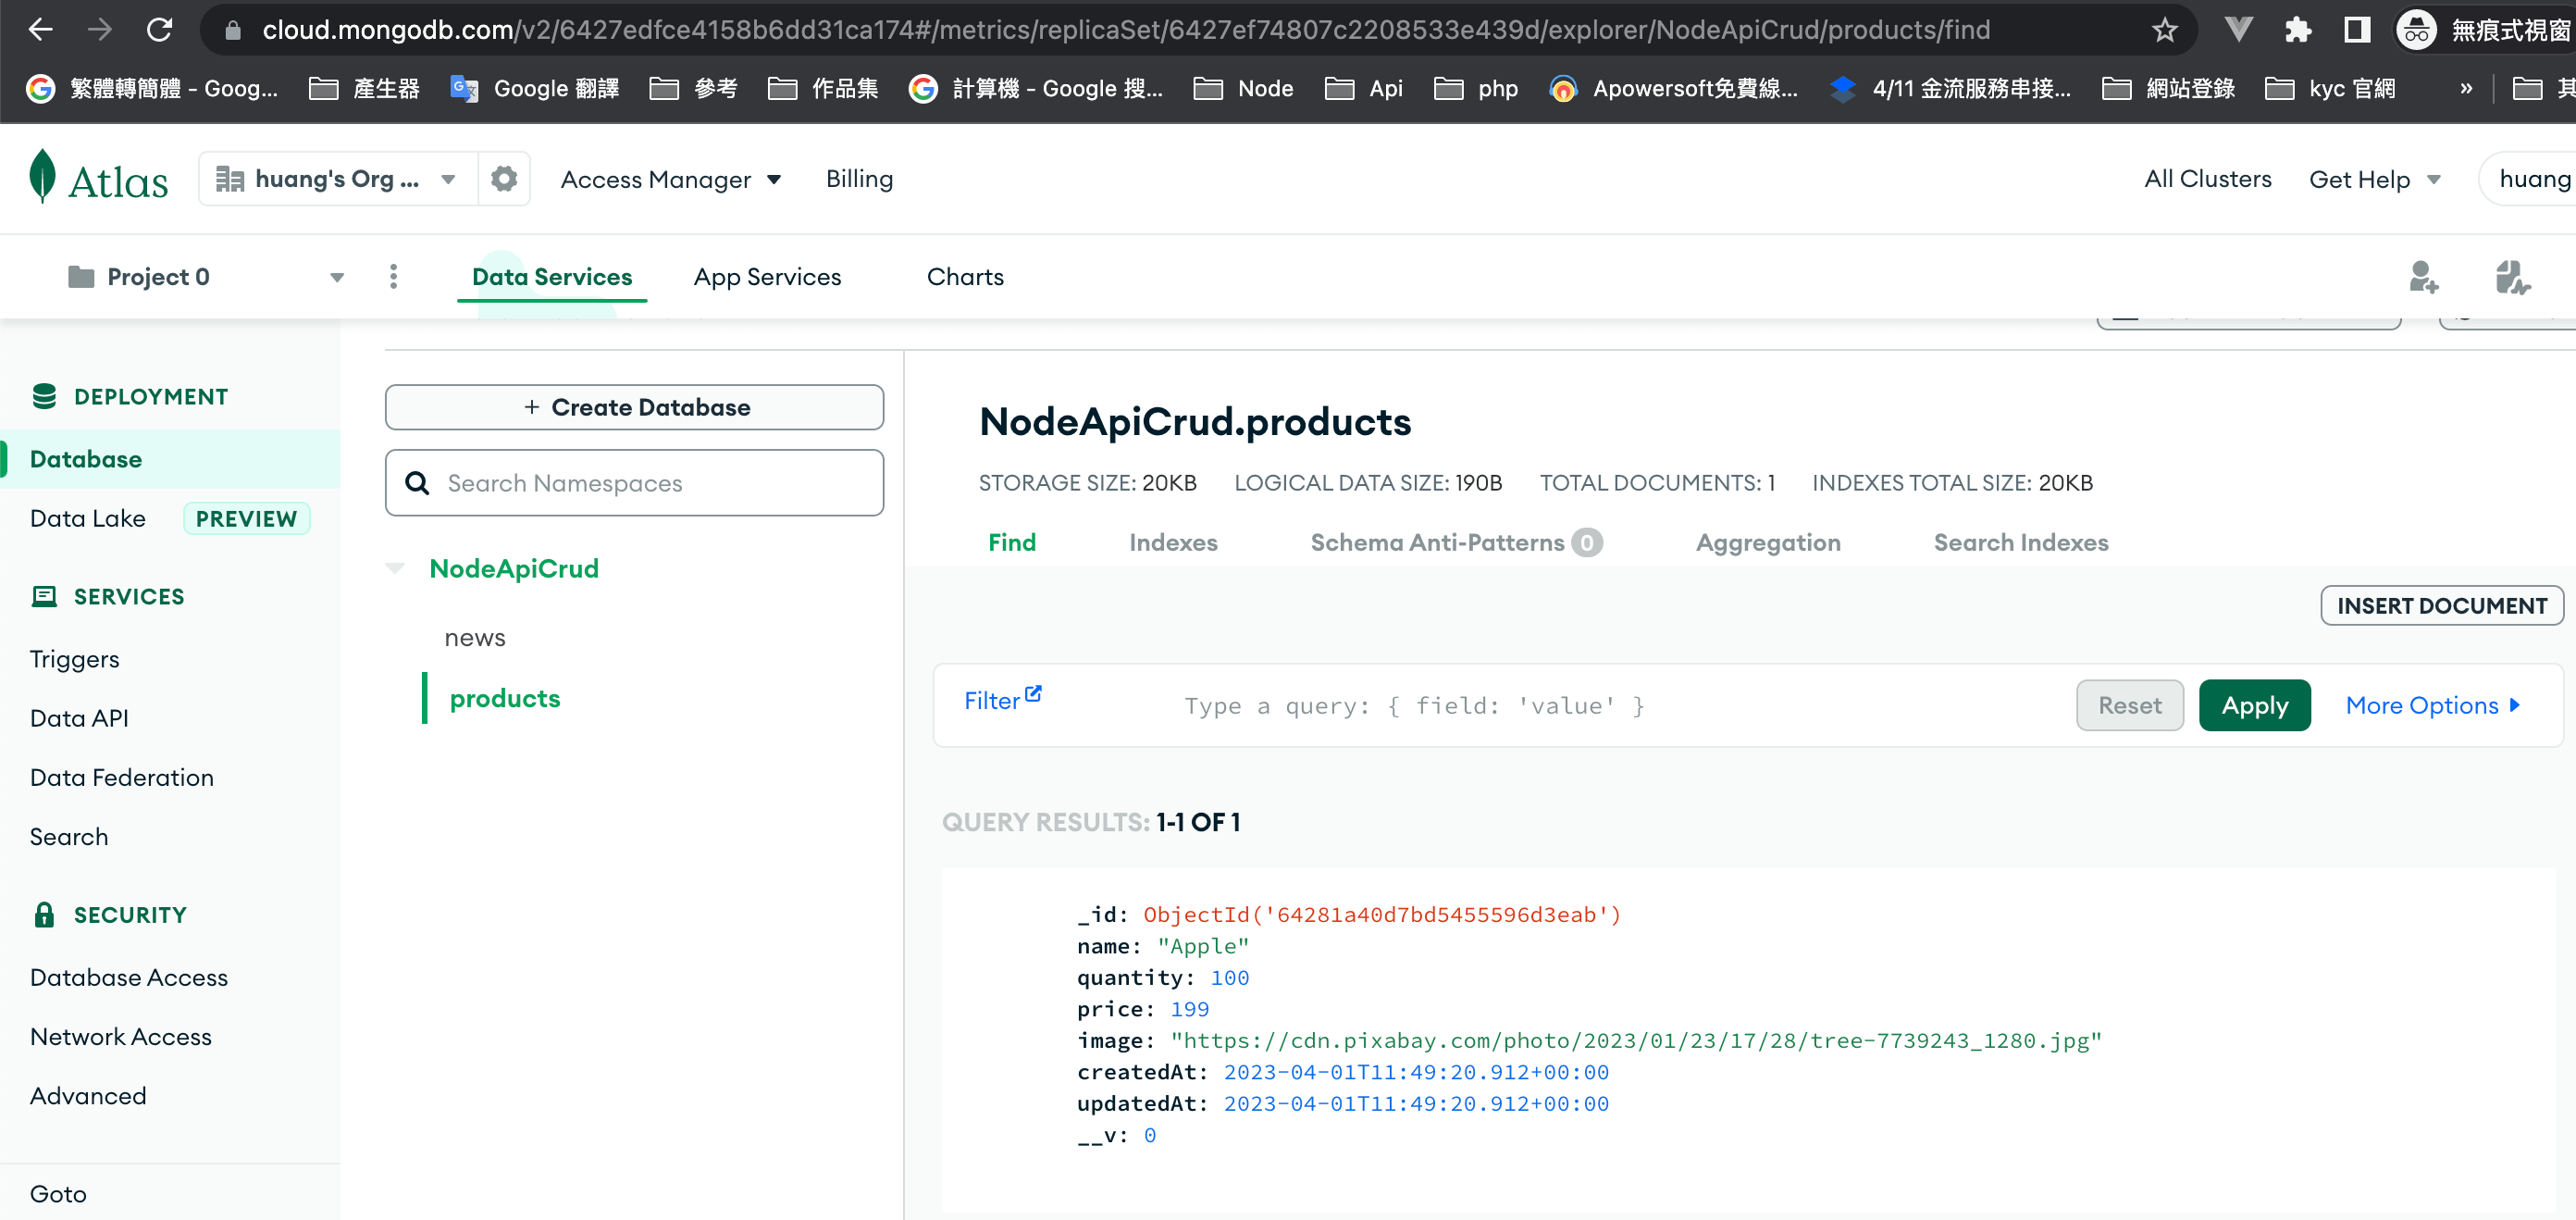
取得資料庫連結網址:
mongodb+srv://使用者帳號:此專案密碼@網址/?retryWrites=true&w=majority
環境變數:在程式剛啟動時,就可以載入require(‘dotenv’).config();
1 | //express |
CRUD
一.新增models/newModel.js
1 | const mongoose = require('mongoose') |
二.index.js,載入newModel
1 | const express = require('express') |
Render部署
Render
選取WebServer
箭頭內貼入Git庫網址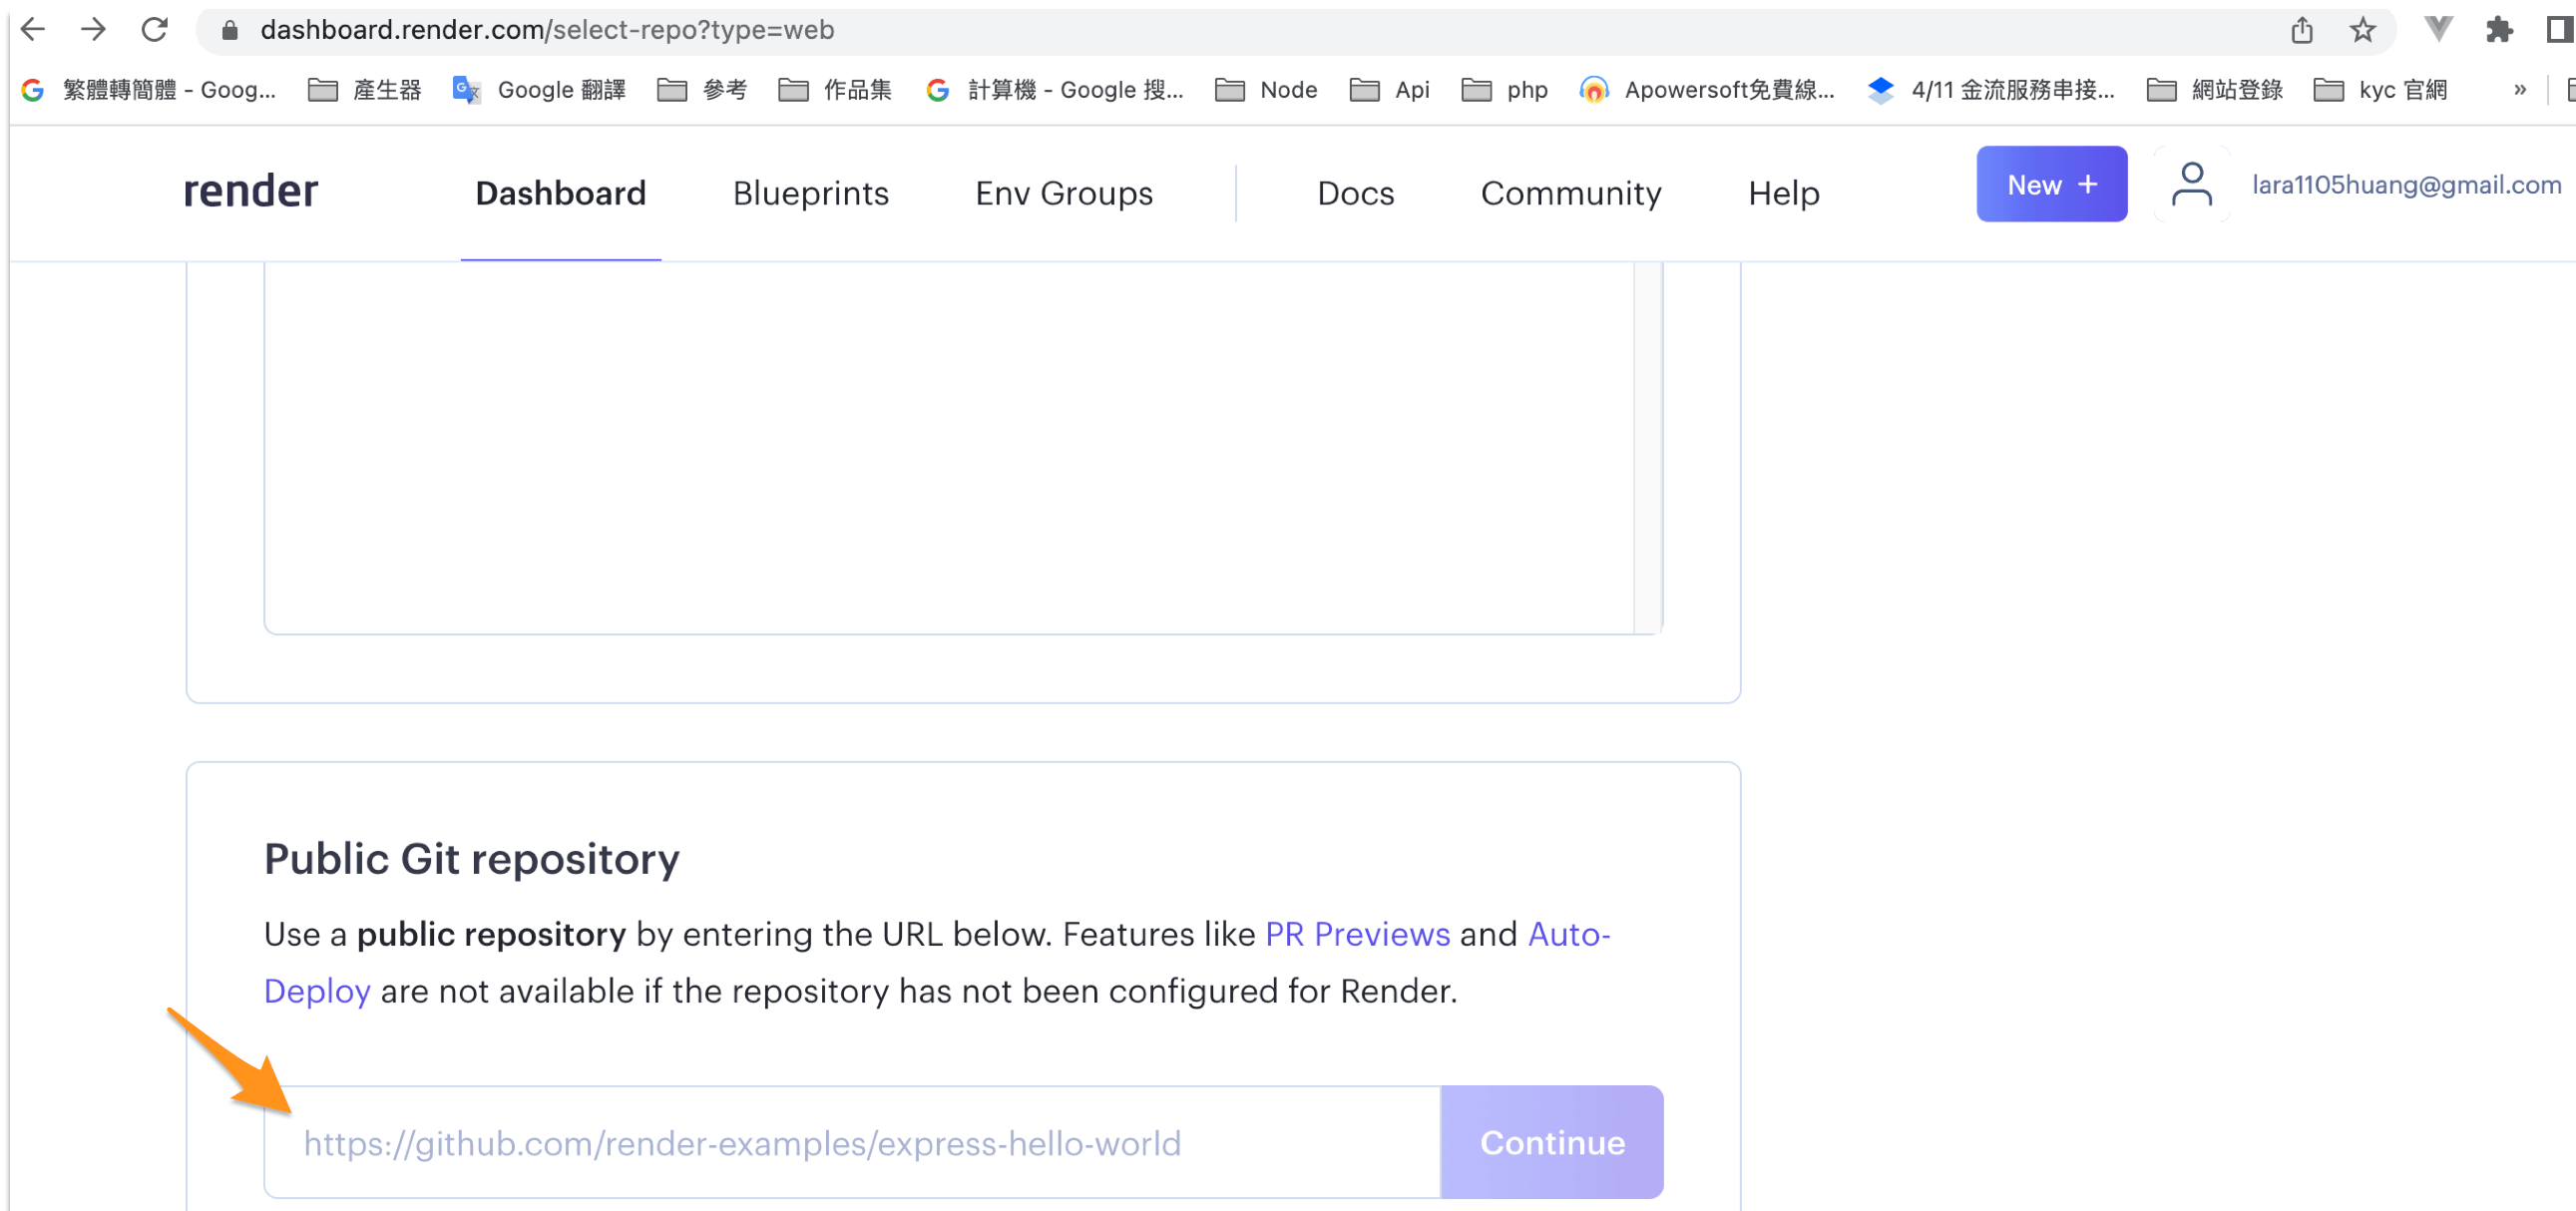
在Name框中,輸入一個簡短的名字來標識你的網站。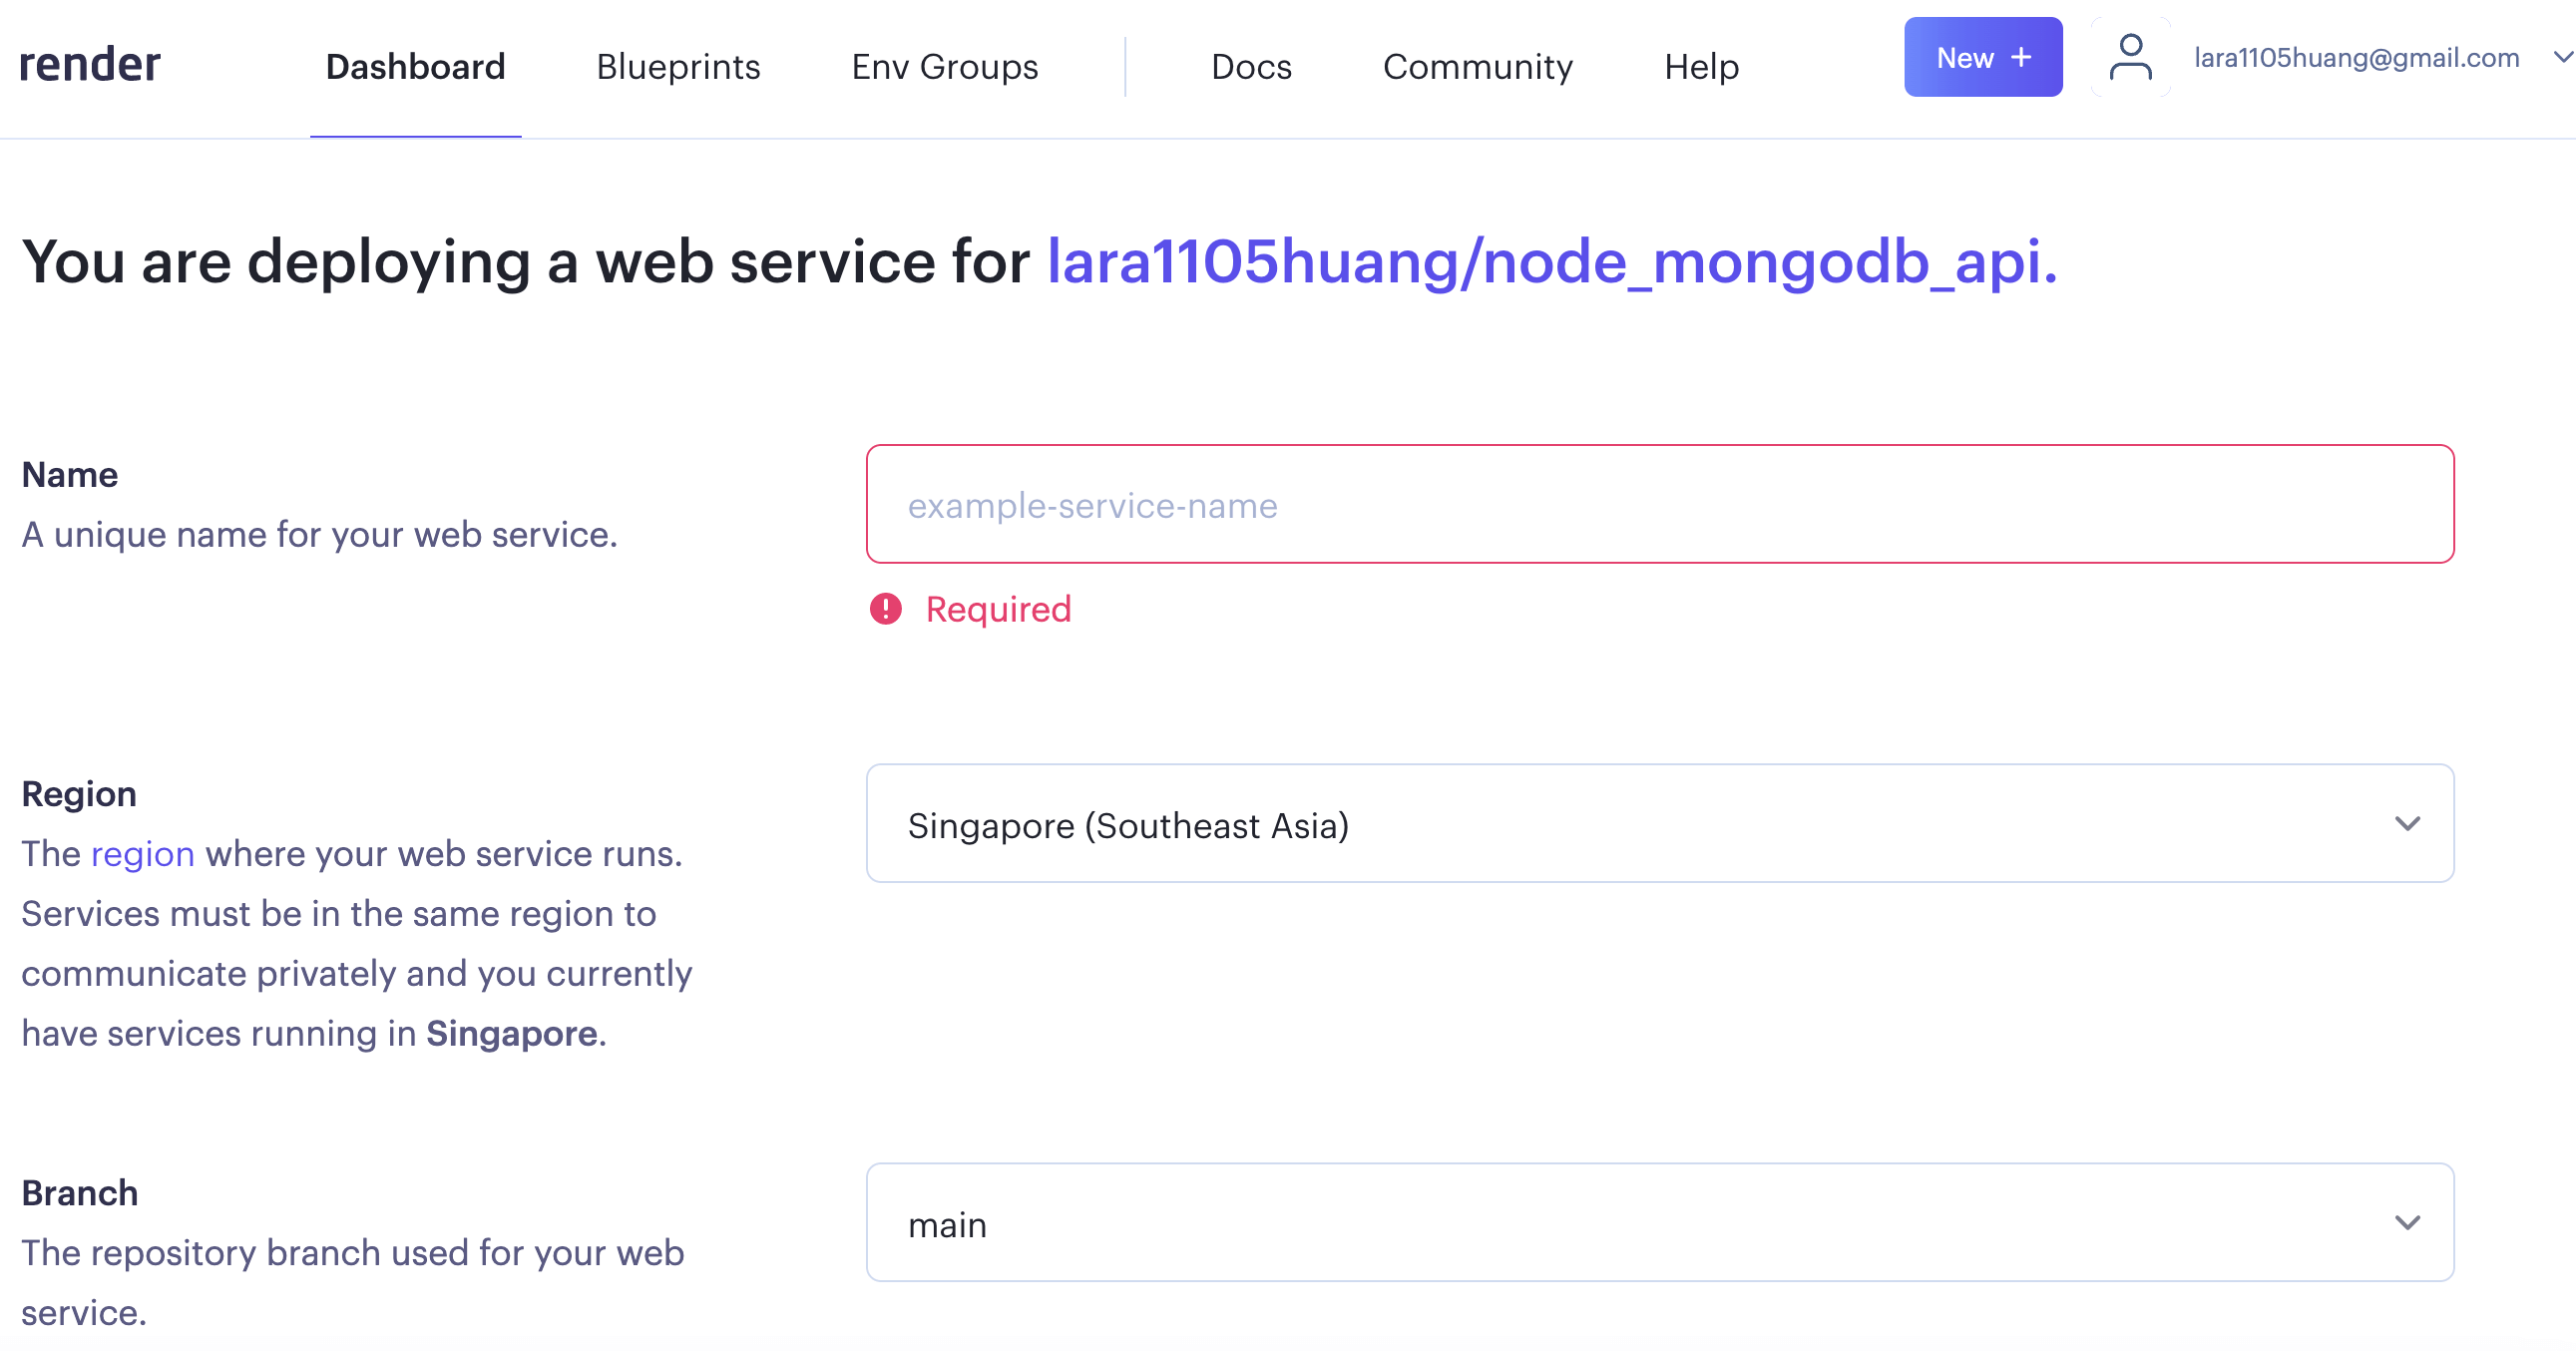
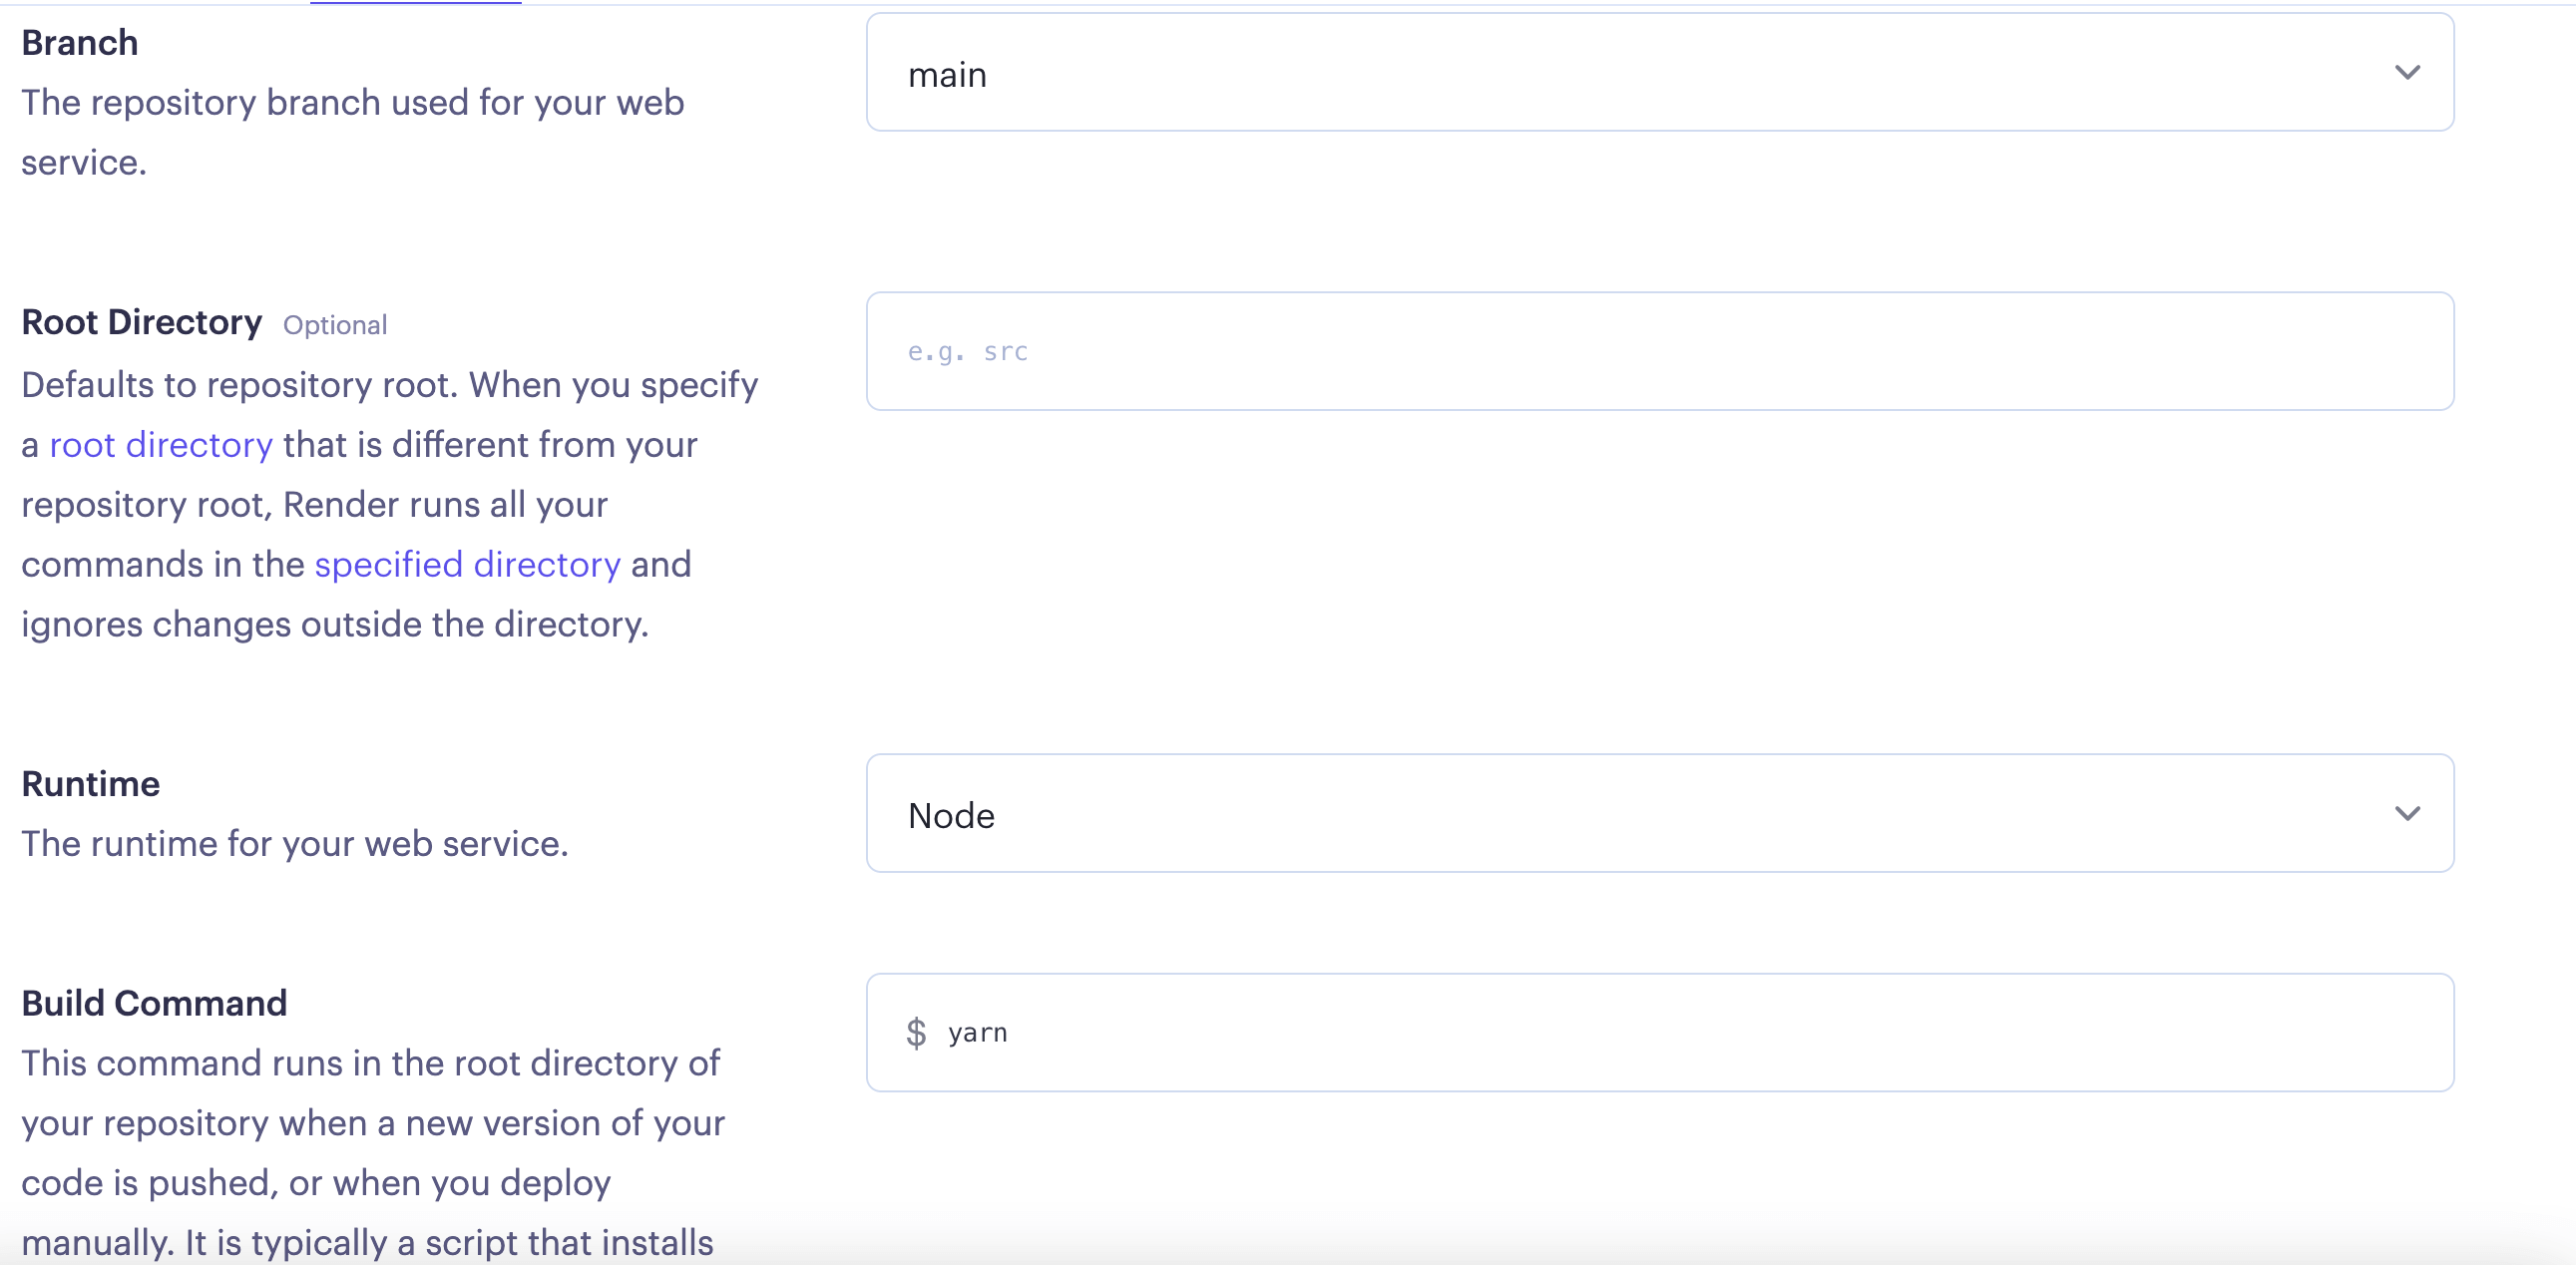
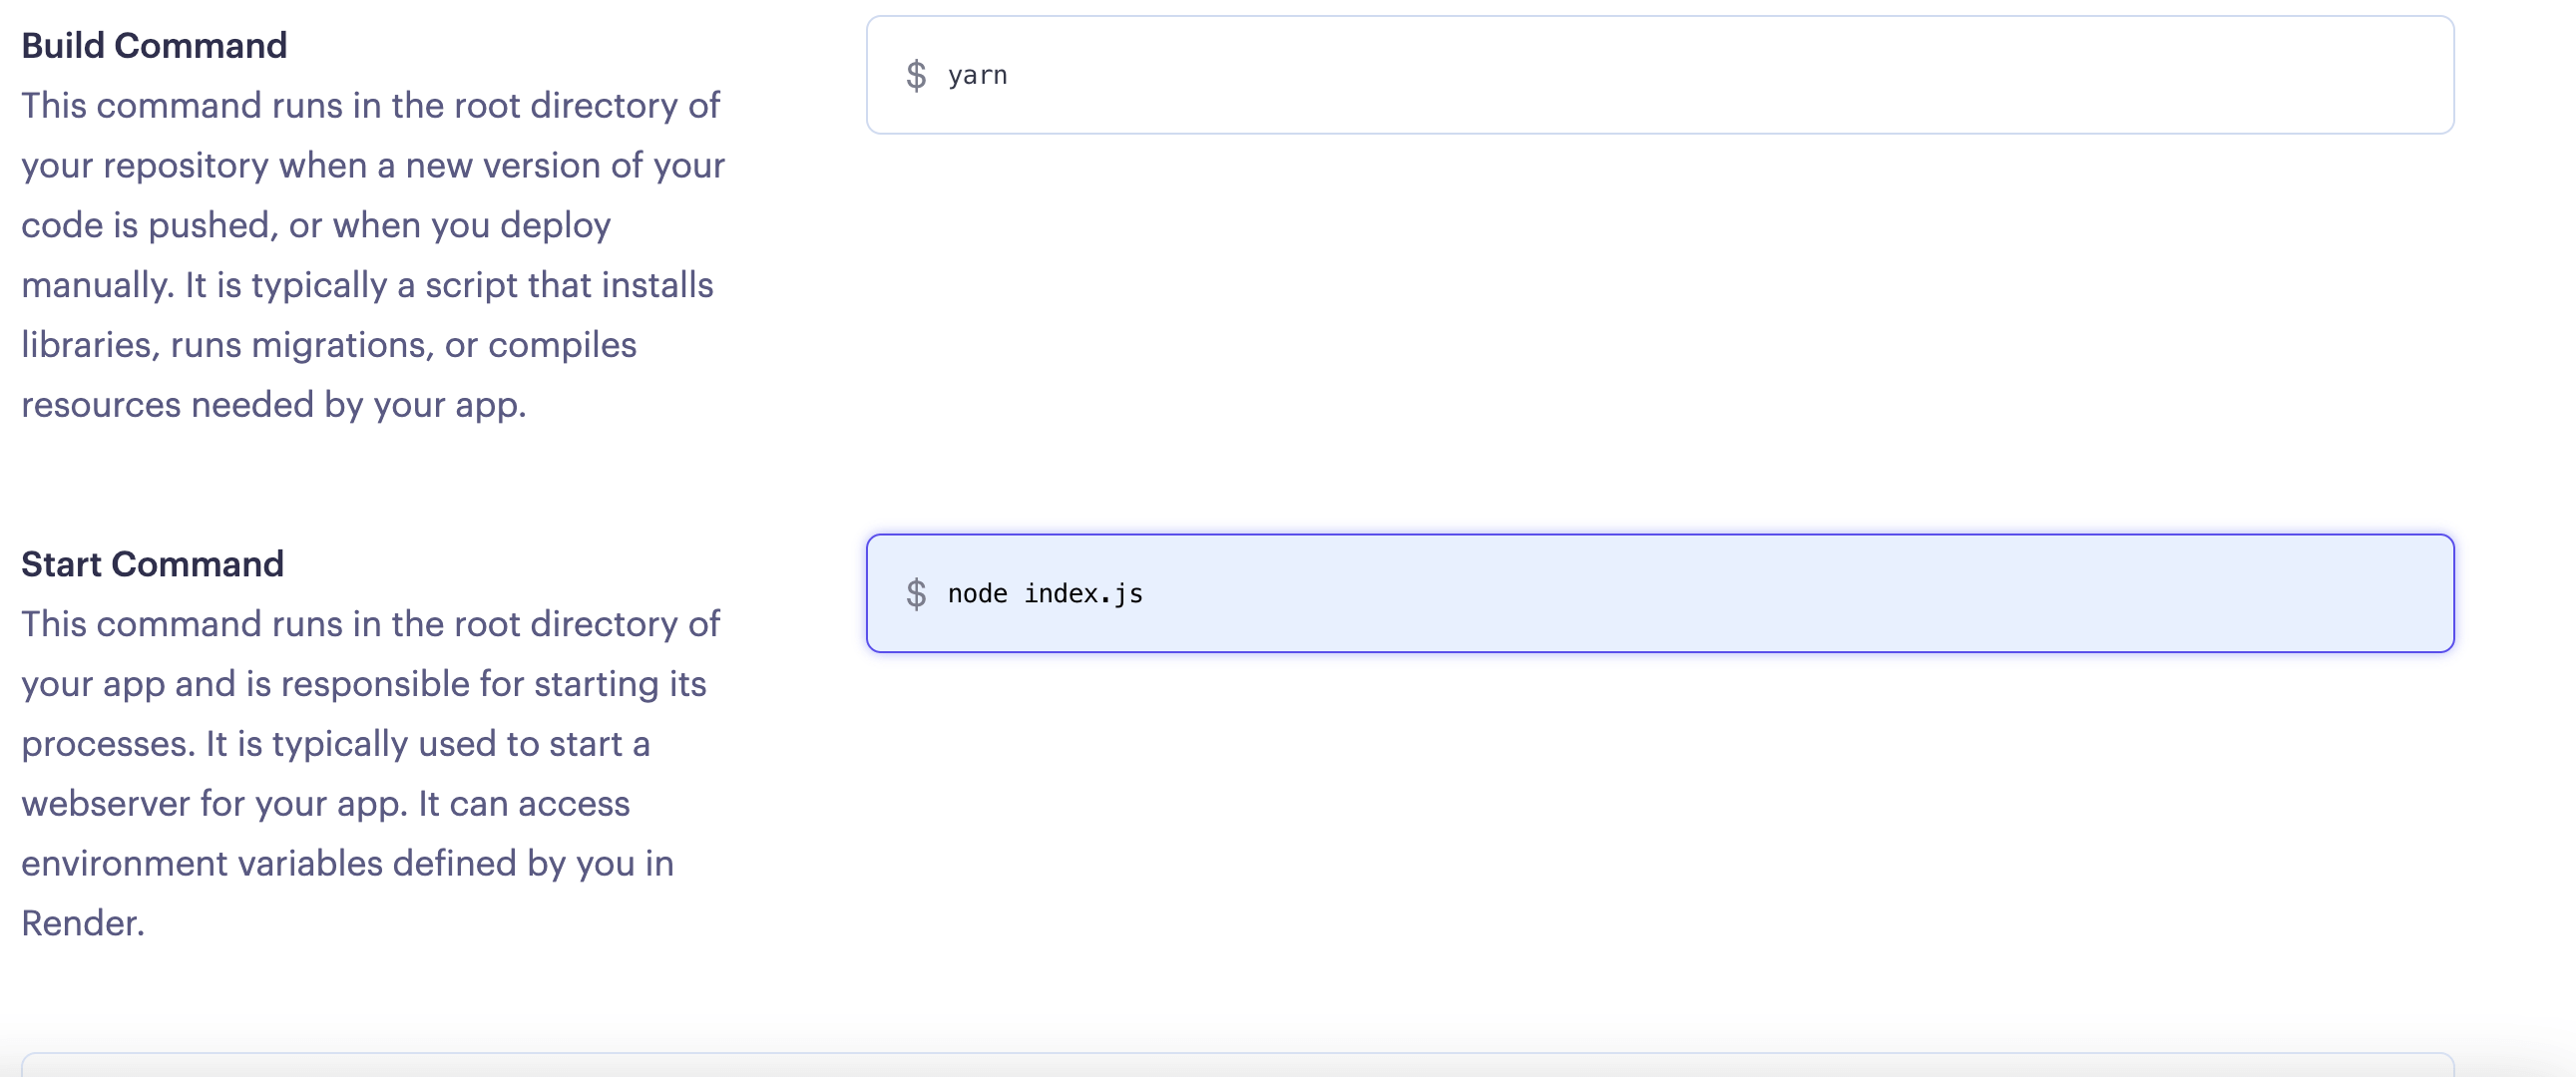
如果你的入口文件是 index.js,在Start Command中填寫node index.js。
如果你的入口是 server.js,在Start Command中填寫node server.js
再向下滑動頁面會看到Advanced按鈕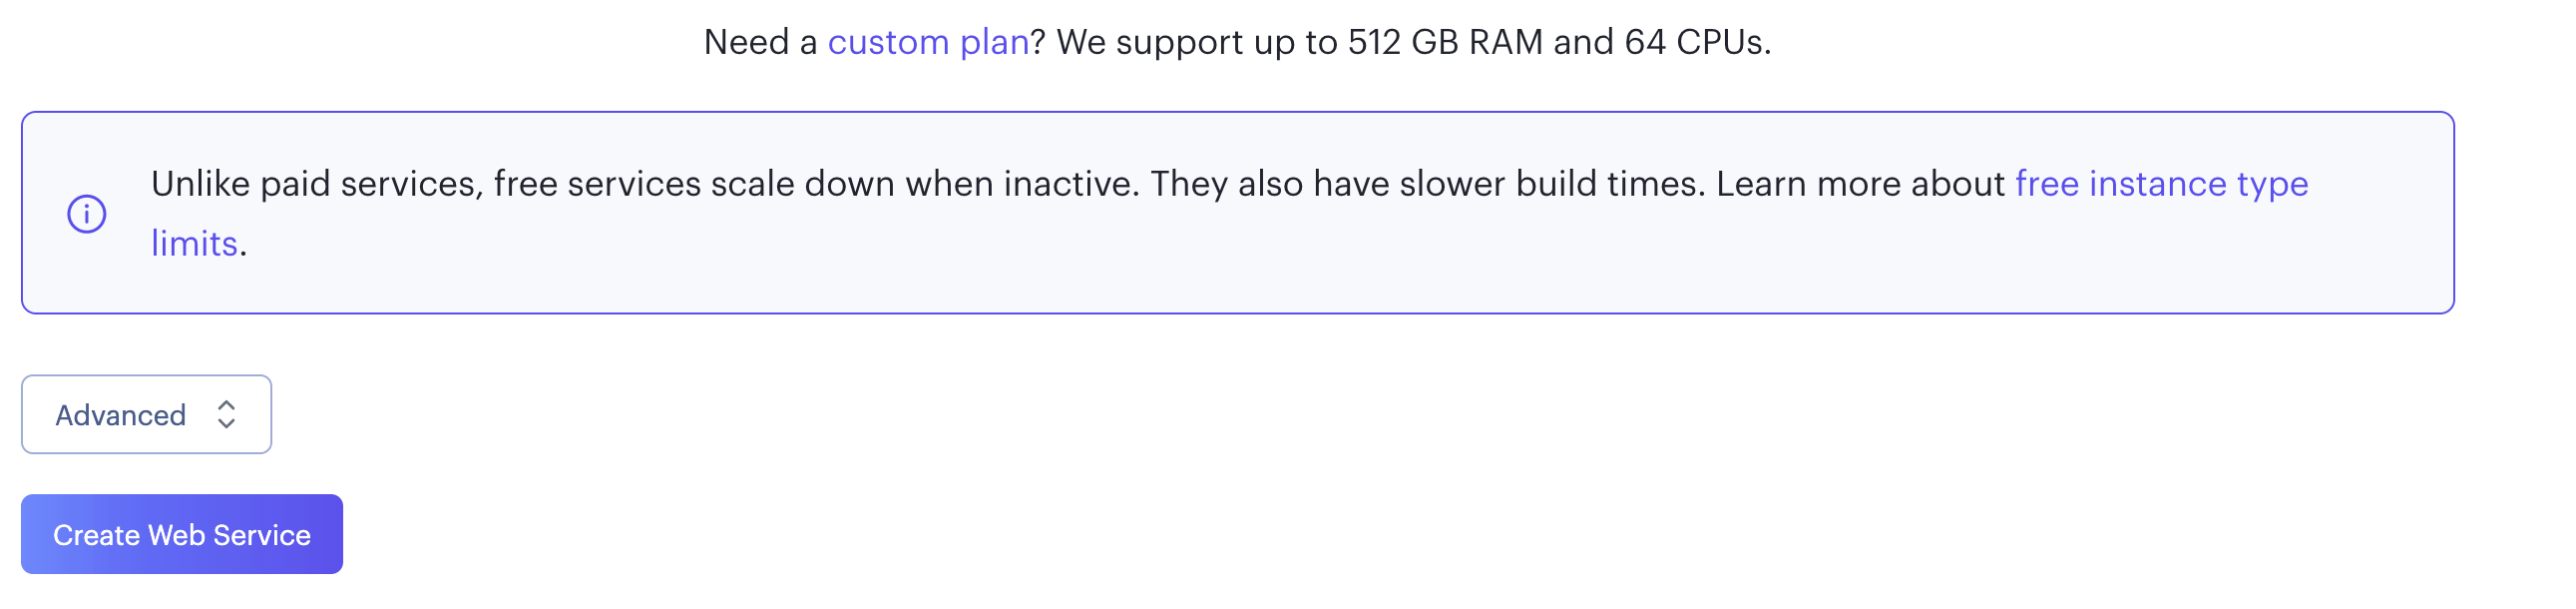
如果你的應用使用了環境變量,你可以在Advanced設置中輸入。也可以在這裡添加 .env文件,這樣就不用你手動一個一個地添加。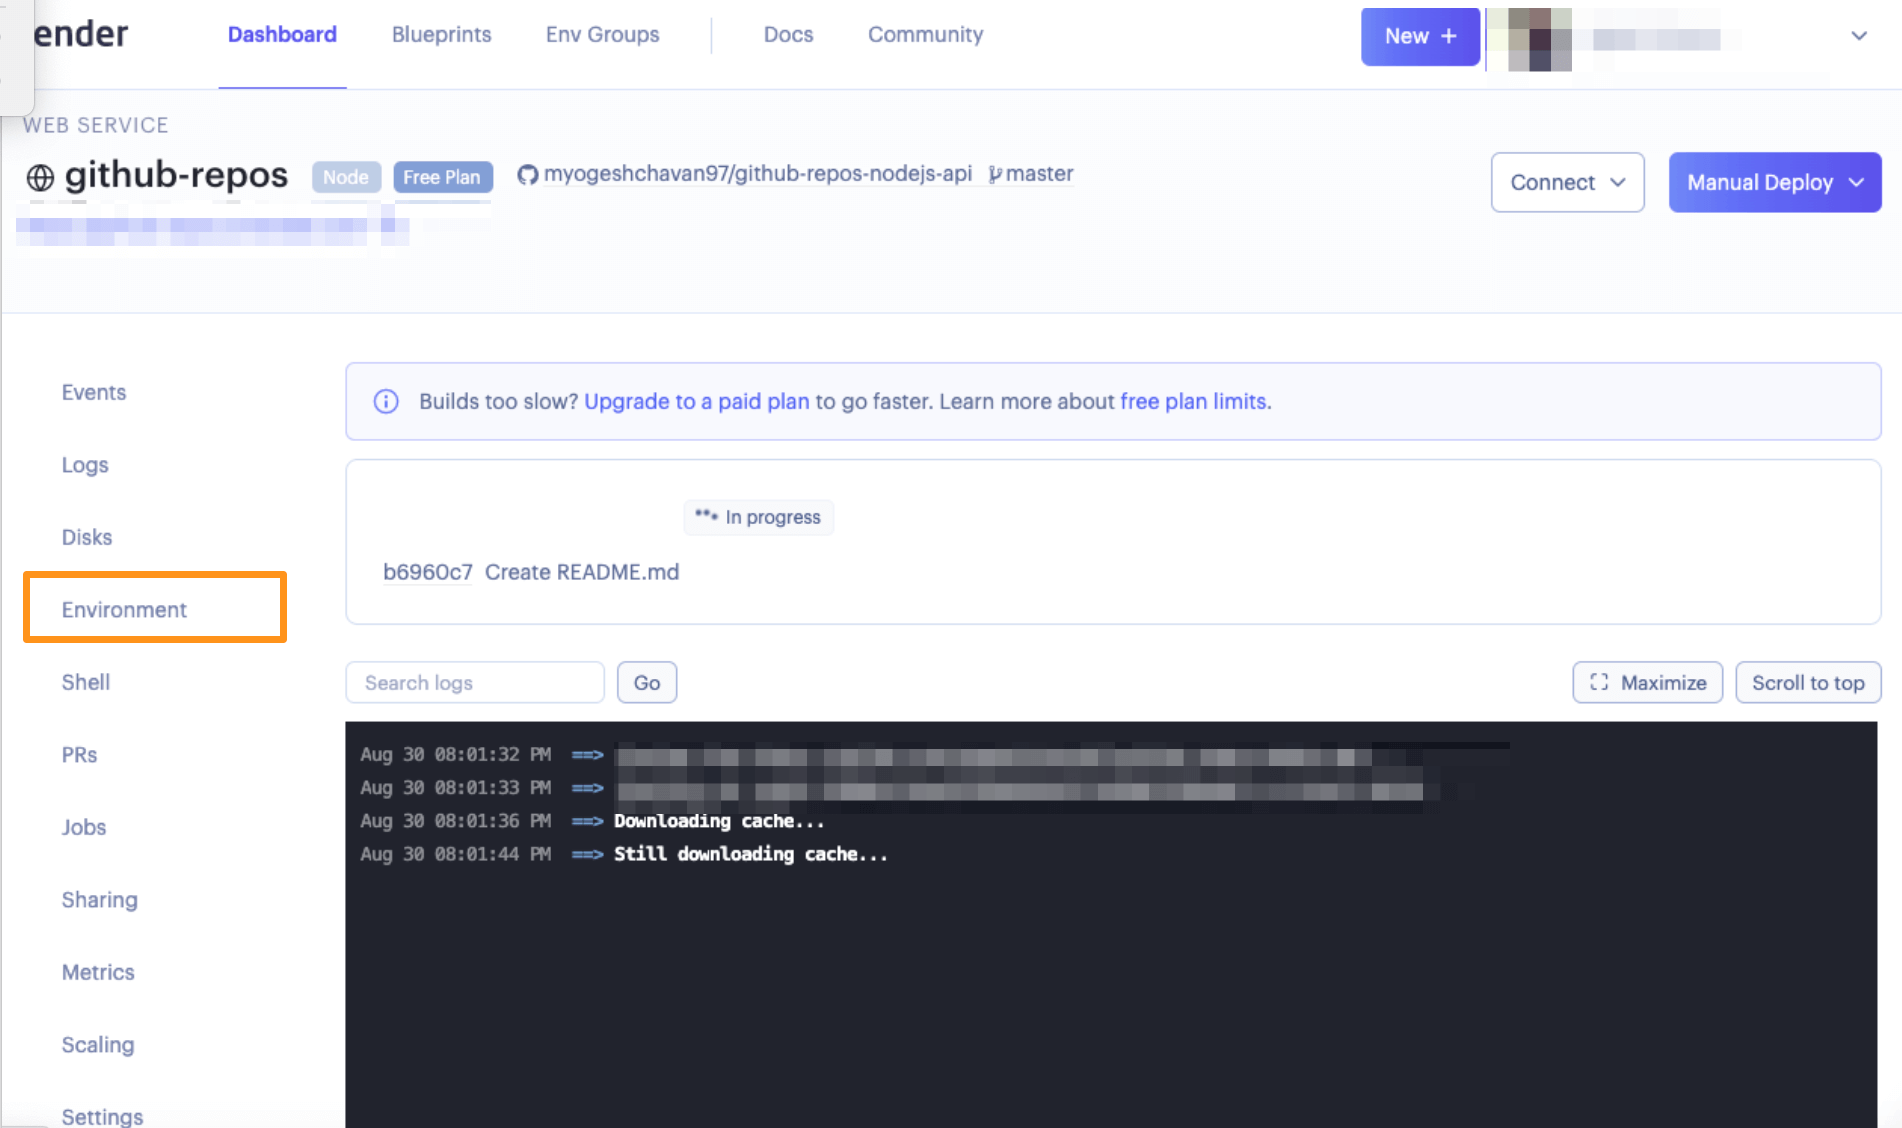
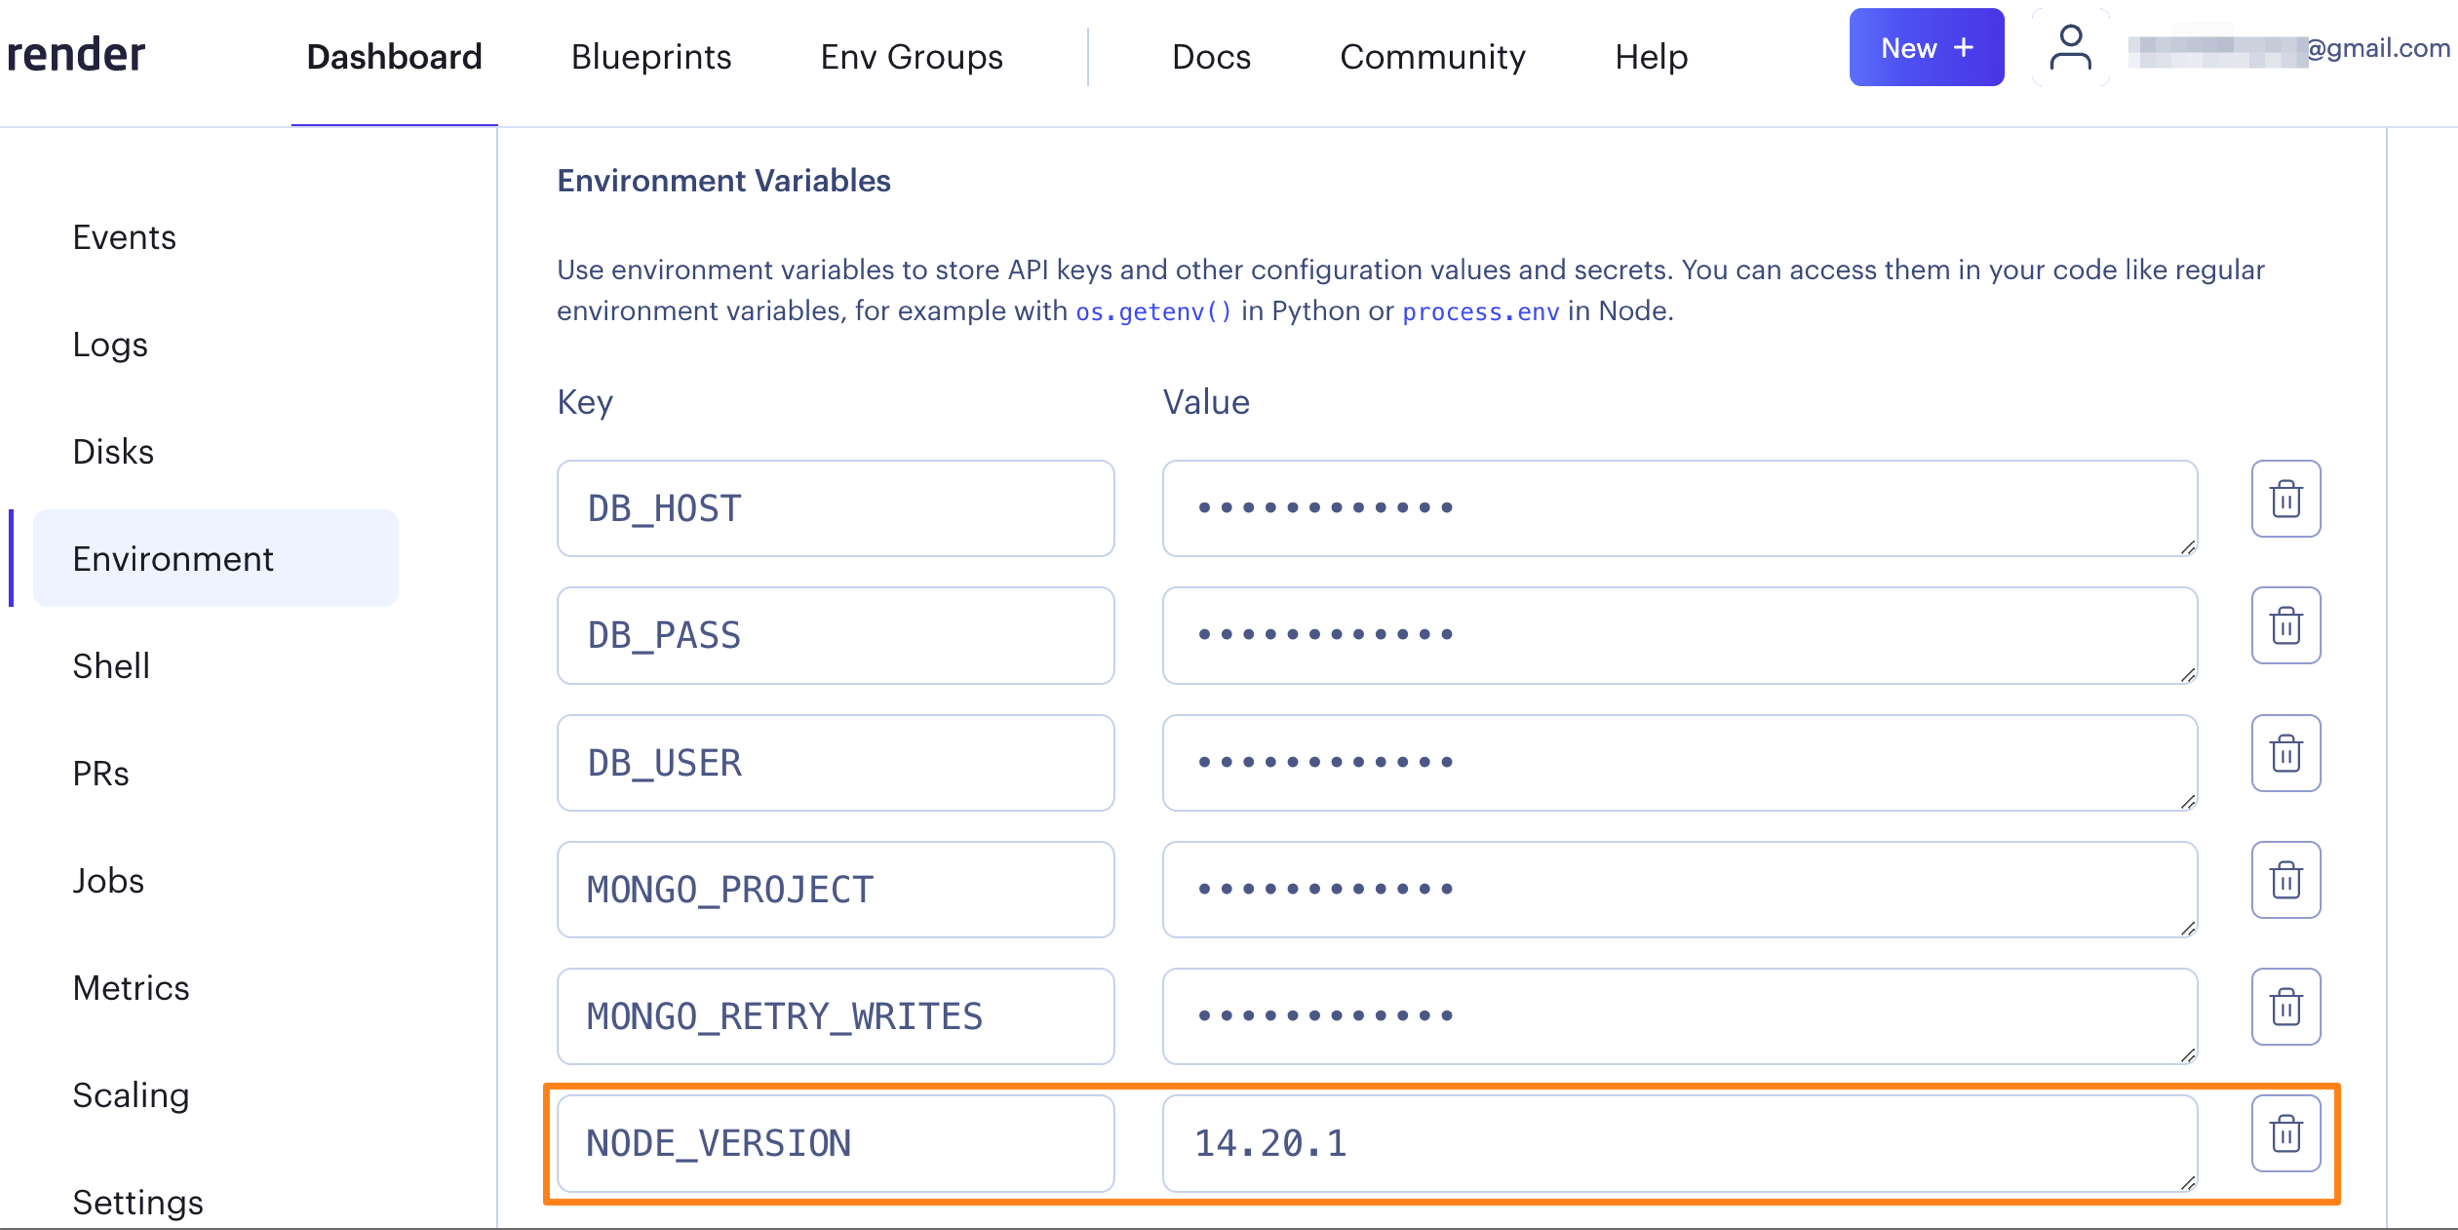
處理Bug
環境變數內新增
NODE_VERSION 14.20.1