1
2
3
4
5
6
7
8
9
10
11
12
13
14
15
16
17
18
19
20
21
22
23
24
25
26
27
28
29
30
31
32
33
34
35
36
37
38
39
40
41
42
43
44
45
46
47
48
49
50
51
52
53
54
55
56
57
58
59
60
61
62
63
64
65
66
67
68
69
70
71
72
73
74
75
76
77
78
79
80
81
82
83
84
85
86
87
88
89
90
91
92
93
94
95
96
97
98
99
100
101
102
103
104
105
106
107
108
109
110
111
112
113
114
115
116
117
118
119
120
121
122
123
124
125
126
127
128
129
130
131
132
133
134
135
136
137
138
139
140
141
142
143
144
145
146
147
148
149
150
151
152
153
154
155
156
157
158
159
160
161
162
163
164
165
166
167
168
169
170
171
172
173
174
175
176
177
178
179
180
181
182
183
184
185
186
187
188
189
| <template>
<GoogleMap class="map"
:api-key="googleMapKey"
:drawingManagerOptions="{ isSingle: true }"
:zoom="25"
width="100%"
height="100vh"
:options='{ fullscreenControl: false, mapTypeControl: false }'
language="zh-Tw"
:current-address="{
geometry: {
location: { lat: lat, lng: lng }
},
formatted_address: addresss
}"
/>
</template>
<script setup lang="ts">
import { ref, onMounted } from 'vue';
import GoogleMap from 'vue-google-maps-ui';
//googleMapKey金鑰寫在環境變數
const googleMapKey = ref<any>(`${import.meta.env.VITE_GOOGLE_MAPS_KEY}`);
const lat = ref<number>(24.1487354);
const lng = ref<number>(120.6544864);
const addresss = ref<string>('');
//算出圓周
const radius = (p: number) => {
console.log('算出圓周',p * Math.PI / 180.0)//2.1058120410500933
return p * Math.PI / 180.0;
}
//計算距離,參數分別爲第一點的緯度,經度;第二點的緯度,經度
const getDistance = (lat1: number, lng1: number, lat2: number, lng2: number) => {
const radLat1 = radius(lat1);
const radLat2 = radius(lat2);
//緯度距離
const a = radLat1 - radLat2;
const b = radius(lng1) - radius(lng2);
let s = 2 * Math.asin(Math.sqrt(Math.pow(Math.sin(a / 2), 2) +
Math.cos(radLat1) * Math.cos(radLat2) * Math.pow(Math.sin(b / 2), 2)));
s = s * 6378.137;// 地球半徑;
s = Math.round(s * 10000) / 10000; //單位為 km
return s;
}
//定位
const position = () => {
if ("geolocation" in navigator) {
try {
setTimeout(() =>{
// 獲取當前位置
navigator.geolocation.getCurrentPosition((position) => {
// 解構方式獲取
const { latitude, longitude } = position.coords;
latNow.value=latitude;
lngNow.value=longitude;
if(setMap.value.length===0){
alert('定位不成功!');
}
else{
// b單位為 km
let dis = getDistance(Number(lat.value) ,Number(lng.value),latitude,longitude);
// 距離公尺
let removing =dis * 100;
// 距離公尺<圓周距離限制
if(removing<distance.value){
showMap.value=true;
}
else{
alert('你不在打卡範圍內,請檢查定位設定並重新登入!')
}
}
})
}, 5000)
}
catch (error: any) {
//success
switch (error.code) {
case error.PERMISSION_DENIED: alert("使用者拒絕了地理定位請求。");
break;
case error.POSITION_UNAVAILABLE: alert("位置資訊不可用。");
break;
case error.TIMEOUT: alert("取得用戶位置的請求逾時。");
break;
case error.UNKNOWN_ERROR: alert("出現未知錯誤。");
break;
}
}
} else {
alert("Sorry, 你的裝置不支援地理位置功能。")
/* geolocation IS NOT available */
}
interface checkSetingListType {
_id:string,
mode:number,//模式
name:string,//地點
url:string,//地圖
flexibleTime:string,//彈性上班
flexibleHour:string,//工時
distance:number,//圓周
lat:string,//經度
lng:string,//緯度
personGroup:Object,//群組
buildDate:number,
updataDate:number,
}
const checkSetingList=ref<checkSetingListType[]>([]);
const flexibleTime=ref<number | any >(null);
const setMap=ref<string>('');
const office=ref<string>('');
const flexibleHour =ref<string>('');
// 獲得出勤設定
const getSetMode = async() =>{
try {
const api=`${import.meta.env.VITE_API_URL}/auth/setCheckModes`;
const res = await axios.get(api, { headers });
if (res.status === 200) {
setTimeout(() =>{
checkSetingList.value=res.data.filter((element:any)=>{
if(element.name==='台中大墩11街'){
return element
}else if (element.name!='台中大墩11街'){
return element
}
})
console.log('台中辦公室',checkSetingList.value);
lat.value=checkSetingList.value[0].lat;
lng.value=checkSetingList.value[0].lng;
flexibleTime.value=checkSetingList.value[0].flexibleTime;
setMap.value=checkSetingList.value[0].url;
console.log(setMap.value)
distance.value=checkSetingList.value[0].distance;
office.value=checkSetingList.value[0].name;
flexibleHour.value=checkSetingList.value[0].flexibleHour;
// 將彈性時間改為時間搓
formatFlexibleTime(flexibleTime.value);
}, 3000)
position()
}
}
catch(err){
console.log('err',err)
}
}
const changeFlexibleTime =ref<any>('');
const timeStamp=ref<any>(null);
const endTimeStamp=ref<any>(null);//下班的時間搓
// 將彈性時間改為時間搓 塞入timeStamp 1.獲取flexibleTime
const formatFlexibleTime =(flexibleTime:any) =>{
let now = new Date();
// 原生時間表單表單type 取得的 time 為 '10:00'
const hourMinute = flexibleTime;
//split() 方法可以用來根據你指定的分隔符號,將字串切割成一個字串陣列。
var [hour, minute] = hourMinute.split(':');
// 設定日期的小時、分鐘、秒和毫秒
now.setHours(hour) ;//setHours()方法依據本地時間來設定日期物件中的小時
now.setMinutes(minute);//setMinutes()方法依據本地時間來設定日期物件中的分鐘
now.setSeconds(0);//setMinutes()方法用於設定日期物件的秒字段
now.setMilliseconds(0);//方法用於指定時間的毫秒字段
changeFlexibleTime.value = now;
// console.log('changeFlexibleTime',changeFlexibleTime.value);
// Sat Apr 20 2024 10:00:00 GMT+0800 (台北標準時間);
const changeFormat =dayjs(changeFlexibleTime.value).format('YYYY-MM-DD HH:mm:ss');
console.log('changeFormat',changeFormat);
timeStamp.value=now.getTime()//
console.log('timeStamp.value',timeStamp.value);
//算出下班時間
if(changeFormat!=''){
const endTmeFormat =dayjs(changeFormat).add(Number(flexibleHour.value), 'hours').format('YYYY-MM-DD HH:mm:ss');
console.log('下班時間',endTmeFormat);
const endTime=dayjs(endTmeFormat,'YYYY-MM-DD HH:mm:ss');
// console.log('endTime',endTime);
endTimeStamp.value=endTime.valueOf();
console.log('endTimeStamp.value',endTimeStamp.value);
}
// console.log('changeFormat',changeFormat);
const time = dayjs(changeFormat,'YYYY-MM-DD HH:mm:ss');
//**valueOf() 方法傳回字串的原始值。
timeStamp.value=time.valueOf();
//console.log('timeStamp.value',timeStamp.value);
}
};
onMounted( () => {
getSetMode(); // 出勤設定
});
|
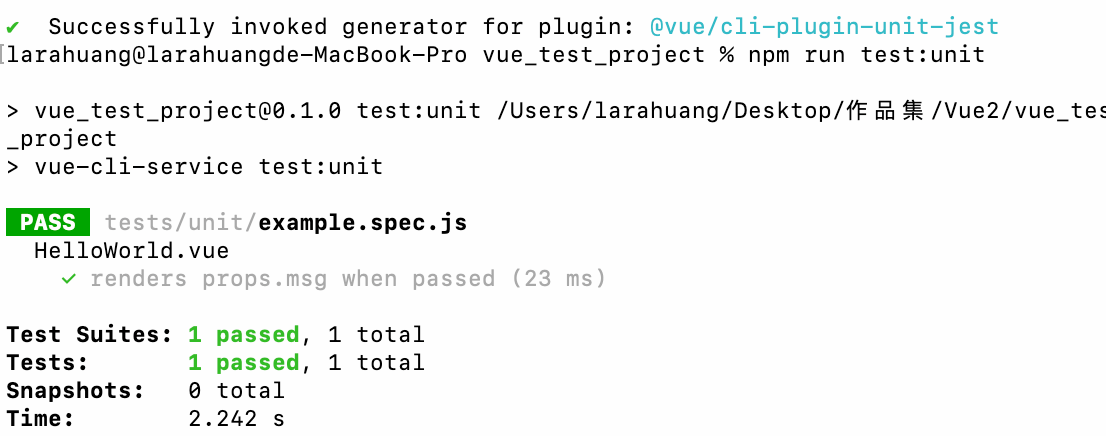
 運行
運行