TOP, LIMIT, ROWNUM 子句 (SQL TOP, LIMIT, ROWNUM Clause)
TOP (SQL Server), LIMIT (MySQL), ROWNUM (Oracle) 這些語法其實都是同樣的功能,都是用來限制您的 SQL 查詢語句最多只影響幾筆資料,而不同的語法則只因不同的資料庫實作時採用不同的名稱。
指令
1 | SELECT table_column1, table_column2... |
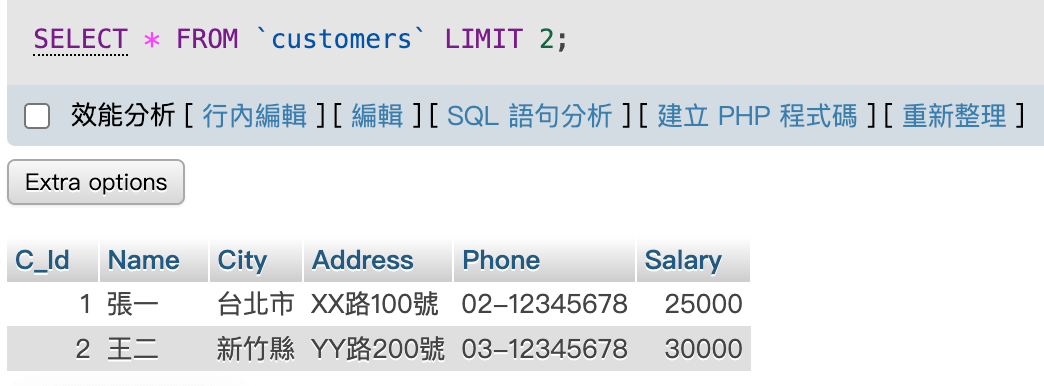
例如:取出前兩筆資料
1 | SELECT * FROM `customers` LIMIT 2; |