安裝react-router Single Page Application,中文又稱單頁式應用程式( SPA)
1 npm install --save react-router-dom@6.4.1
React Router 起手式
HashRouter用於 Web 瀏覽器,因為某些原因不應(或不能)將 URL 發送到服務器。
打開main.jsx檔案
引入 import { HashRouter } from "react-router-dom"
HashRouter 是一個元件概念,接著只需要使用它將整個 < App /> 包起來即可
1 2 3 4 5 6 7 8 9 10 11 12 13 14 import * as React from "react"; import * as ReactDOM from "react-dom"; import { HashRouter } from "react-router-dom"; import App from './App' import './index.css' const root=ReactDOM.createRoot(document.getElementById('root')); root.render( <React.StrictMode> <HashRouter> <App /> </HashRouter> </React.StrictMode> )
以上成功引入了 React Router
React Router 基本使用 使用 Route
path:定義路徑
element:定義對應的元件
1 <Route path="/todolist" element={ <ToDoList/> }>
< Route > 只能包在 < Routes > 底下使用,因此正確來講必須這樣寫才對
1 2 3 4 5 6 7 8 9 10 11 12 13 14 15 16 17 18 import React from 'react' import { HashRouter, Route, Routes } from "react-router-dom"; import ReactDOM from 'react-dom/client' import App from './App' import './index.css' import ToDoList from "./TodoList"; const root=ReactDOM.createRoot(document.getElementById('root')); root.render( <React.StrictMode> <HashRouter> <Routes> <Route path="/" element={ <App /> } /> <Route path="/todolist" element={ <ToDoList /> } /> </Routes> </HashRouter> </React.StrictMode> )
重新 npm run dev
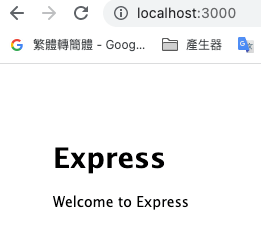
打開http://localhost:3000/#/todolist
巢狀路由 路徑位置App.jsx
載入 import { Link } from "react-router-dom"Link to="/"
App=>載入
1 2 3 4 5 6 7 8 9 10 11 12 13 14 15 16 17 18 19 20 21 22 23 24 25 26 import { Outlet, Link } from 'react-router-dom'; const App = () => { return ( <> <nav className="px-5 flex items-center h-[60px] bg-indigo-500 text-white"> <h1 className="mr-auto text-2xl">React TodoList</h1> <ul className="flex"> <li className="mr-3"> <Link to="/" className="border p-3 hover:bg-indigo-600 duration-500">Home</Link> </li> <li className="mr-3"> <Link to="/todolist" className="border p-3 hover:bg-indigo-600 duration-500">ToDoList</Link> </li> <li className="mr-3"> <Link to="/admin" className="border p-3 hover:bg-indigo-600 duration-500">Admin</Link> </li> </ul> </nav> <h1>App</h1> <Outlet /> </> ) } export default App;
路徑內容main.jsx
1 2 3 4 5 6 7 8 9 10 11 12 13 14 15 16 17 18 19 20 21 22 23 24 25 import React from 'react' import ReactDOM from 'react-dom/client' import { HashRouter, Route, Routes } from "react-router-dom"; import App from './App' import './index.css' import ToDoList from "./views/ToDoList"; import Admin from "./views/Admin"; import AdminProducts from './views/AdminProducts'; const root = ReactDOM.createRoot(document.getElementById('root')); root.render( <React.StrictMode> <HashRouter> <Routes> <Route path="/" element={<App />} > <Route path="todolist" element={ <ToDoList /> } /> </Route> <Route path="/admin" element={ <Admin /> } > <Route path="products" element={<AdminProducts /> } /> </Route> </Routes> </HashRouter> </React.StrictMode> )
Admin =>載入
1 2 3 4 5 6 7 8 9 10 11 12 13 14 15 16 17 18 19 20 21 22 23 import { Outlet, Link } from 'react-router-dom'; const Admin = () => { return ( <> <nav className="px-5 flex items-center h-[60px] bg-indigo-500 text-white"> <h1 className="mr-auto text-2xl">React TodoList</h1> <ul className="flex"> <li className="mr-3"> <Link to="/admin" className="border p-3 hover:bg-indigo-600 duration-500">Admin</Link> </li> <li className="mr-3"> <Link to="/admin/products" className="border p-3 hover:bg-indigo-600 duration-500">AdminProducts</Link> </li> </ul> </nav> <h1>Admin</h1> <Outlet /> </> ) } export default Admin;
NavLink 切換頁面的方式 檔案App.jsx,將 Link 通通改成 NavLink
<NavLink to=”/“ className={({ isActive }) =>
1 2 3 4 5 6 7 8 9 10 11 12 13 14 15 16 17 18 19 20 21 22 23 24 25 26 27 28 29 30 31 32 33 import { Outlet, Link ,NavLink} from 'react-router-dom'; const App = () => { return ( <> <nav className="px-5 flex items-center h-[60px] bg-indigo-500 text-white"> <h1 className="mr-auto text-2xl">React TodoList</h1> <ul className="flex"> <li className="mr-3"> <NavLink to="/" className={({ isActive }) => [ 'border p-3 hover:bg-indigo-600 duration-500', isActive ? 'router-link-active' : null ].join(' ') }>Home</NavLink> </li> <li className="mr-3"> <Link to="/todolist" className="border p-3 hover:bg-indigo-600 duration-500">ToDoList</Link> </li> <li className="mr-3"> <Link to="/admin" className="border p-3 hover:bg-indigo-600 duration-500">Admin</Link> </li> </ul> </nav> <h1>App</h1> <Outlet /> </> ) } export default App;
檔案index.css新增以下 1 2 3 .router-link-active { @apply bg-indigo-800; }
React Router - Hook //載入
useLocation: 載入useParams: 載入useNavigate: 載入useRoutes: 載入
useLocation 在App.jsx內舉例
1 2 3 4 5 6 7 8 9 10 11 12 13 14 15 16 17 18 19 20 21 22 //載入 import { useEffect } from "react"; import { useLocation } from "react-router"; const App = () => { const { hash, key, pathname, search, state } = useLocation(); useEffect(() => { console.log('hash:', hash); // hash: #products console.log('key:', key); // key: ry5x4mjc console.log('pathname:', pathname); // pathname: /products console.log('search:', search); // search: ?q=ray console.log('state:', state); // state: { products: { id: '1', name: 'QQ 產品' } } },[]); return ( <> <div>App</div> </> ) } export default App;
useParams 動態參數 1 2 3 4 5 6 7 8 9 10 11 12 13 14 15 16 17 import { useEffect } from "react"; import { useParams,Navigate } from 'react-router-dom'; const App = () => { const { id } = useParams(); useEffect(() => { console.log('params id:', id); // params id: 123 },[]); return ( <> <div>App</div> </> ) } export default App;
useNavigate 重新導向 1 2 3 4 5 6 7 8 9 10 11 12 13 14 15 16 17 18 19 20 21 22 23 24 25 26 27 28 29 30 31 32 33 34 35 36 import { useEffect } from "react"; import { useNavigate } from 'react-router-dom'; const App = () => { const navigate = useNavigate(); useEffect(() => { console.log('params id:', id); // params id: 123 },[]); return ( <> <h1>Products</h1> <button className="border-1 bg-indigo-500 p-3 text-white" onClick={ () => navigate('/products/123')} > 點我跳轉 </button> <button className="border-1 bg-indigo-500 p-3 text-white" onClick={ () => navigate(-1) } > 前一頁 </button> <button className="border-1 bg-indigo-500 p-3 text-white" onClick={ () => navigate(1) } > 後一頁 </button> <Outlet /> </> ) } export default App;
Lazy Loading:可以將我們的程式碼分割成不同的 chunk,然後在你需要或請求的時候才去載入相對應檔案 將以上改寫,新增routes資料夾index.jsx
載入lazy
載入useRoutes
頁面載入與lazy寫法
1 2 3 4 5 6 7 8 9 10 11 12 13 14 15 16 17 18 19 20 21 22 23 24 25 26 27 28 29 30 31 32 33 34 35 36 37 38 //載入lazy import { lazy } from 'react'; //載入useRoutes import { useRoutes } from 'react-router-dom'; //頁面載入,路由懶加載 const App = lazy(() => import('../App')); const ToDoList = lazy(() => import('../views/toDoList')); const Products = lazy(() => import('../views/Products')); const Product = lazy(() => import('../views/Product')); const Admin = lazy(() => import('../views/admin/Admin')); const routes = [ { path: '/', element: <App />, }, { path: '/todoList', element: <ToDoList />, }, { path: "/product/:id", element: <Product />, }, { path: '/admin', element: <Admin />, //巢狀 children: [ { path: 'products', element: <Products />, } ], } ]; export default () => useRoutes(routes);
在views /Product.jsx內
1 2 3 4 5 6 7 8 9 10 11 12 13 14 15 import { useEffect } from "react"; import { useParams } from 'react-router-dom'; const Product = () =>{ const { id } = useParams(); useEffect(() => { console.log('params id:', id); },[]); return ( <div> <p className="text-center text-3xl mt-20">The post ID is {id}</p> </div> ) } export default Product
 安裝
安裝


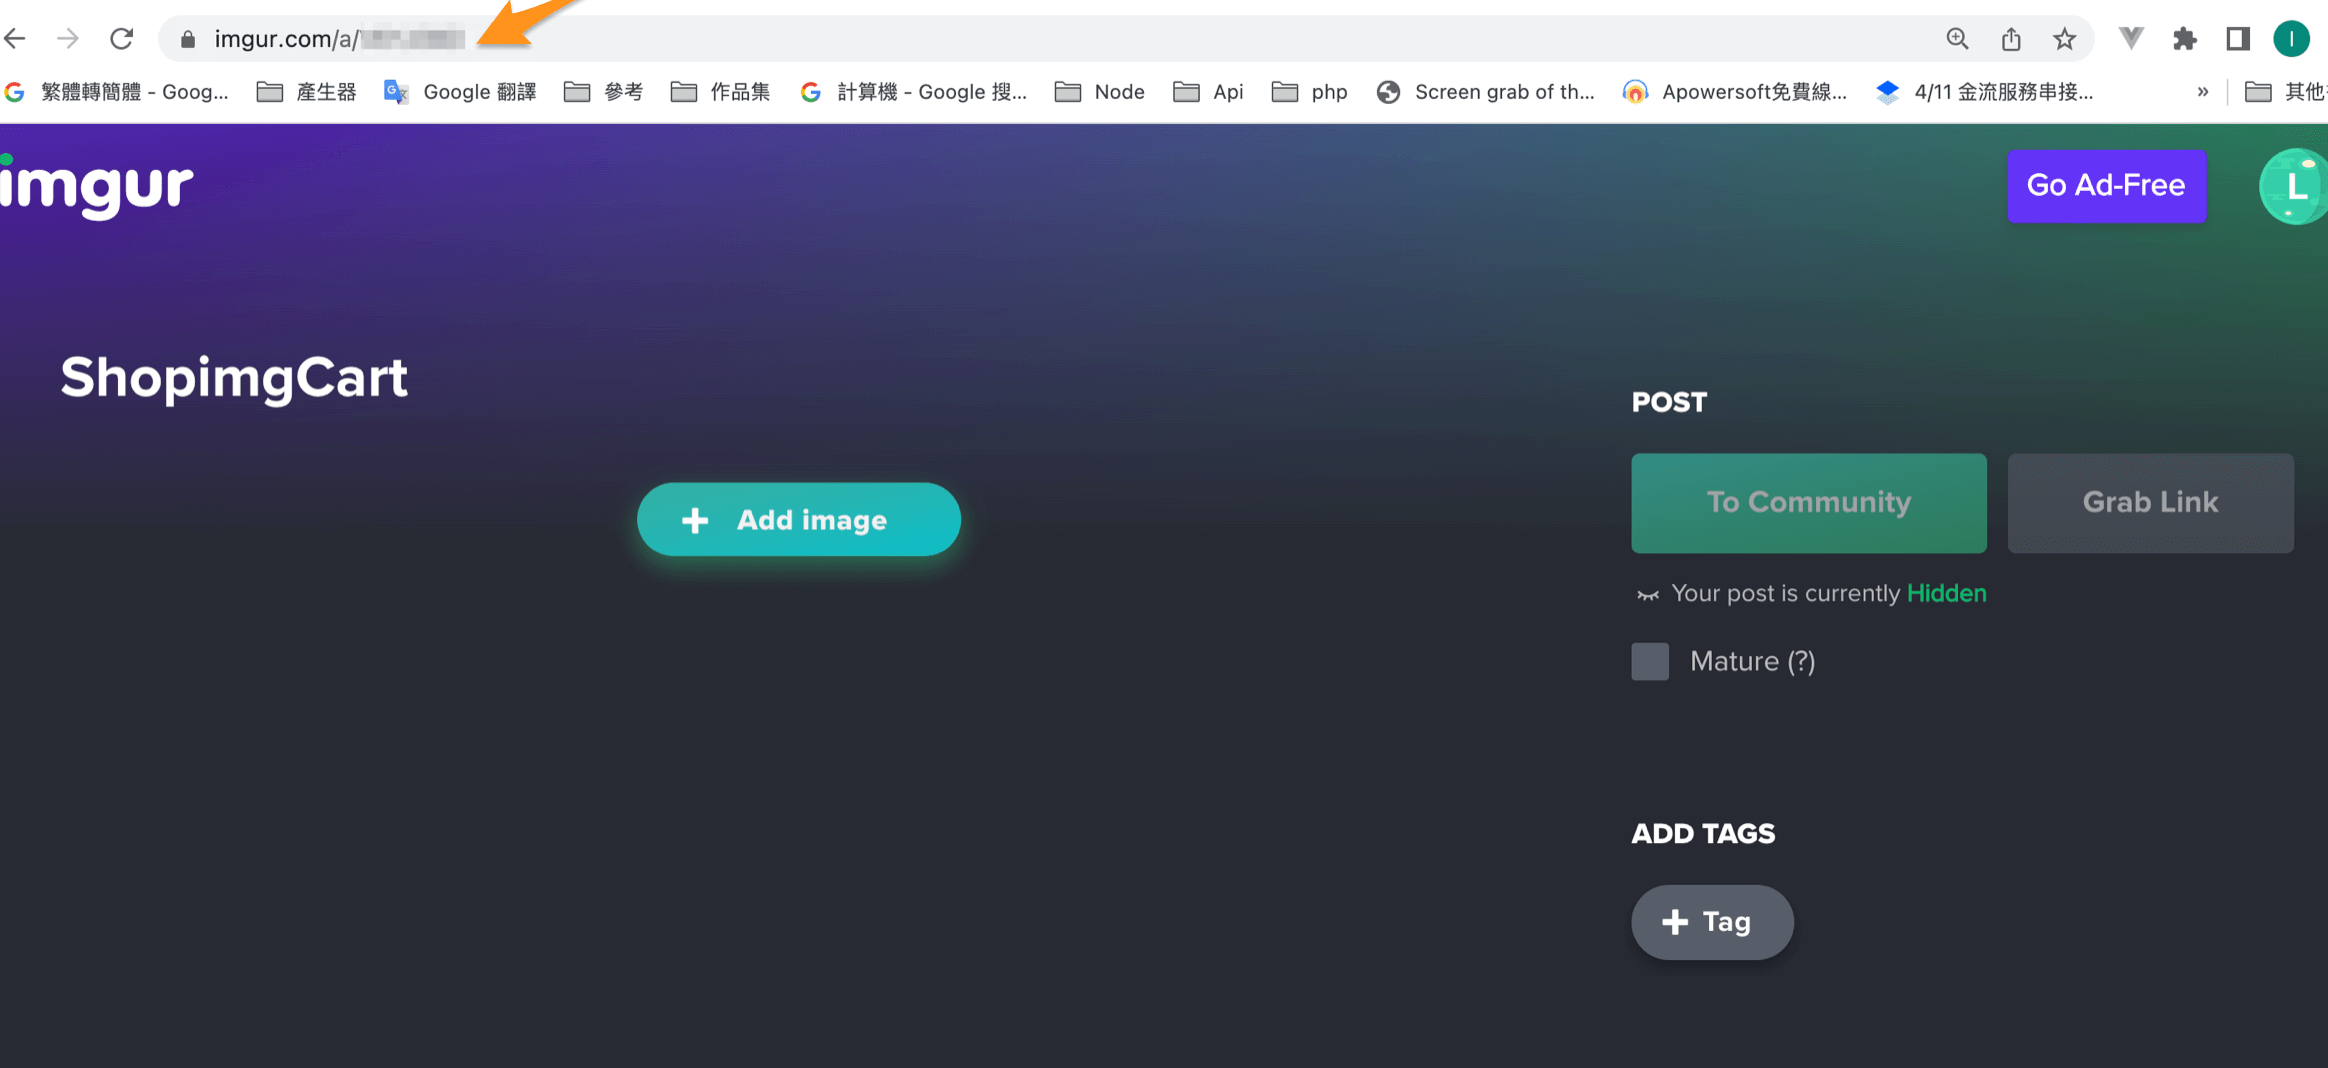
 接下來找到「All images」的下拉選單,裡面會有一個「New Album」
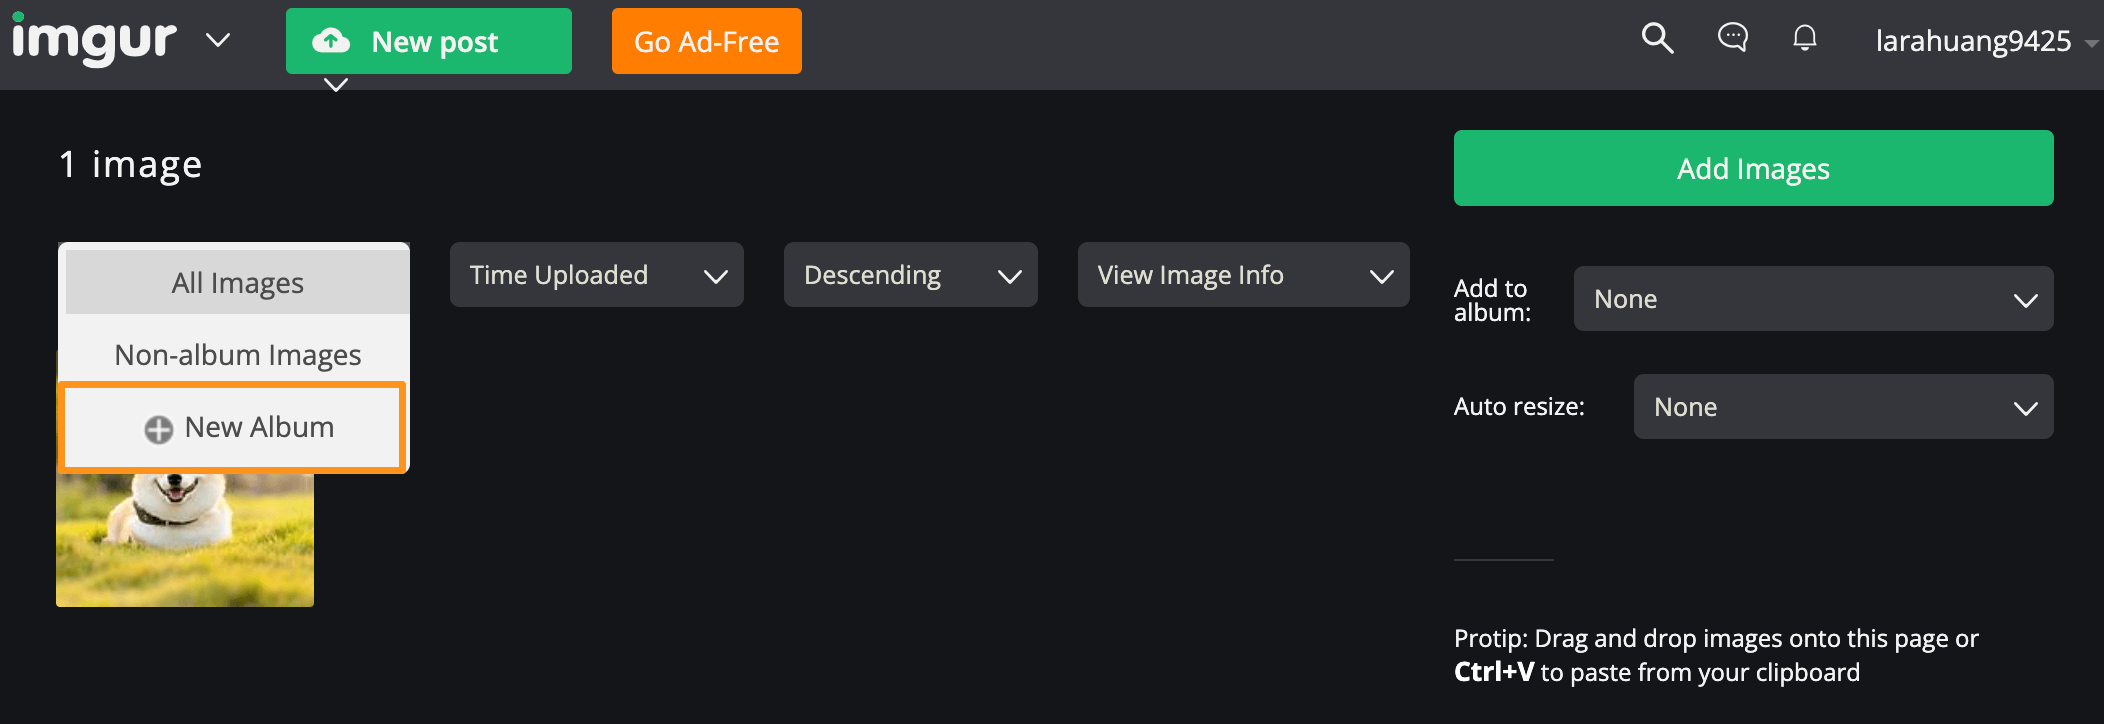
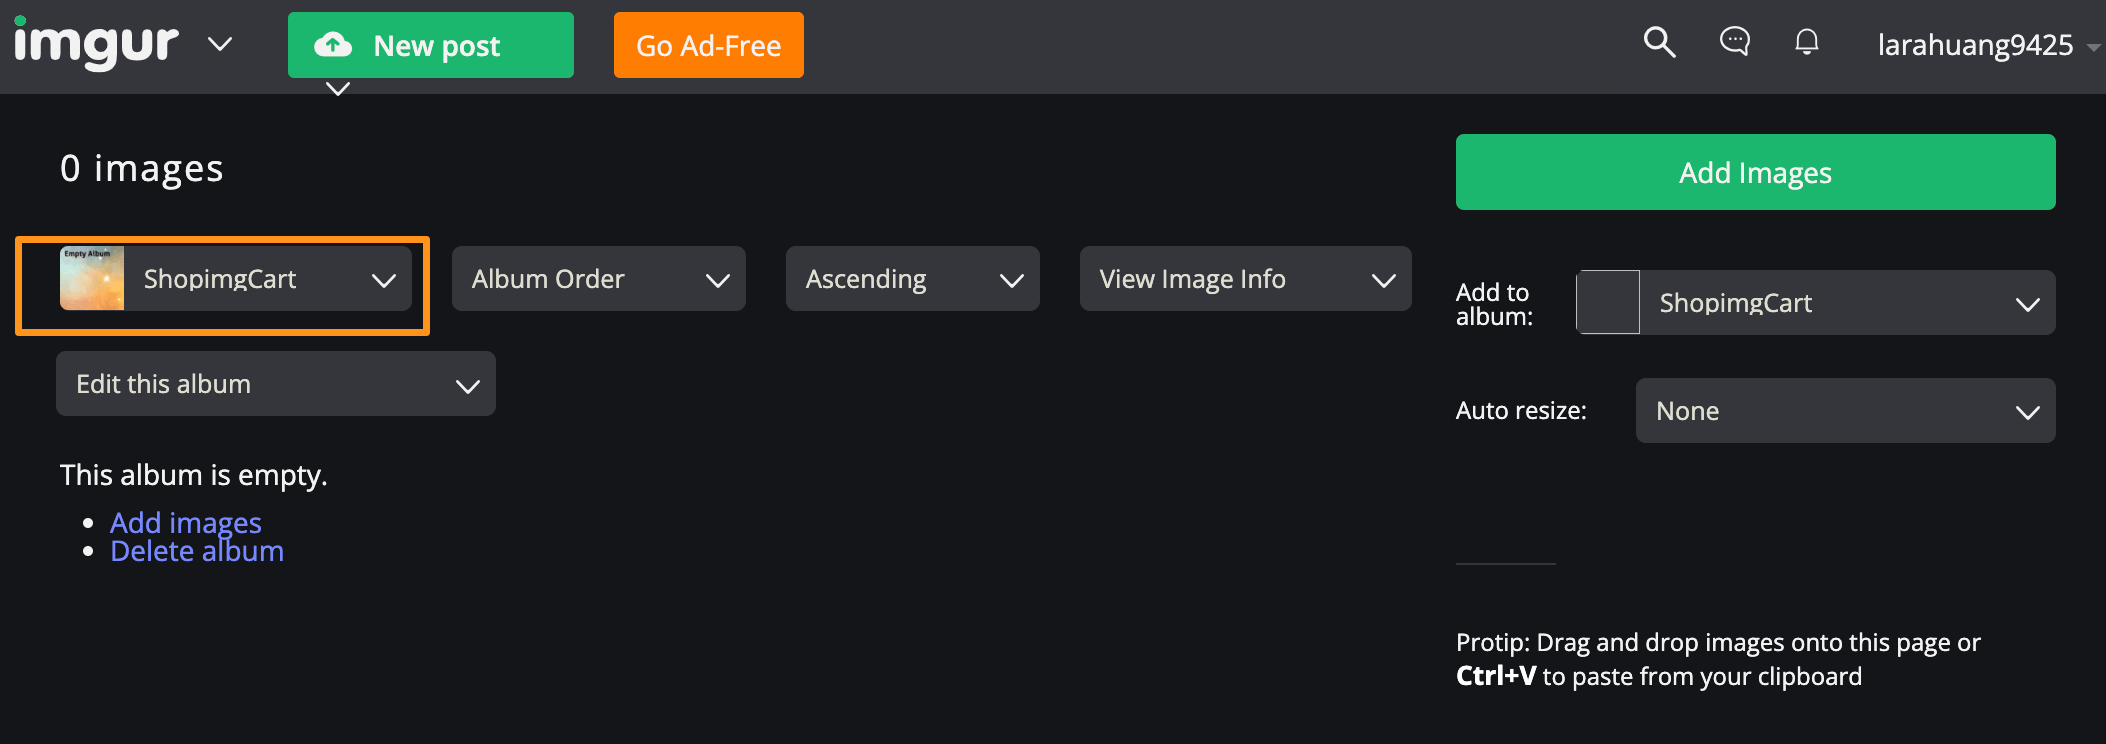 成功建立了一個 Album!
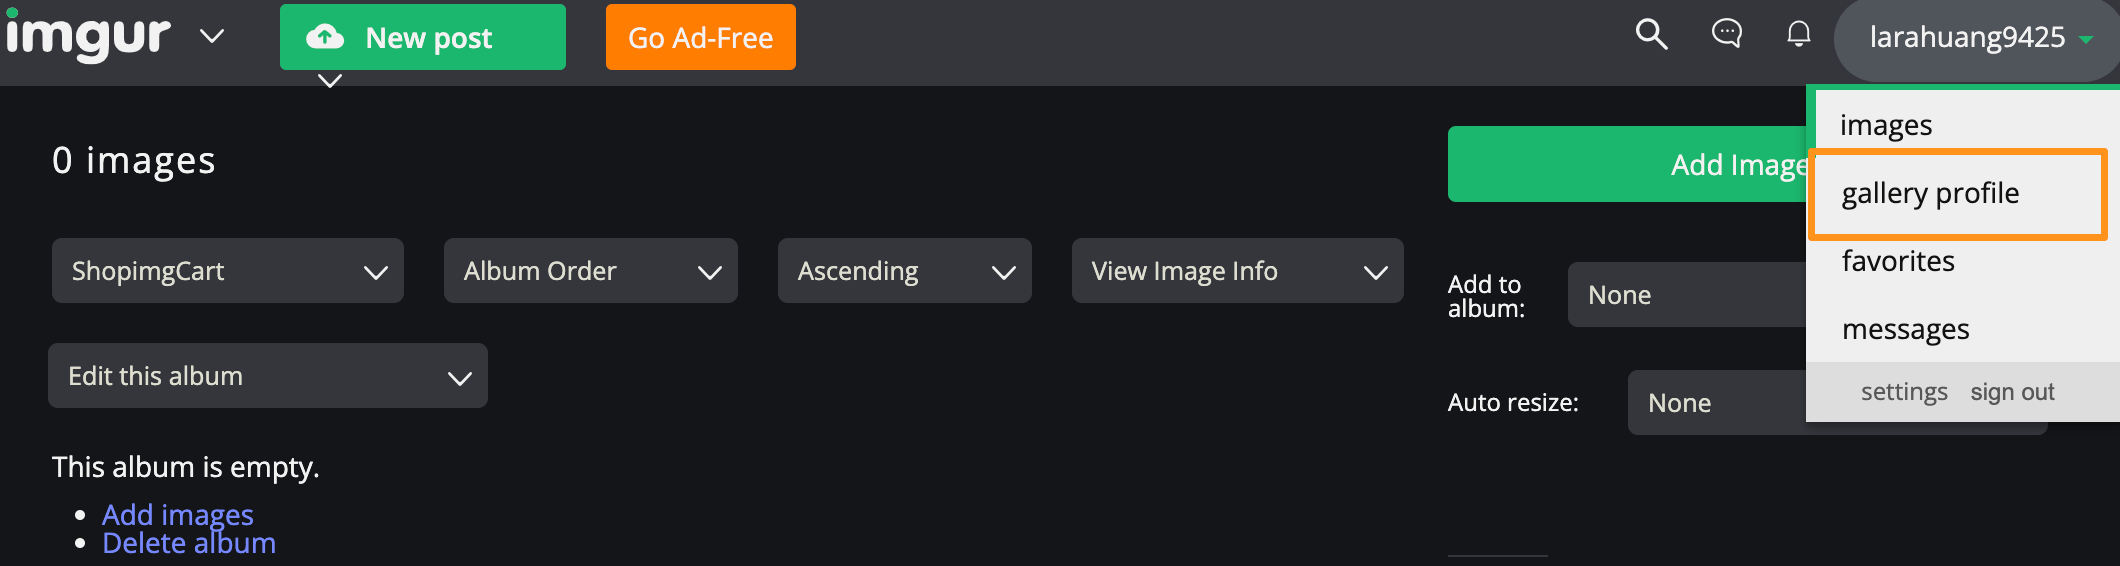
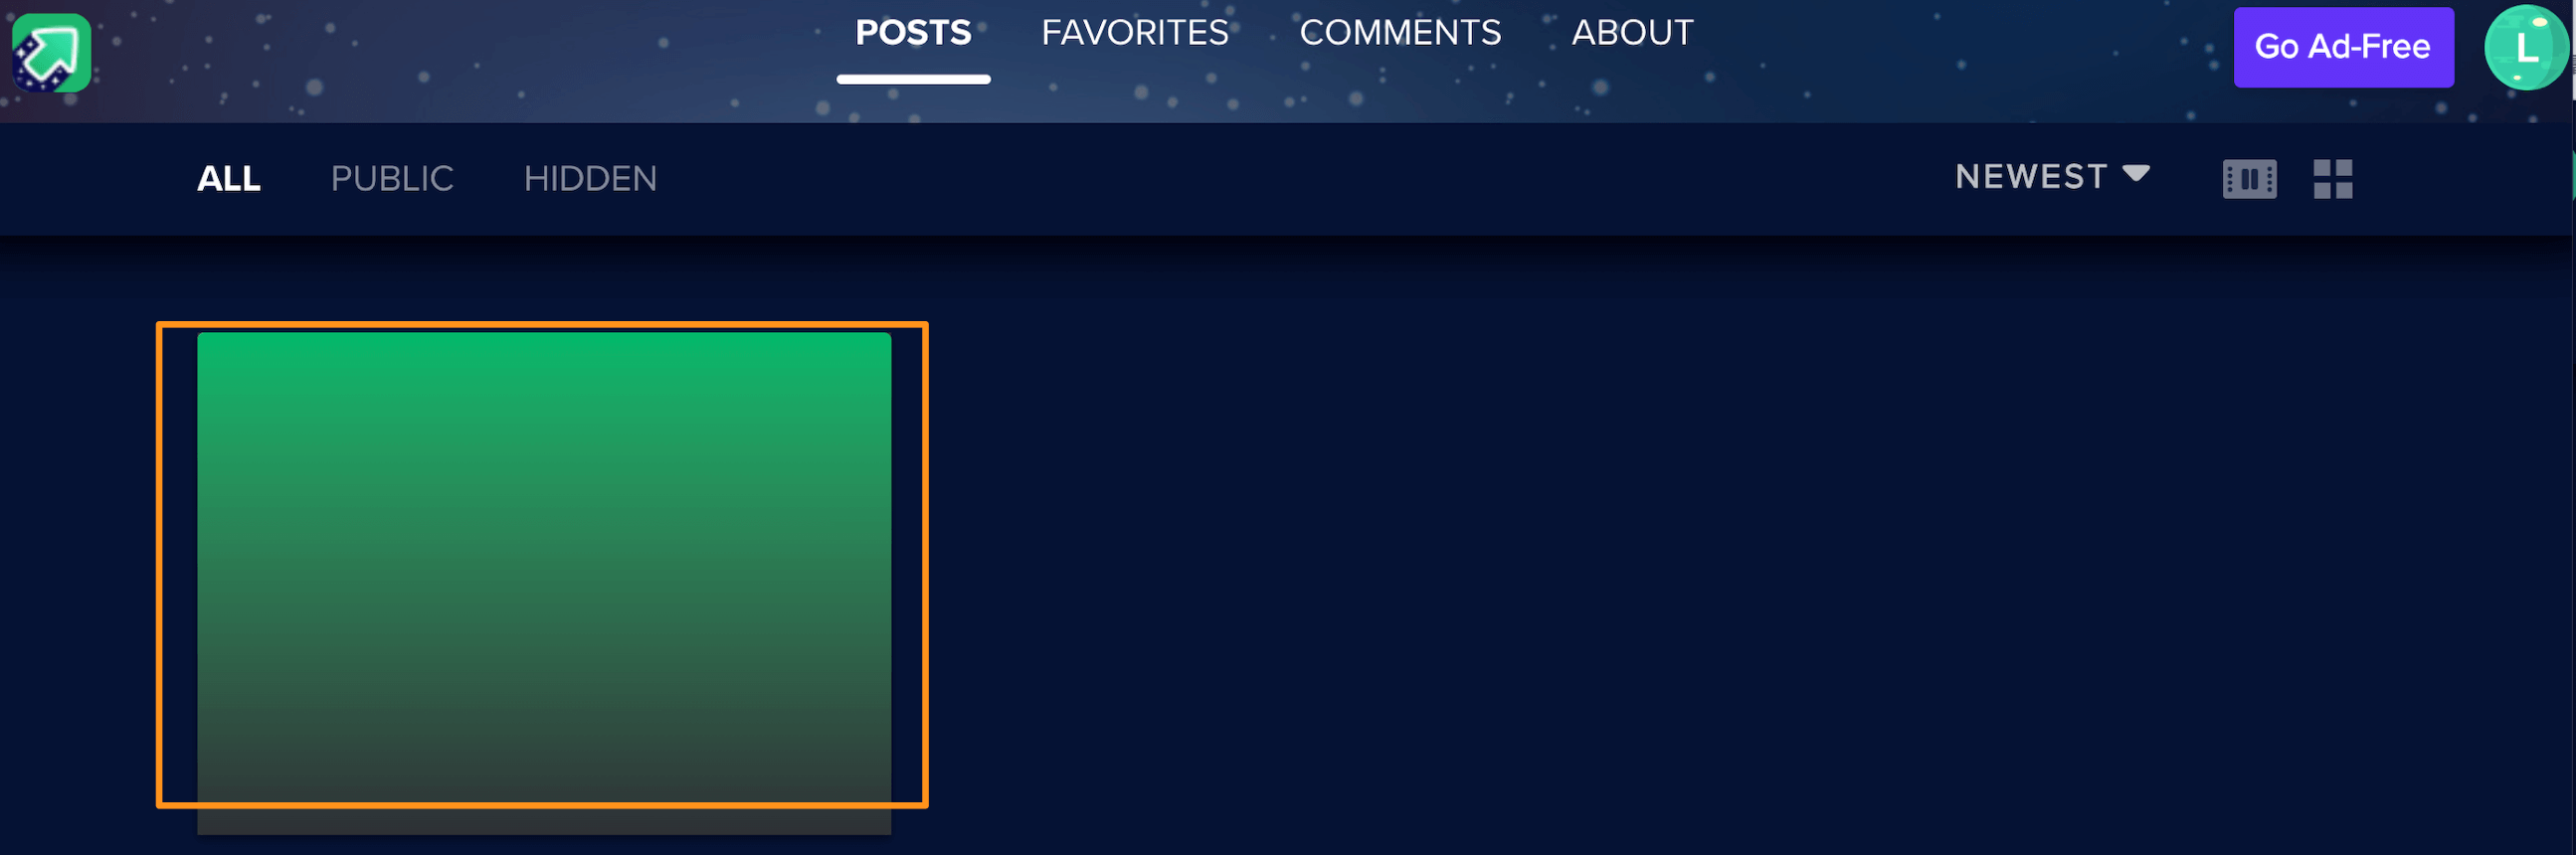
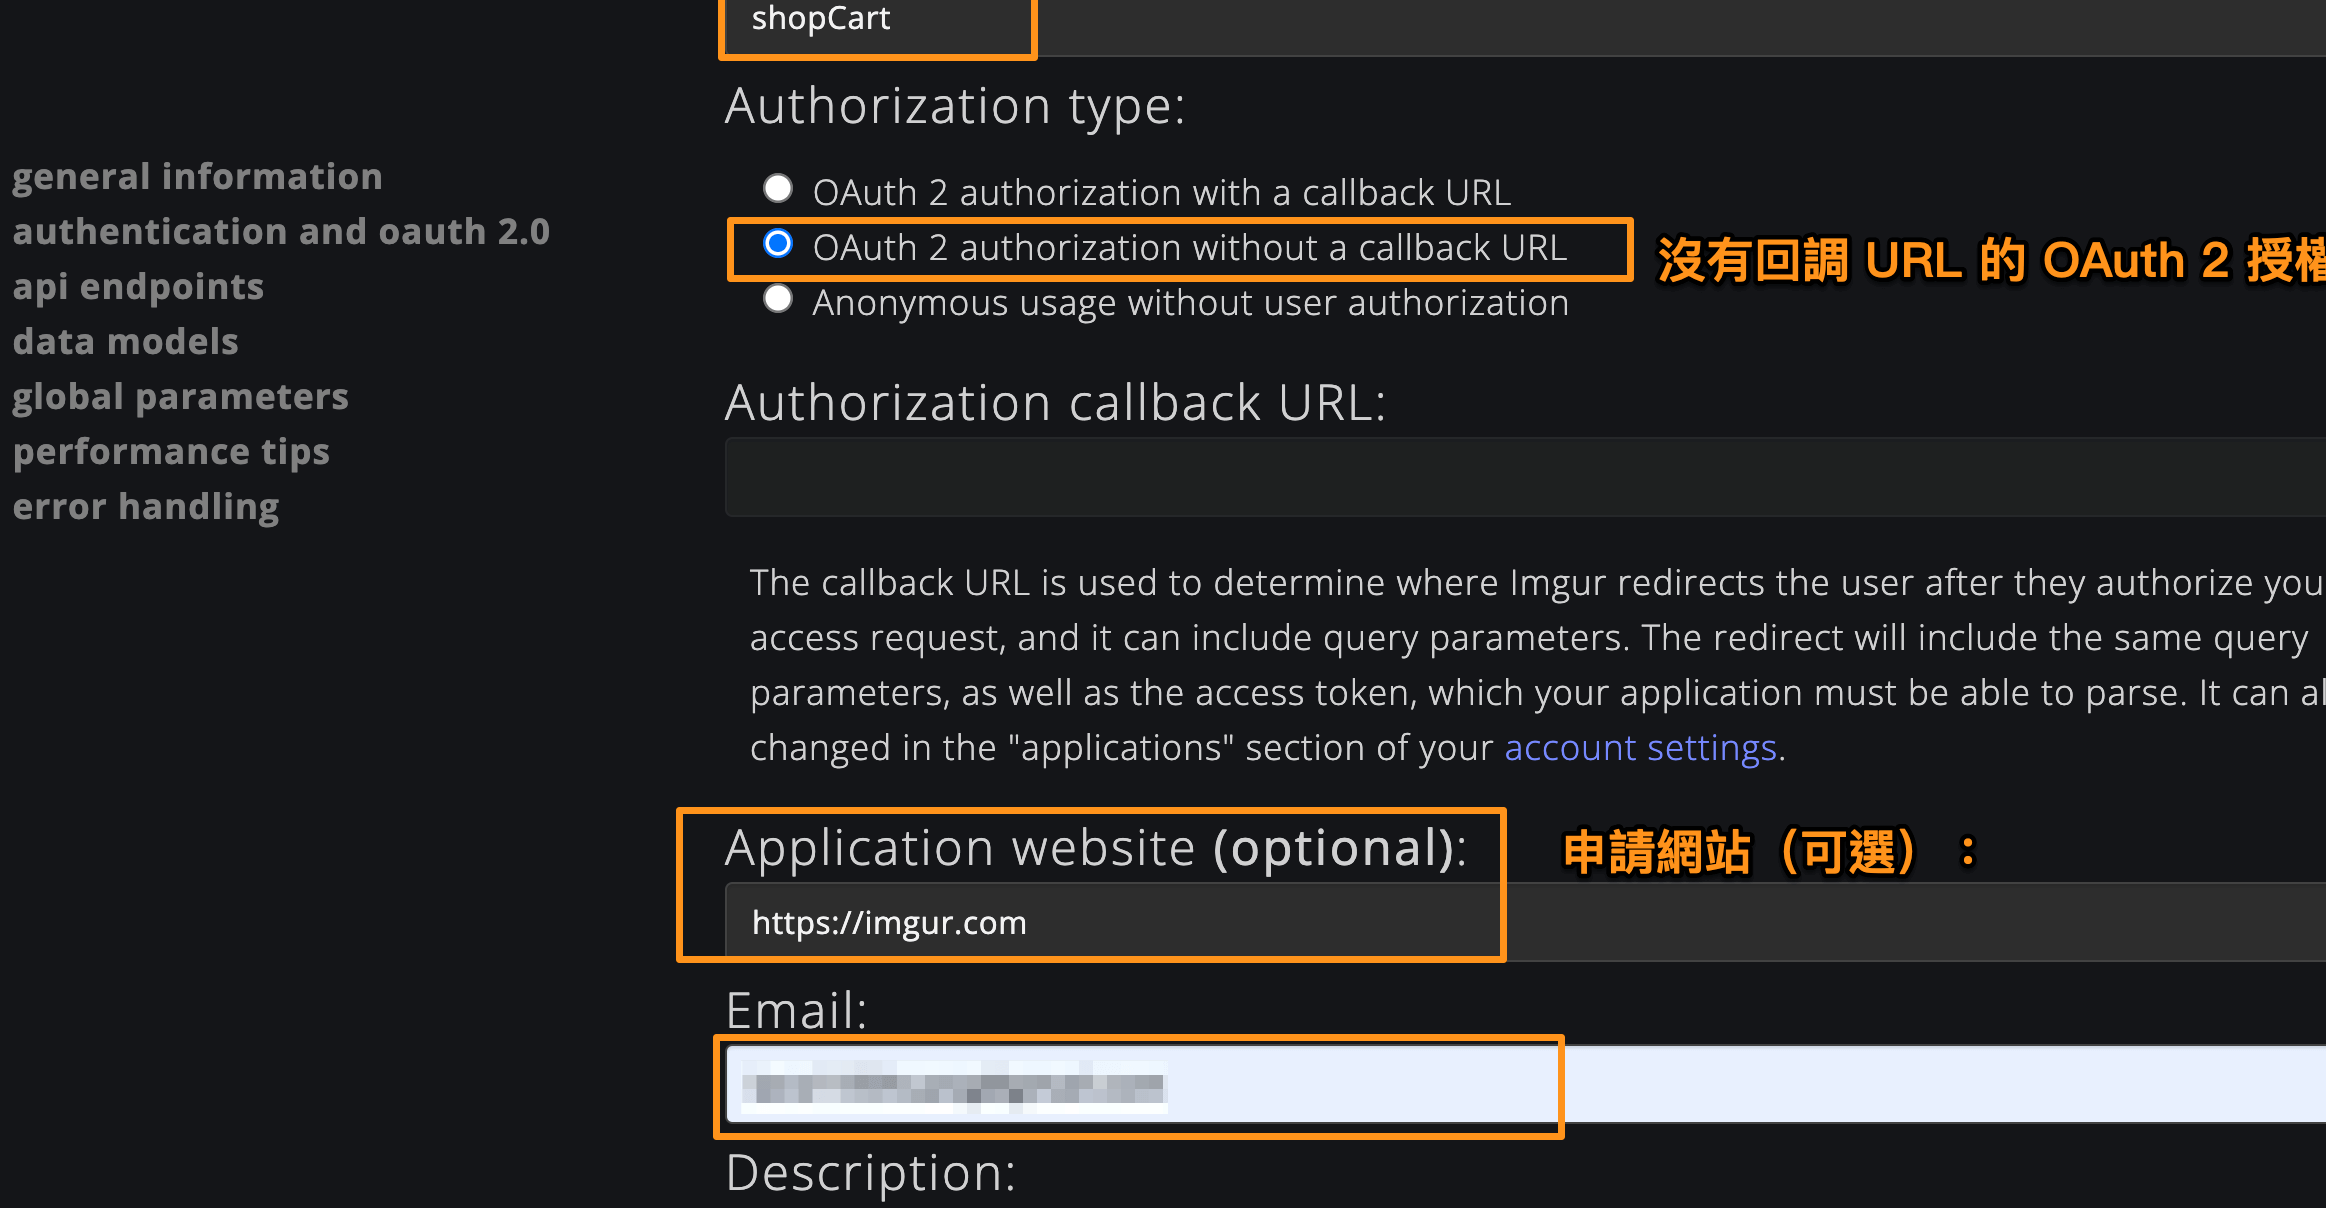
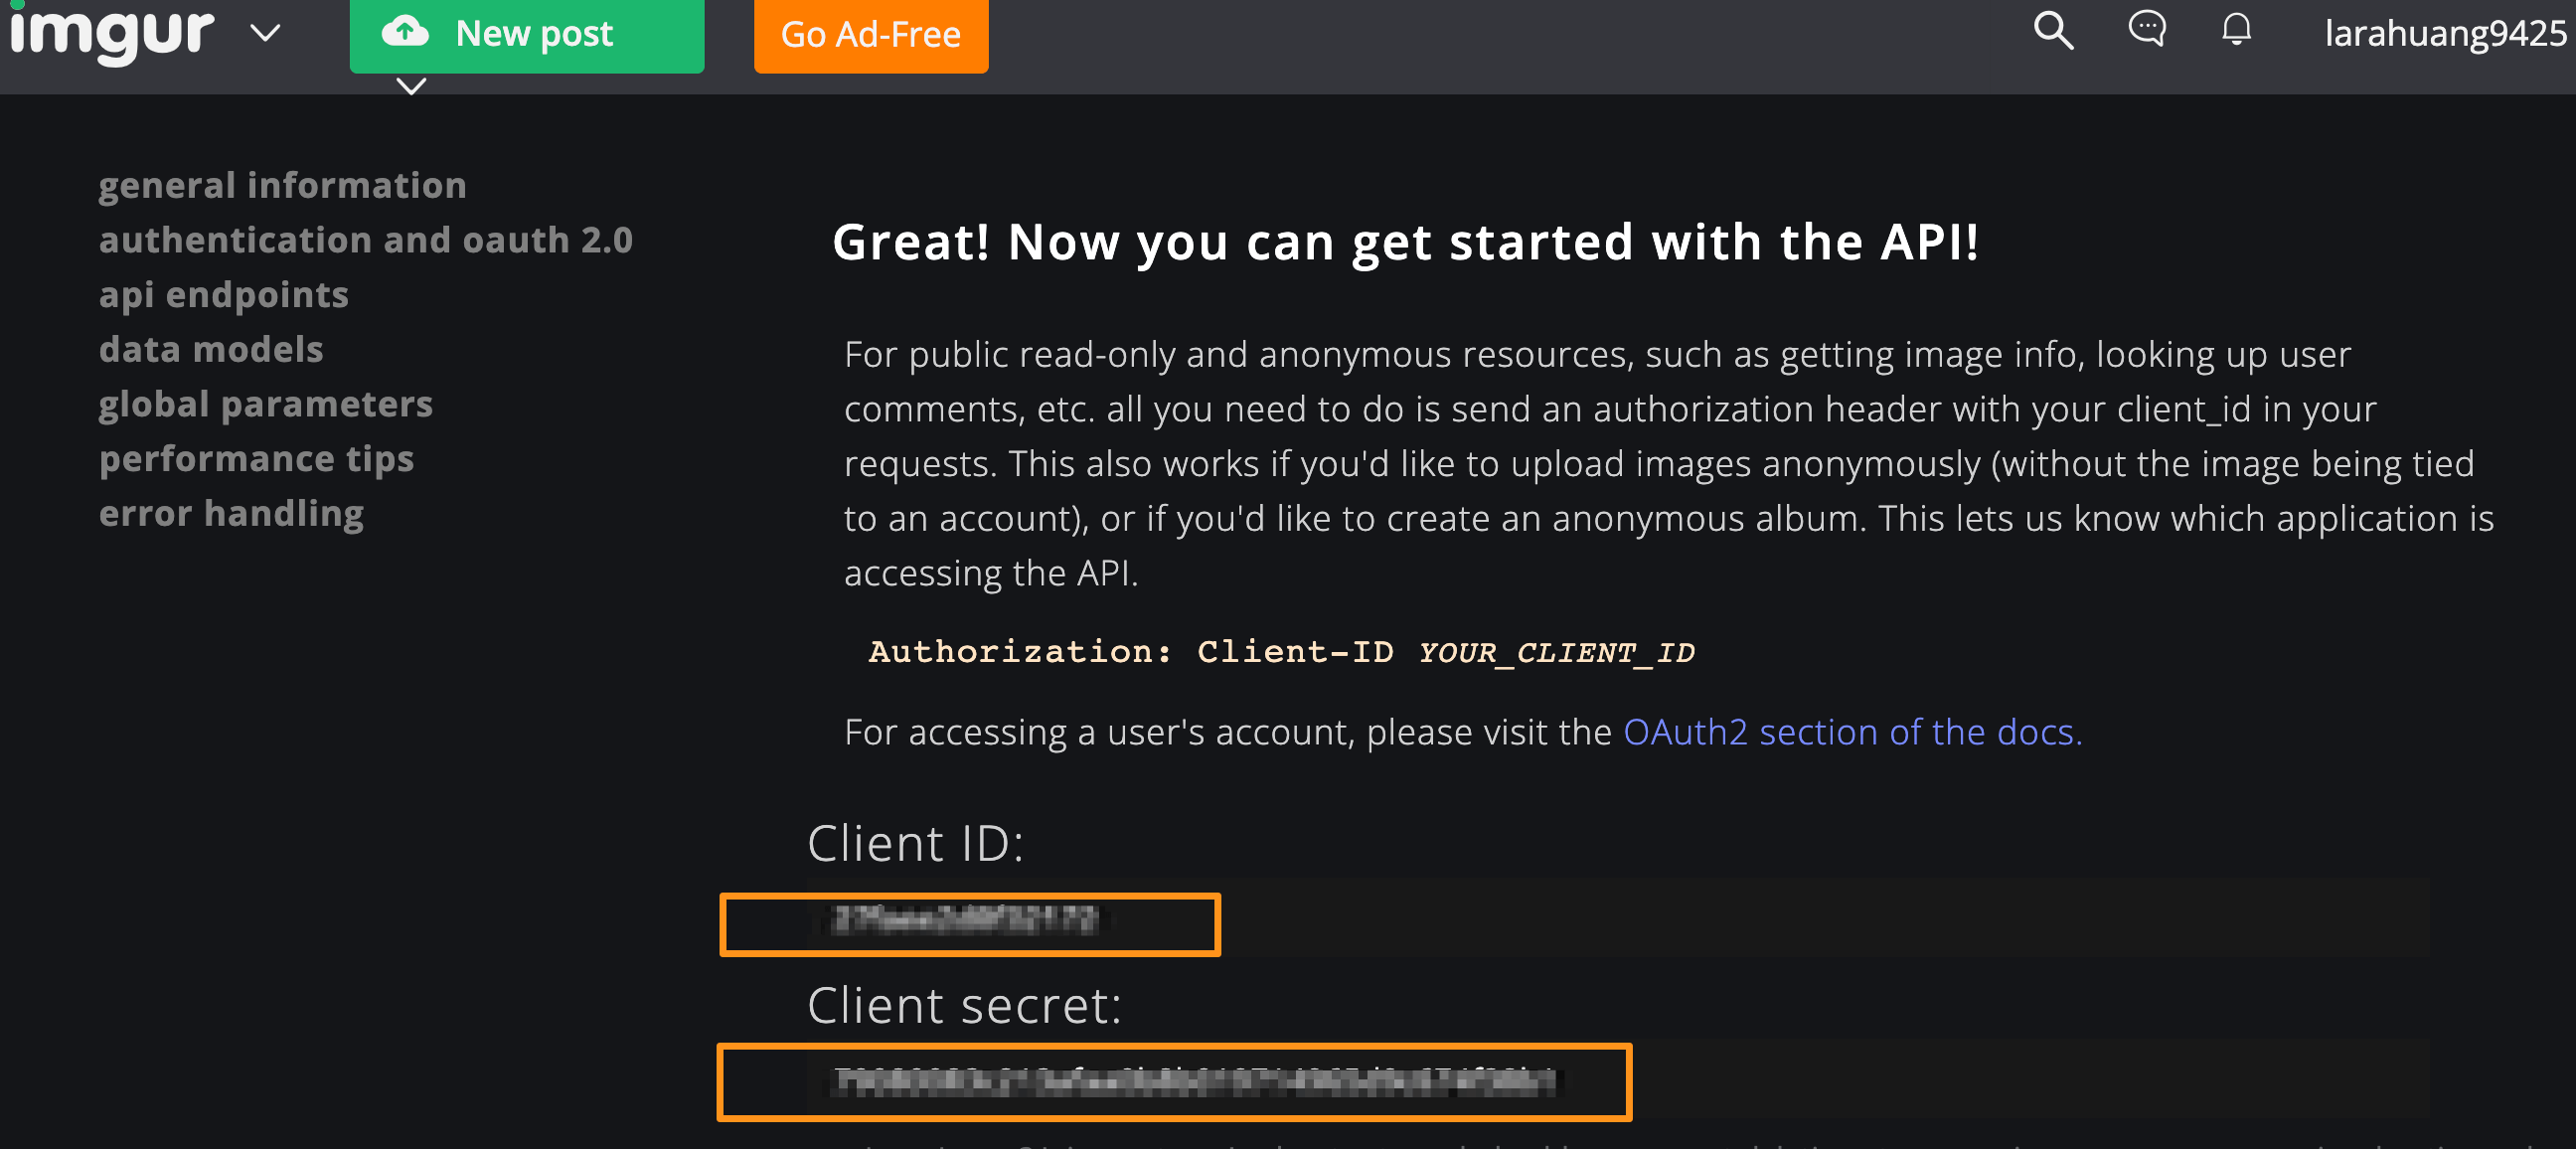
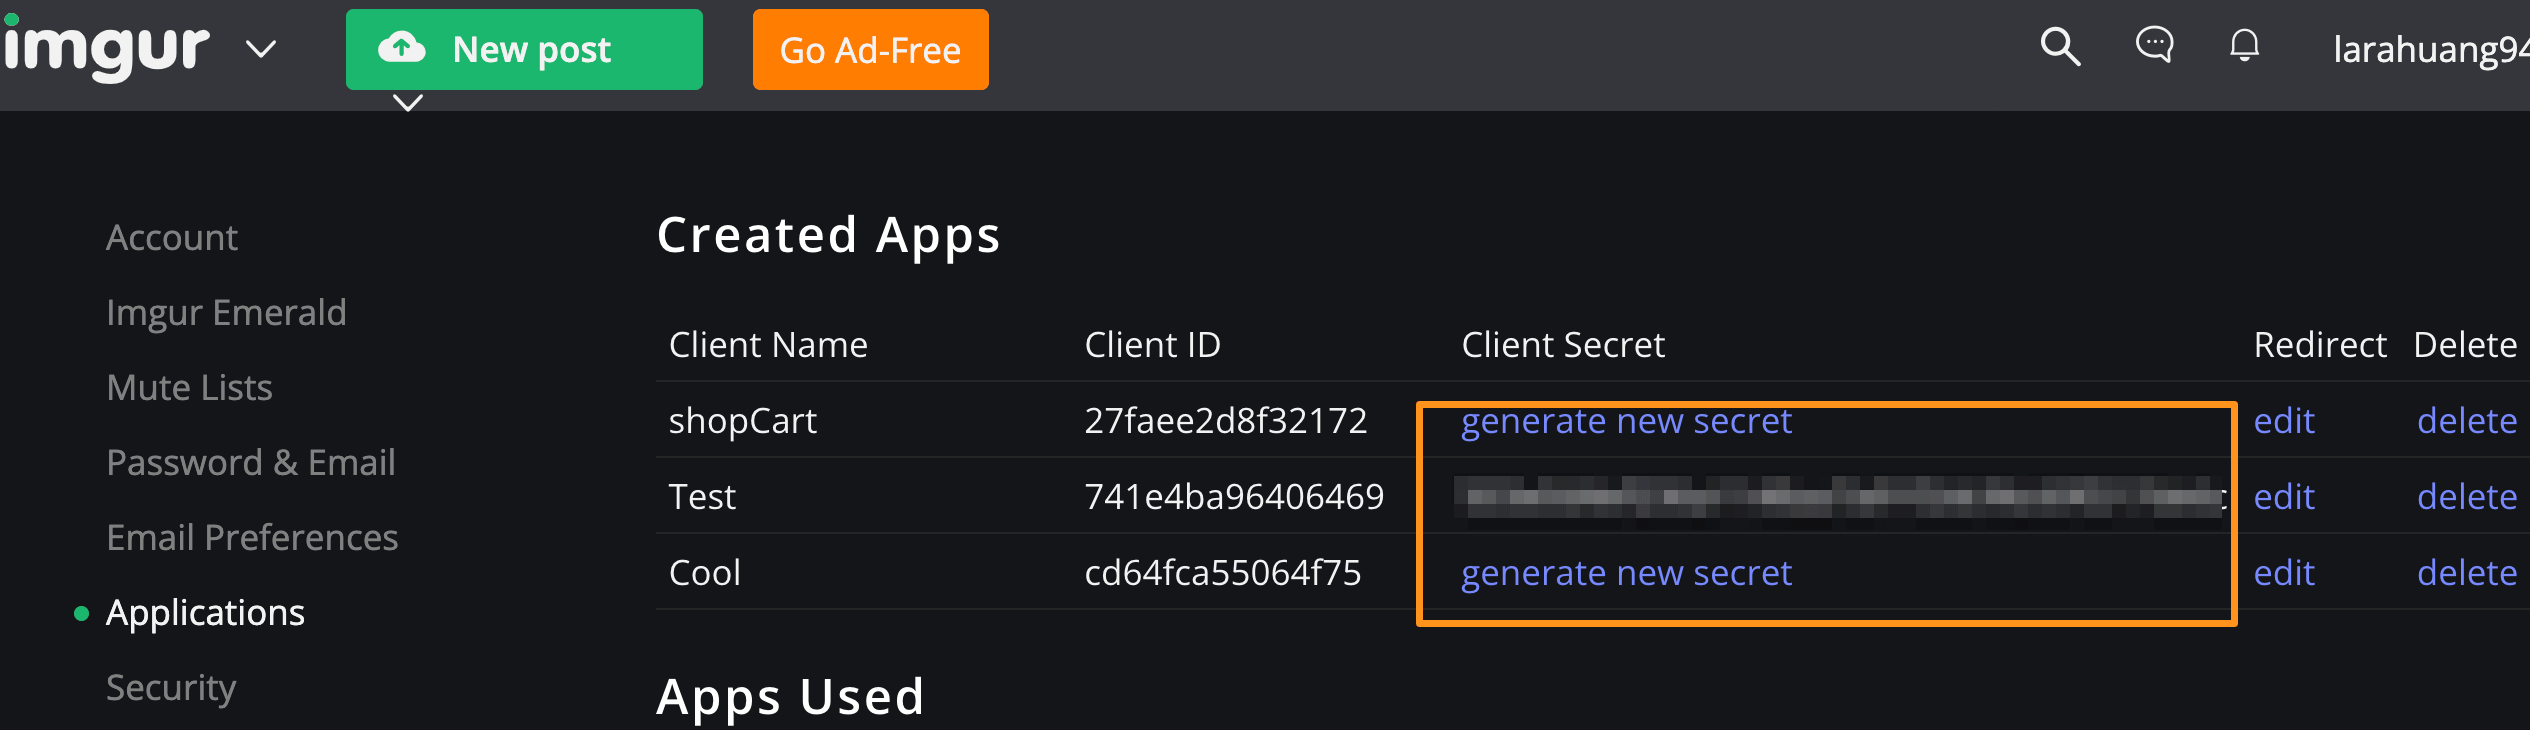
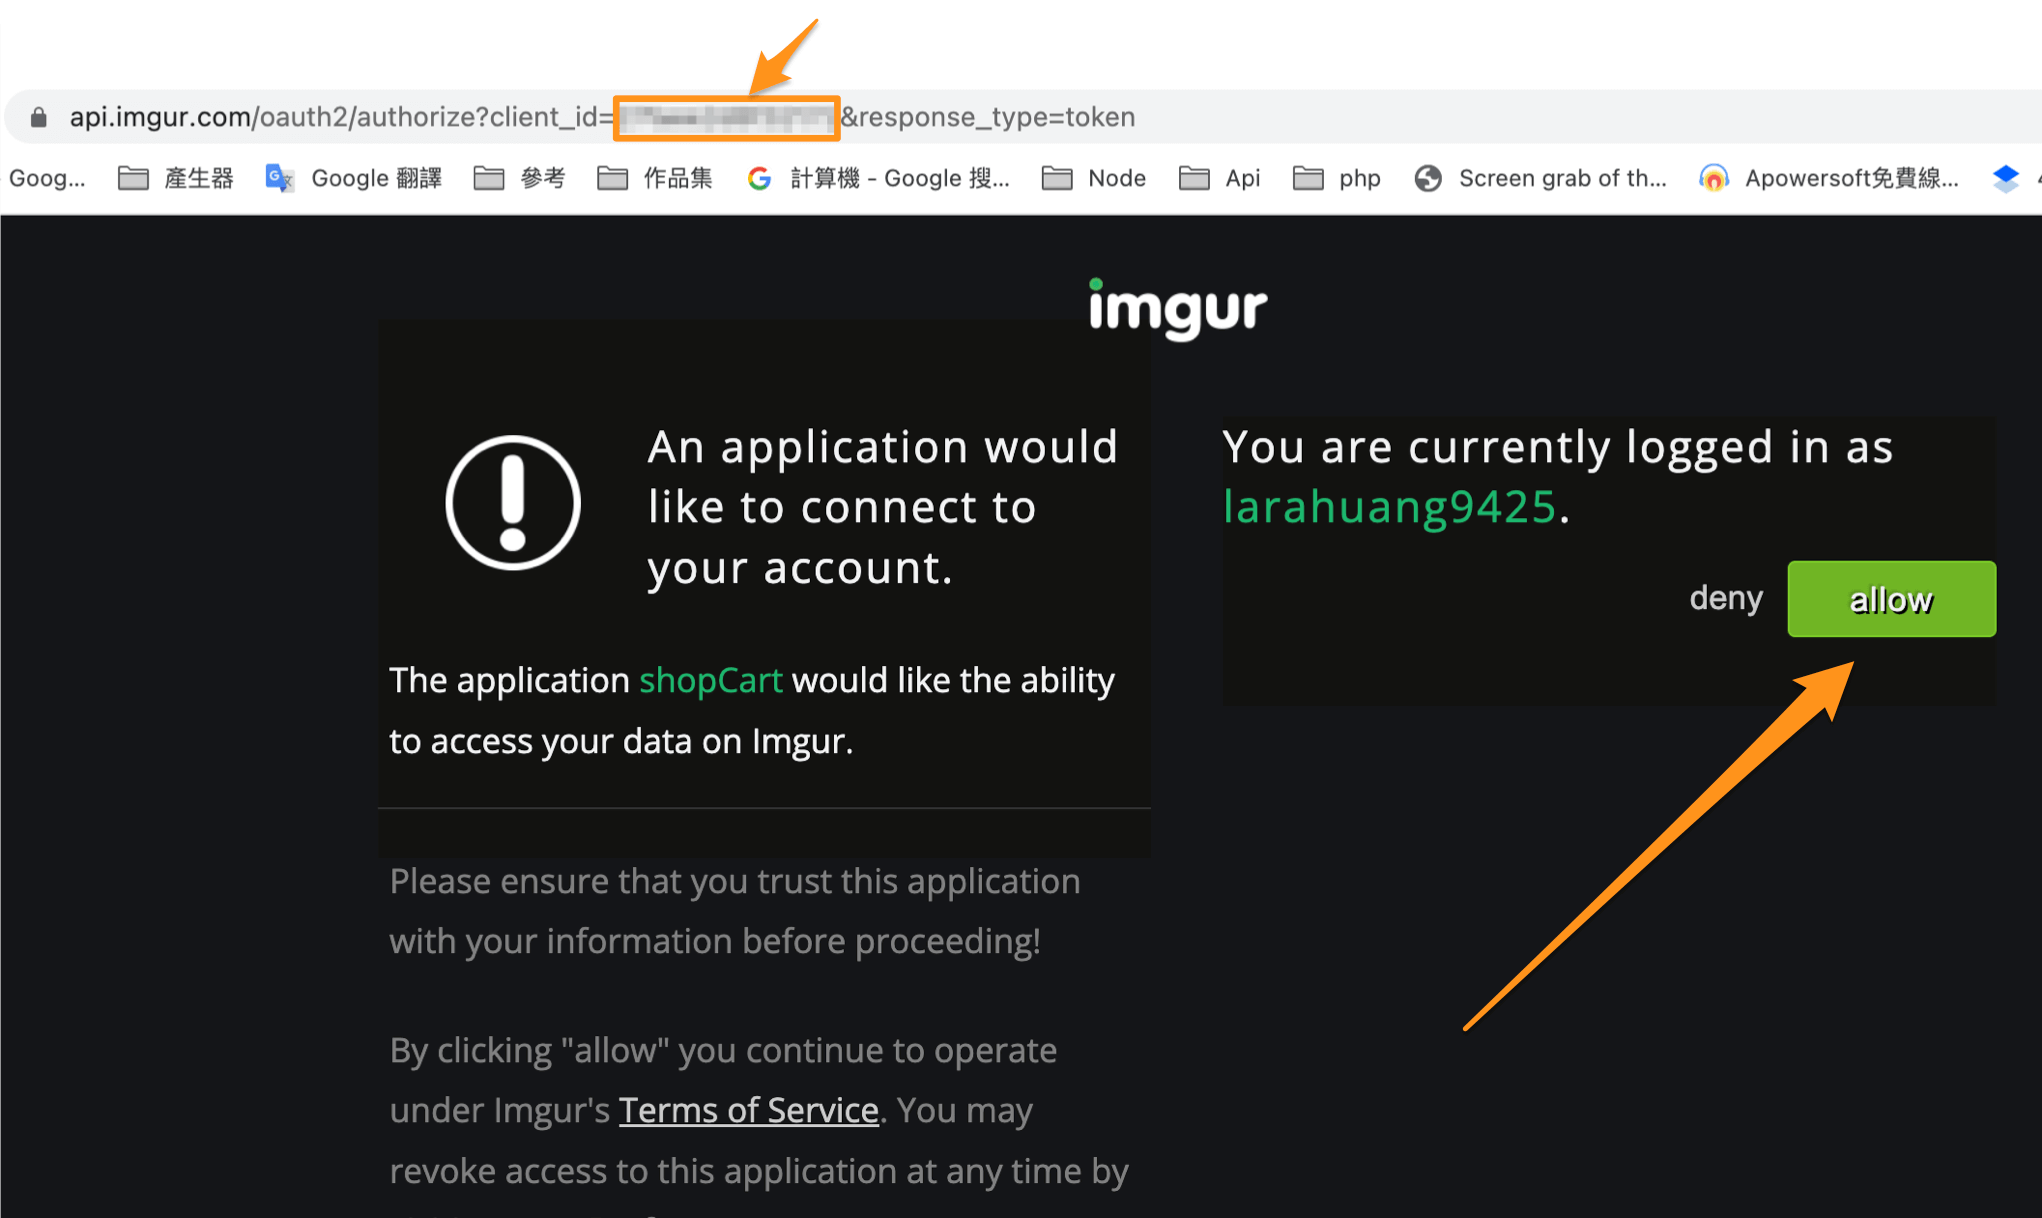
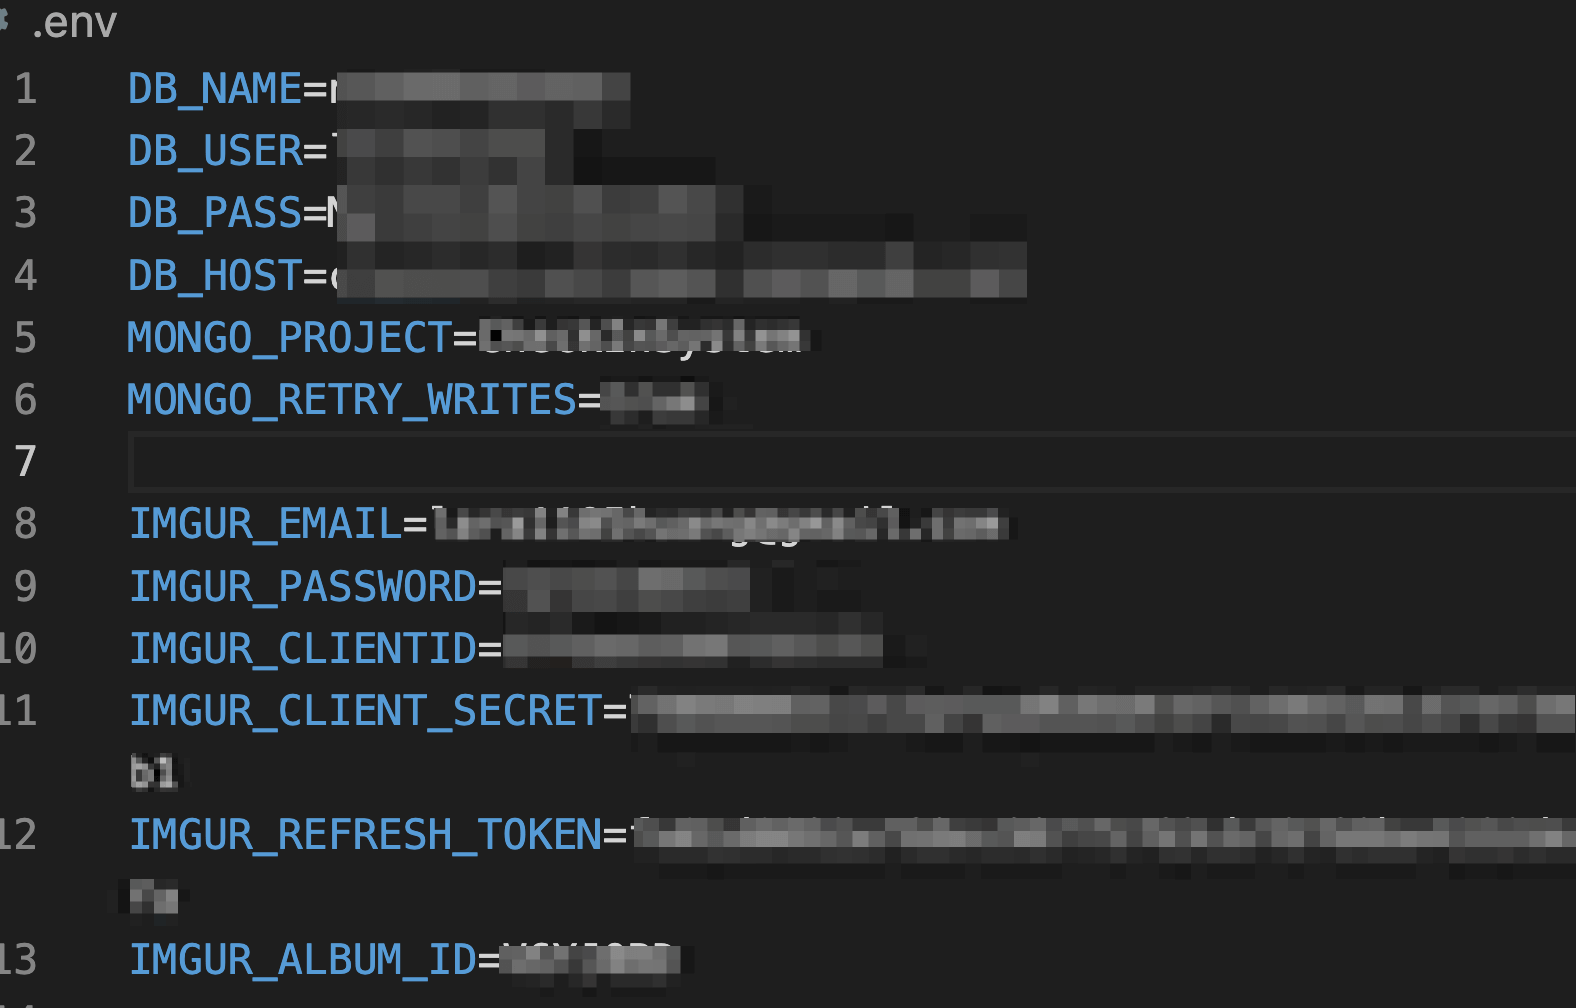
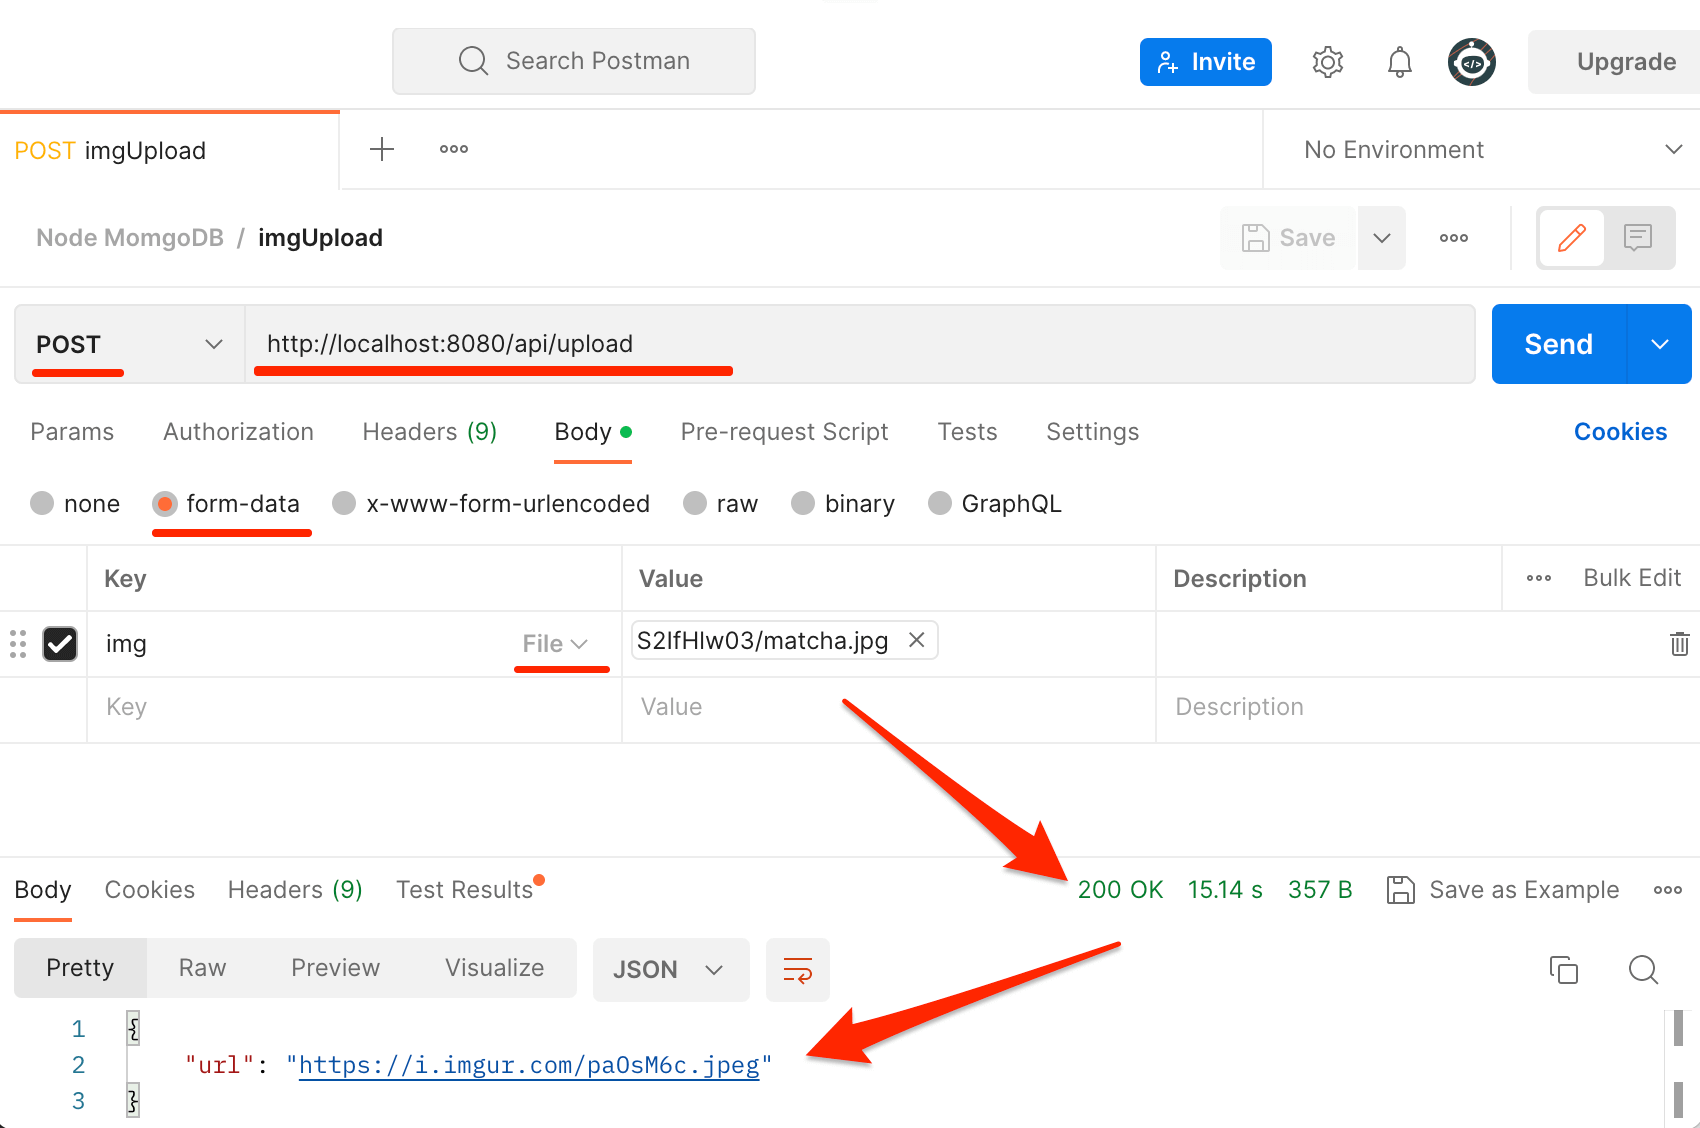
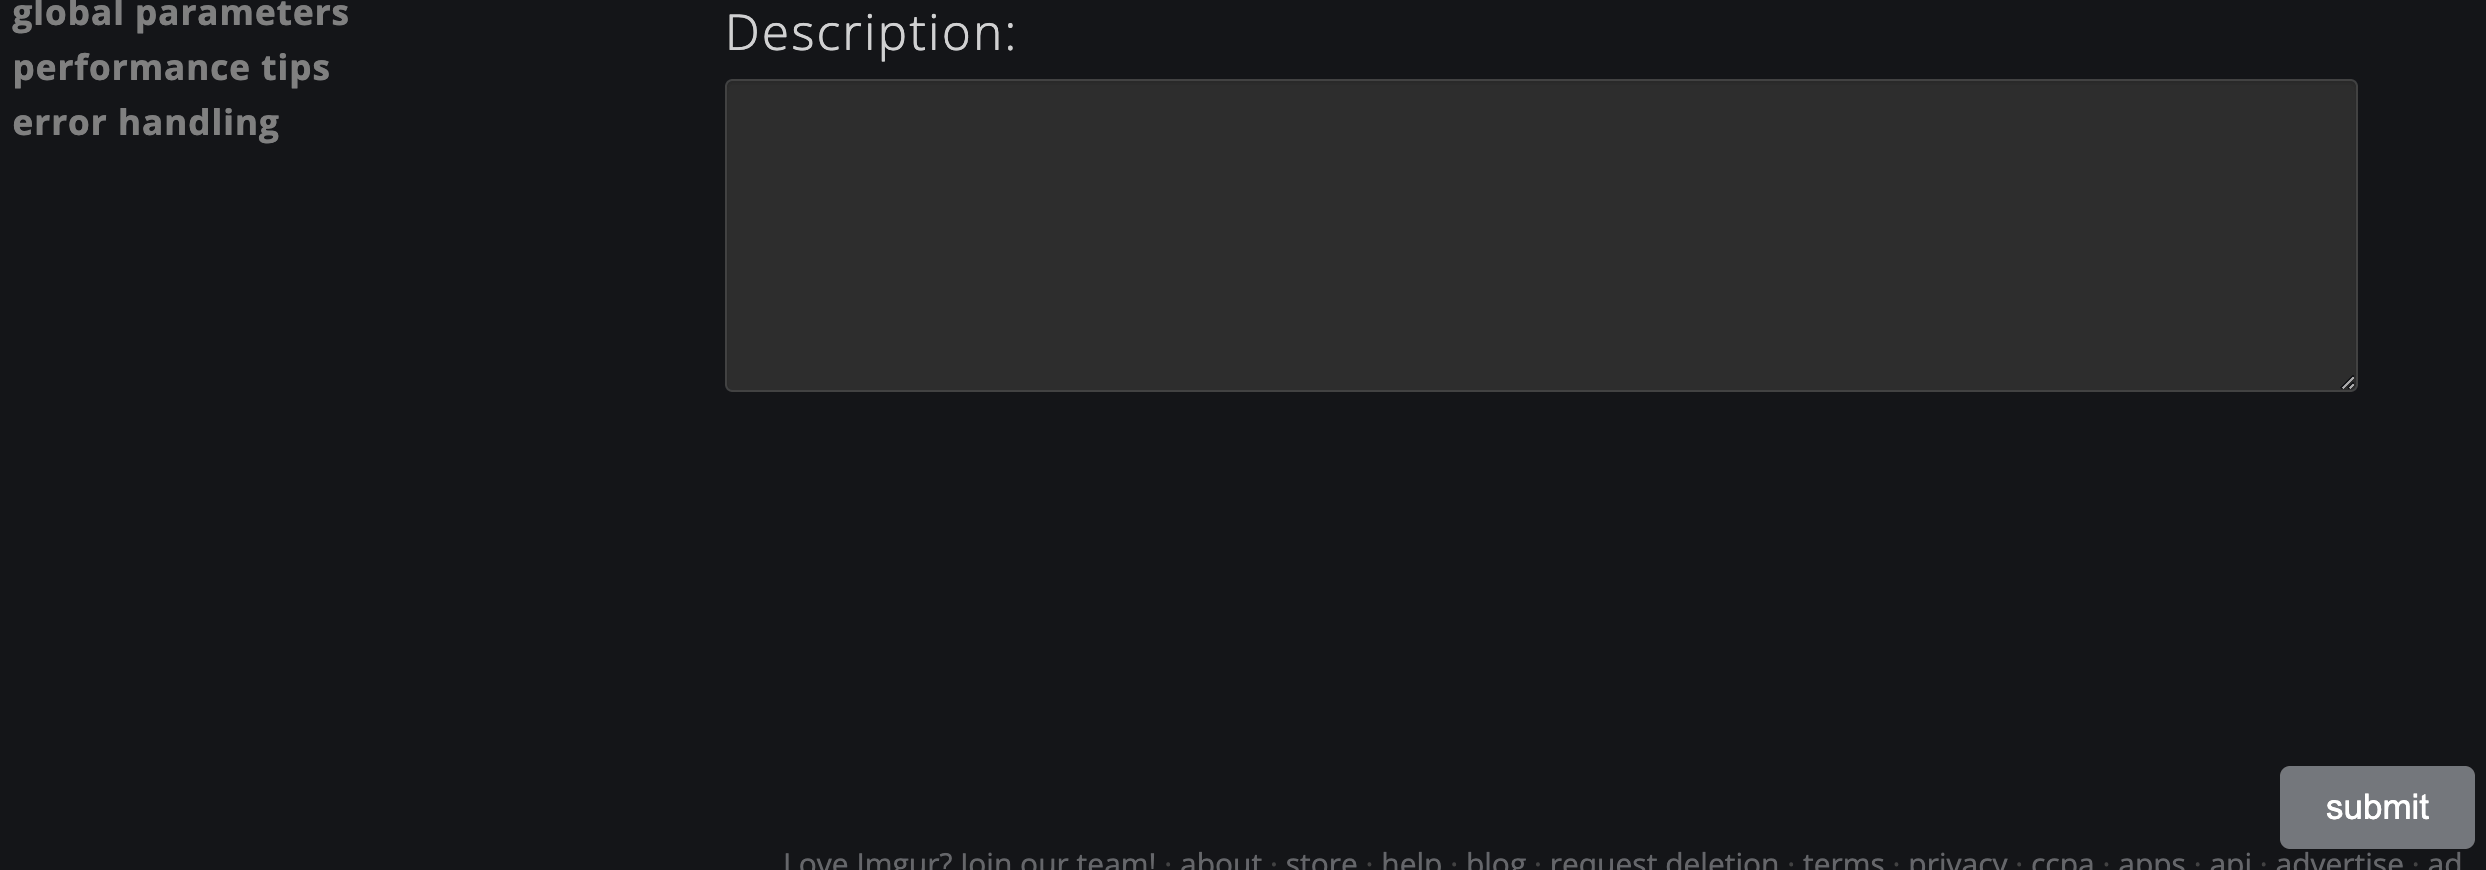 獲得
獲得