1
2
3
4
5
6
7
8
9
10
11
12
13
14
15
16
17
18
19
20
21
22
23
24
25
26
27
28
29
30
31
32
33
34
35
36
37
38
39
40
41
42
43
44
45
46
47
48
49
50
51
52
53
54
55
56
57
58
59
60
61
62
63
64
65
66
67
68
69
70
71
72
73
74
75
76
77
78
79
80
81
82
83
84
85
86
87
88
89
90
91
92
93
94
95
96
97
98
99
100
101
102
103
104
105
106
107
108
109
110
111
112
113
114
115
116
117
118
119
120
121
122
123
124
125
126
127
128
129
130
131
132
133
134
135
136
137
138
139
140
141
142
143
144
145
146
| import { Component, inject, OnInit } from '@angular/core';
// Angular 17以後必須引入才能在Html 使用*ngFor
import {CommonModule} from '@angular/common';
import { FormsModule } from '@angular/forms'
interface listType{
id: string | never,
subject: string,
editTask: string,
isShow:boolean
}
interface userFormType{
user_id?: number |null | never |any,
name?: string|any|null ,
email?: string|any|null ,
password?: string|any|null ,
address?: string|any|null ,
country?: string|any|null ,
}
@Component({
selector: 'app-fetch-data',
standalone: true,
imports: [
FormsModule,
CommonModule,// Angular 17以後必須引入
],
templateUrl: './fetch-data.component.html',
styleUrl: './fetch-data.component.scss'
})
export class FetchDataComponent implements OnInit {
Title: string = 'To Do Lists';
imageAlt:string= '圖片';
imageLink: string = "https://cdn-icons-png.flaticon.com/512/4697/4697260.png";
userForm: userFormType = {
user_id: null,
name: "",
email: "",
password: "",
address: "",
country: "",
}
lists: listType[] = [];
newTask: string = "";//表單綁定
isAvalible: boolean = false;
posts: any = [];
isEdit: boolean = false;
url: string = 'https://api-node-mysql-project.vercel.app/users';
header:any= {
'Content-Type': 'application/json',
}
// 新增
addItem() {
const api="https://api-node-mysql-project.vercel.app/users"
const vm = this;
let query = {
name: vm.userForm.name,
email: vm.userForm.email,
password: vm.userForm.password,
address: vm.userForm.address,
country: vm.userForm.country
// id:Date.now().toString(),
}
fetch(api, { method: 'POST',headers:vm.header , body: JSON.stringify(query)})
.then((res) => res.json())
.then((data) => {
vm.isAvalible = true;
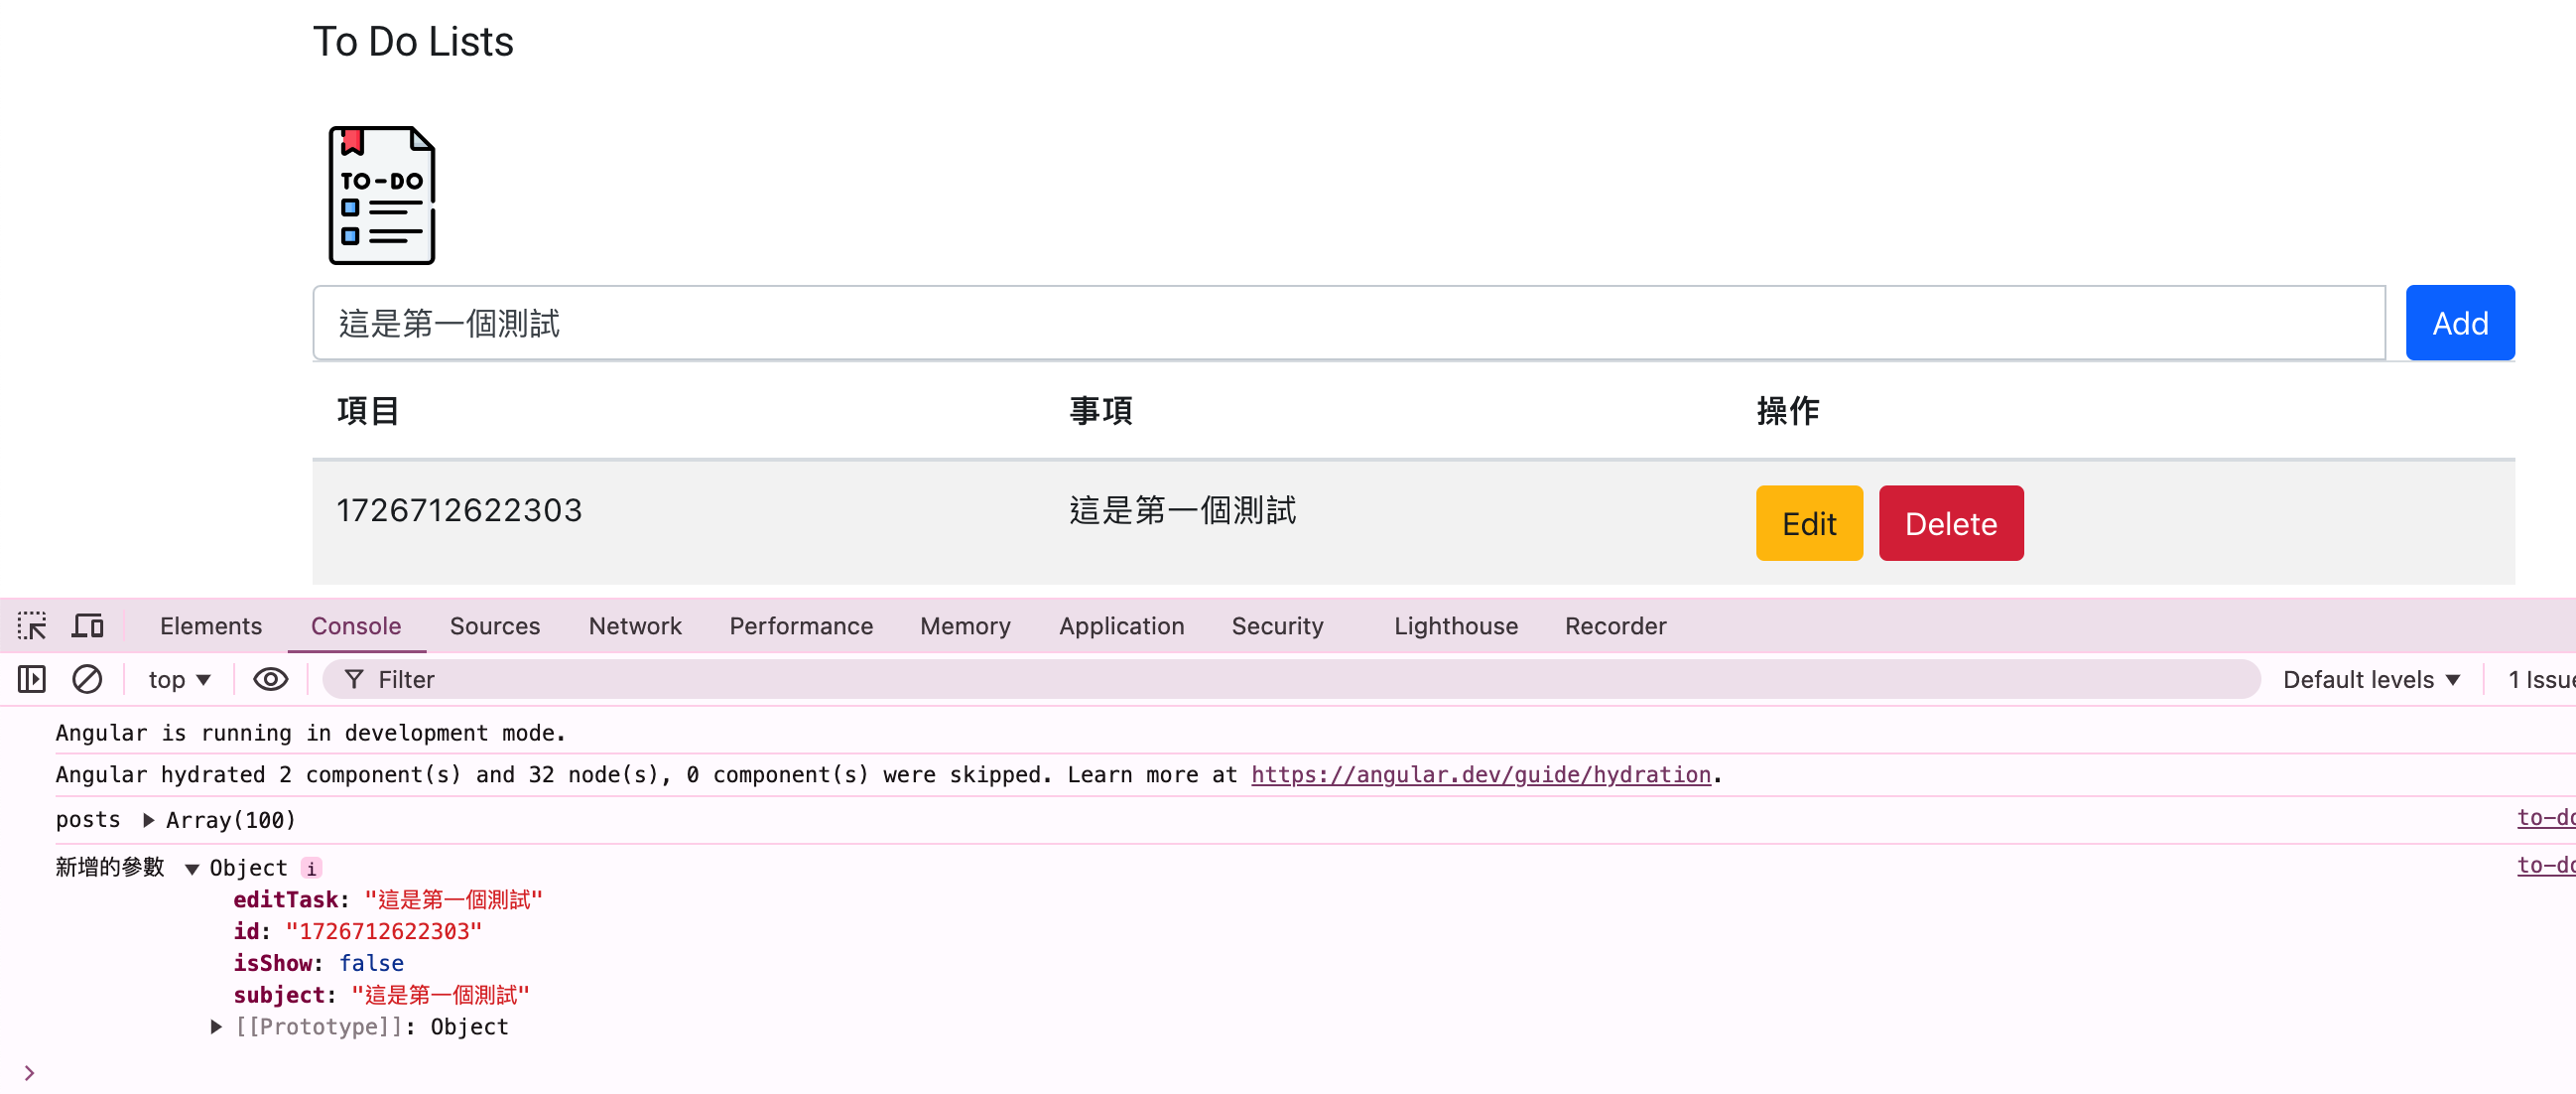
console.log('新增的參數', query, data)
vm.posts.push(query);
this.userForm.name = ""
this.userForm.address = ""
this.userForm.password = ""
this.userForm.country=""
});
vm.isAvalible = true;
}
//獲取
fetchGetValue() {
const vm = this;
const api="https://api-node-mysql-project.vercel.app/users"
fetch(api,{method: 'GET' })
.then((res) => res.json())
.then((data) => {
data.map((item: any, index: any) => {
let query = {
user_id: item.user_id,
name: item.name,
email: item.email,
password: item.password,
address: item.address,
country: item.country,
isEdit: false,
}
return vm.posts.push(query)
});
console.log( 'vm.posts', vm.posts )
});
}
// 編輯
editPost(user_id: any,index:any) {
const vm = this;
vm.posts[index].isEdit = true;
const api = `https://api-node-mysql-project.vercel.app/users/${user_id}`
let query = {
name: vm.posts[index].name,
email: vm.posts[index].email,
password: vm.posts[index].password,
address: vm.posts[index].address,
country: vm.posts[index].country,
// id:Date.now().toString(),
}
fetch(api, {
method: 'PUT',
headers: vm.header,
body: JSON.stringify(query)
})
.then((res) => res.json())
.then((data) => {
console.log('changedRows', data.result.changedRows,'屬性',typeof data.result.changedRows);
if (data.result.changedRows===1) {
alert('編輯成功')
vm.posts[index].isEdit = false;
}
});
}
// 刪除
remotePost(user_id: any,index:any) {
console.log(user_id);
const api = `https://api-node-mysql-project.vercel.app/users/${user_id}`
fetch(api, {method: 'DELETE',headers: this.header})
.then((res) => res.json())
.then((data) => {
console.log(data);
if (data.result.insertId === 0) {
this.posts.splice(index, 1);
alert(user_id+'刪除成功')
}
});
}
ngOnInit(): void {
this.fetchGetValue()
}
}
|
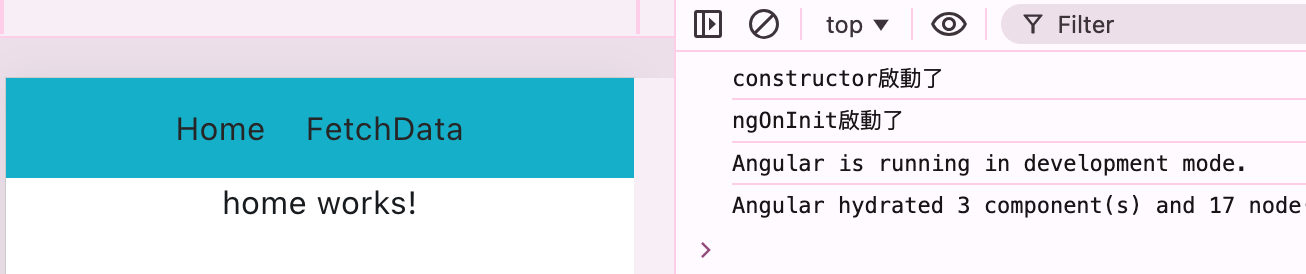 測試結果順序結果:
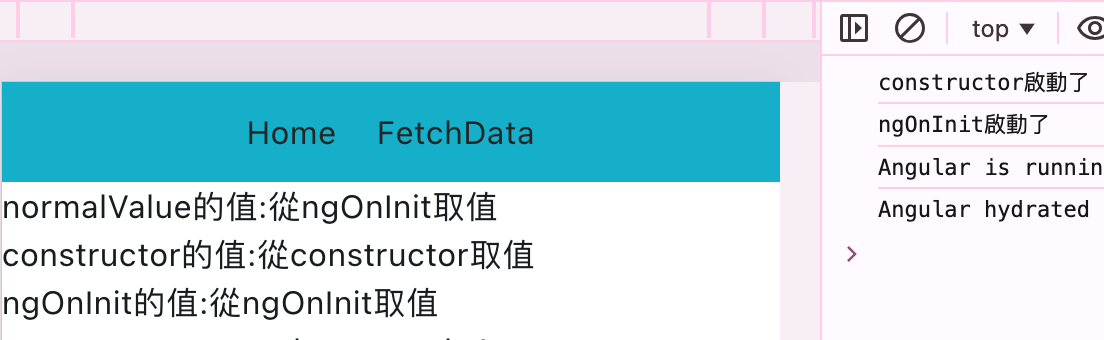
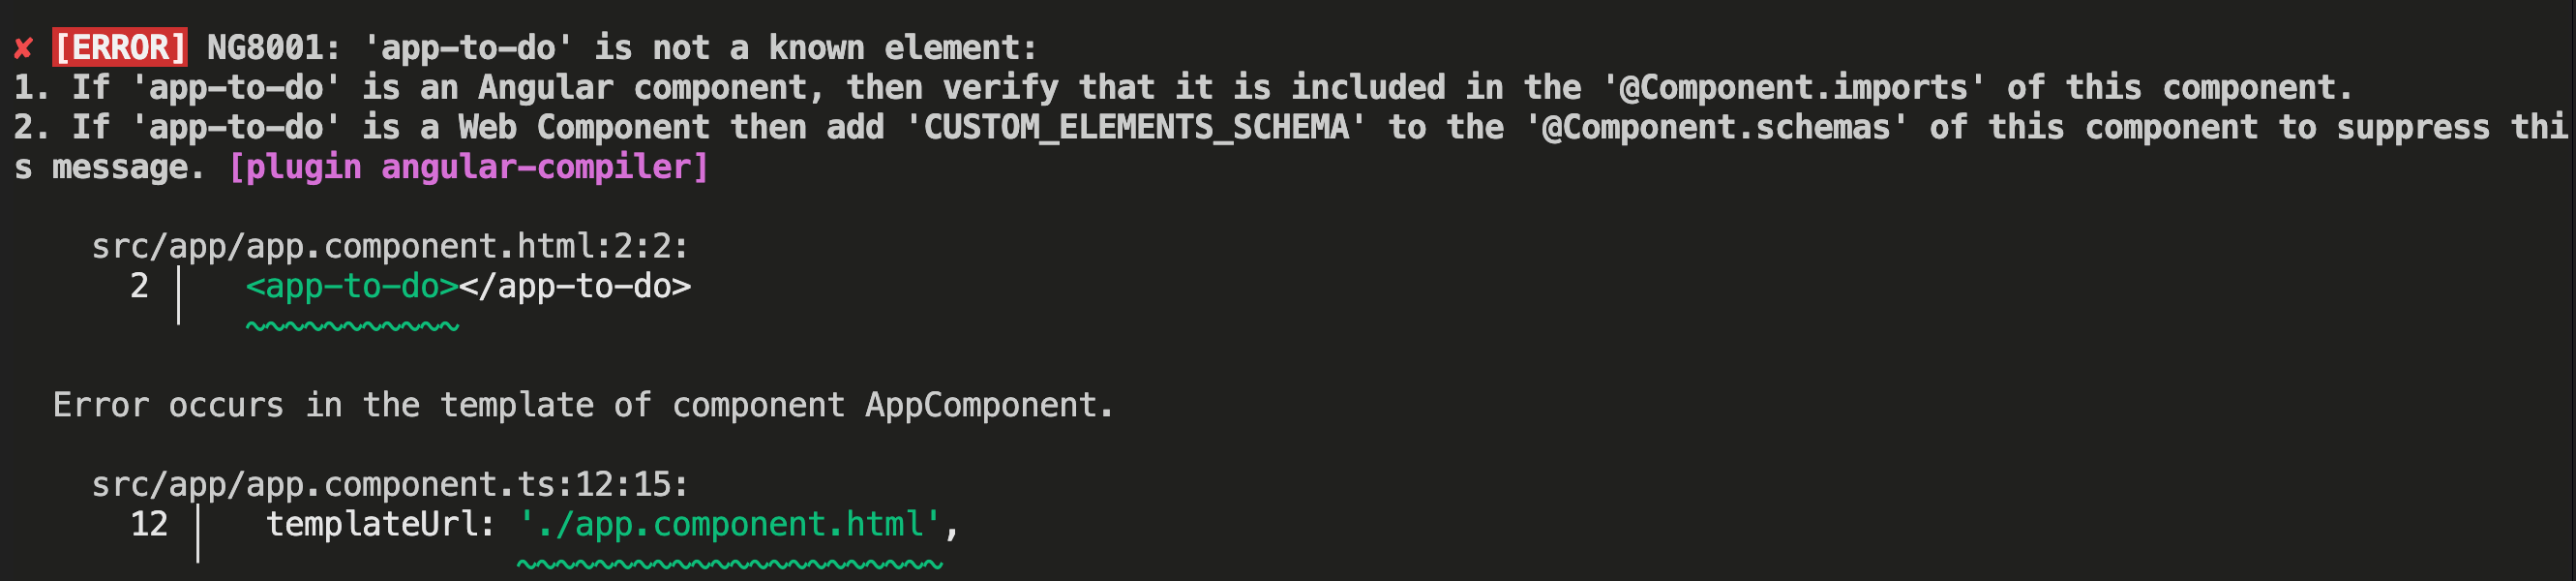 在app資料夾內引入app.component.ts
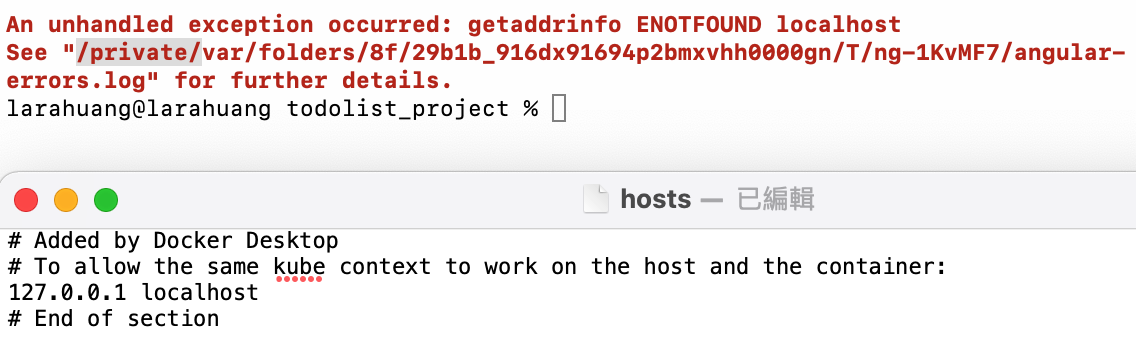
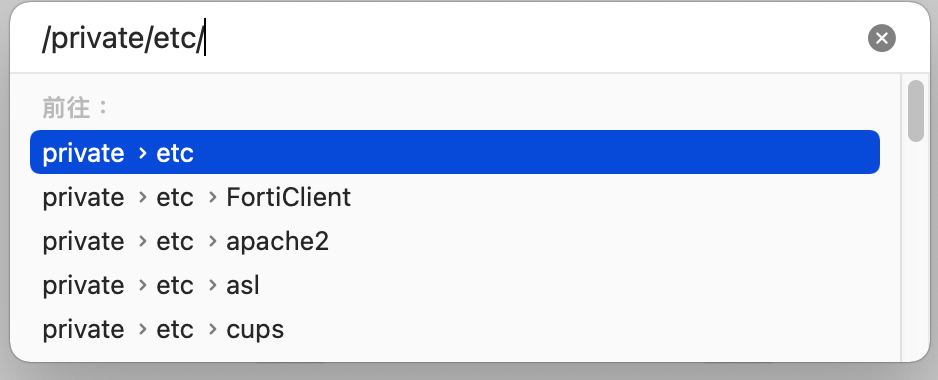 將hosts檔案移動到桌面修改